


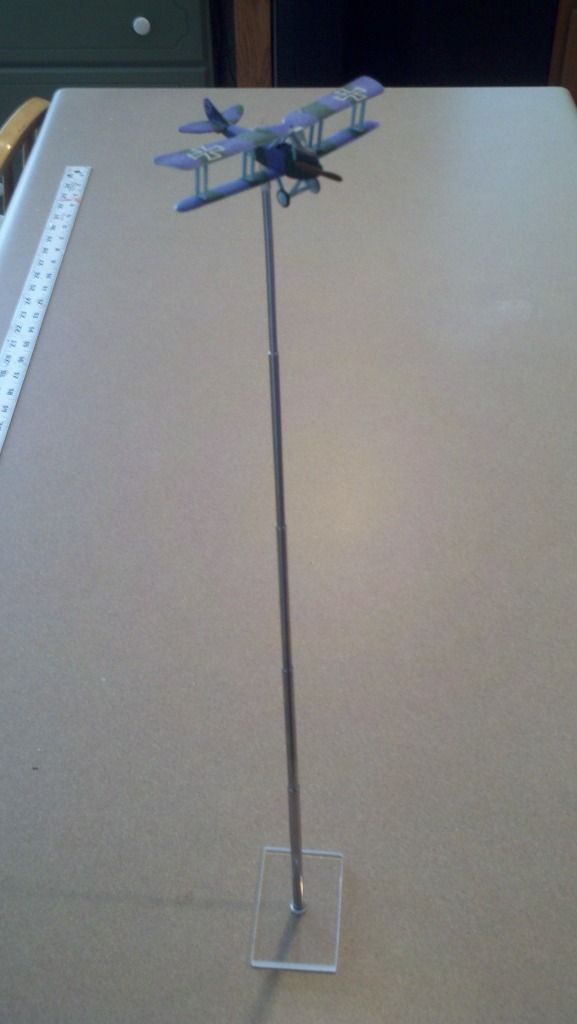
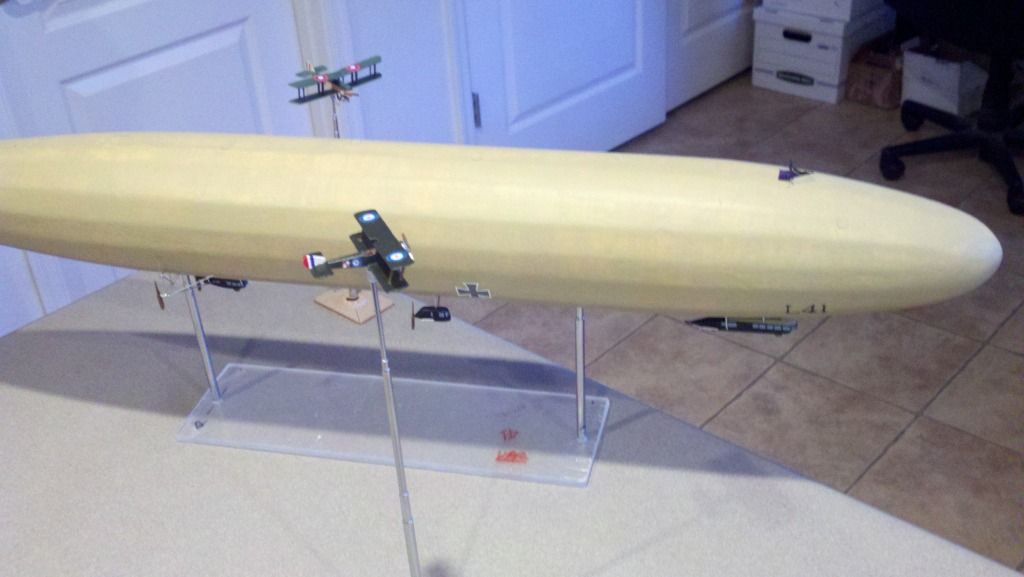
Several Zeppelin owners out there have asked about making taller stands for the interceptors. Once the sixth peg is added to the standard bases they become hard to handle. After a battle of my own I began to play with some ideas. Best so far is here detailed:
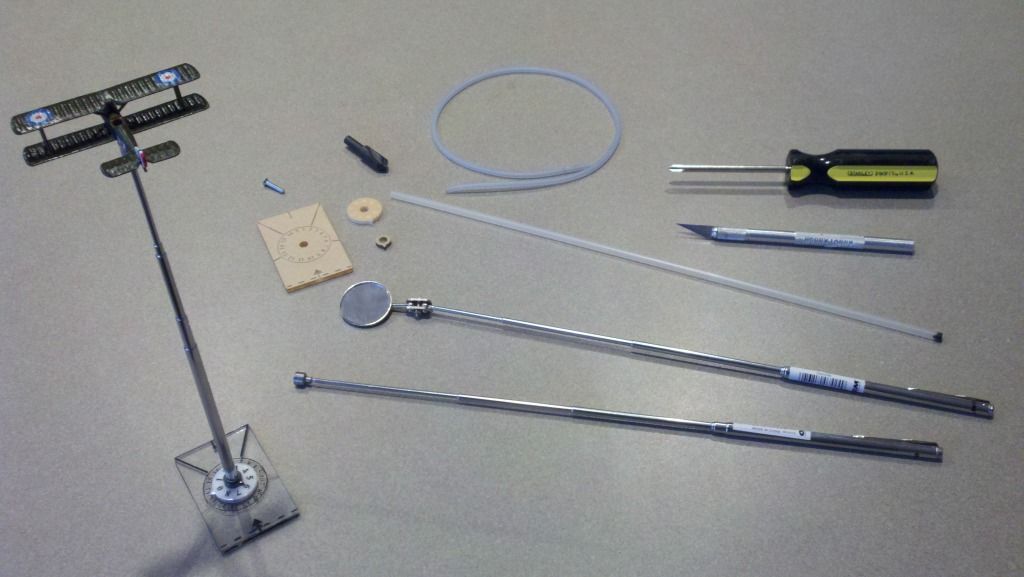
The process starts with accumulating a few items shown here, total cost here in Arizona for the lot is less than $15 and will make a bunch of stands: rubber fuel tubing ($2 hobby shop), telescoping magnet or mirror thingy (Auto parts stores $3), plastic tube sleeve ($1 at hobby shop), 3mm x 1/2" flat head machine screw (.25 at a hardware store).
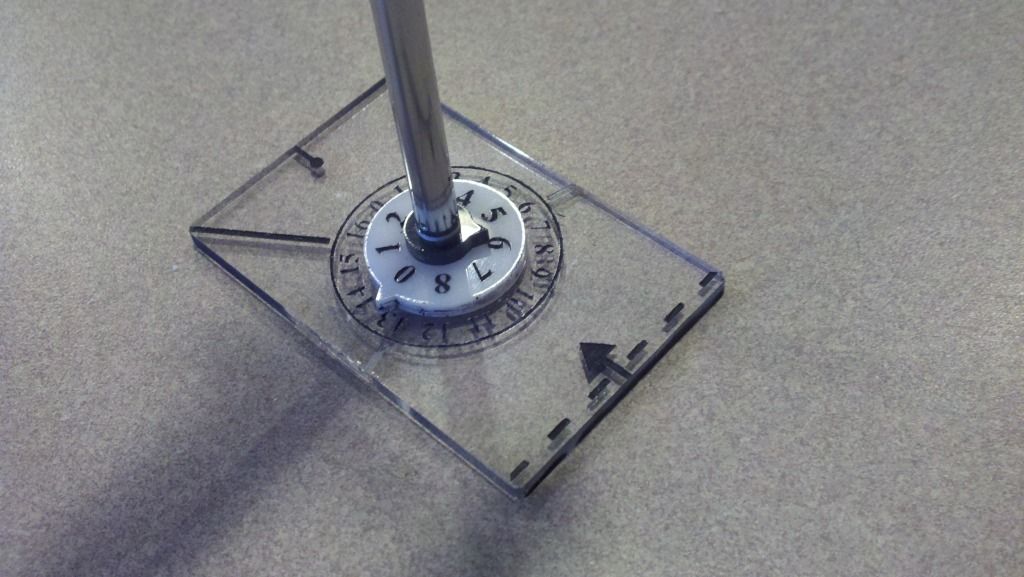
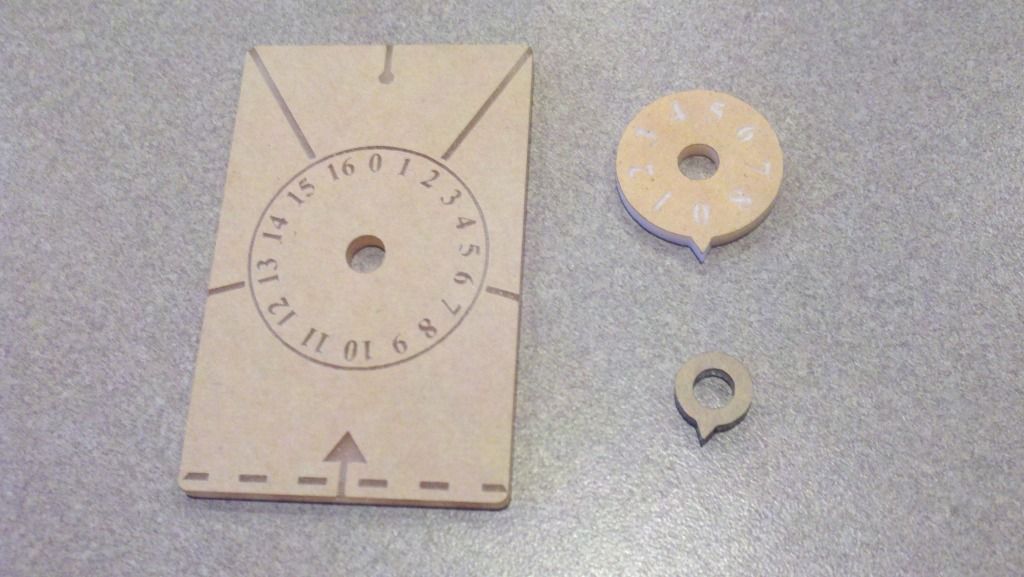
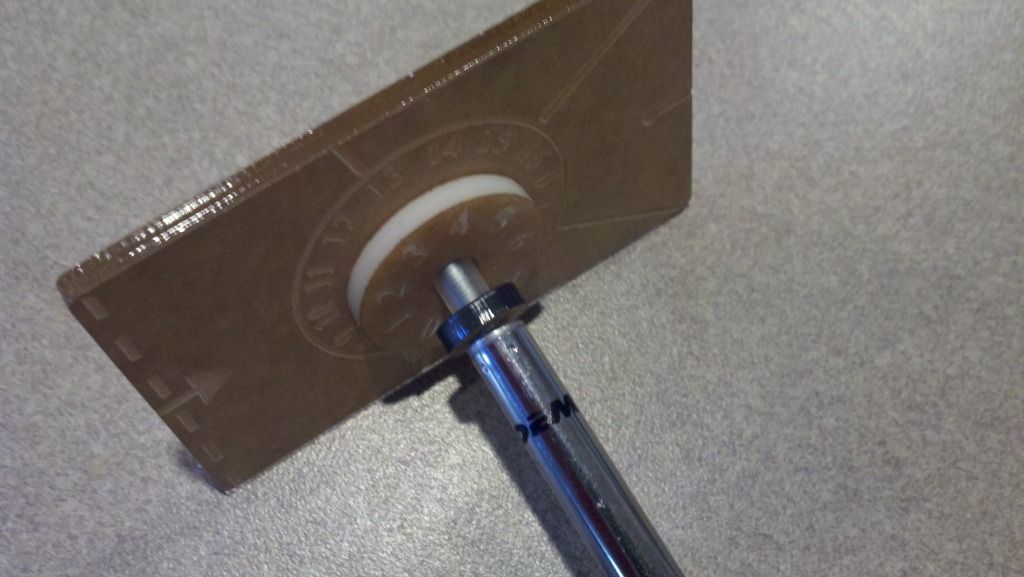
At the core is the Aerodrome's fine custom base which includes the gun arc and altitude dials ($5). Before you peel off the masking paper give the top side of the base and dial ring a light spray of dark spray paint to make the numbers and lines pop out. When completely dry, carefully peel off the masking paper.
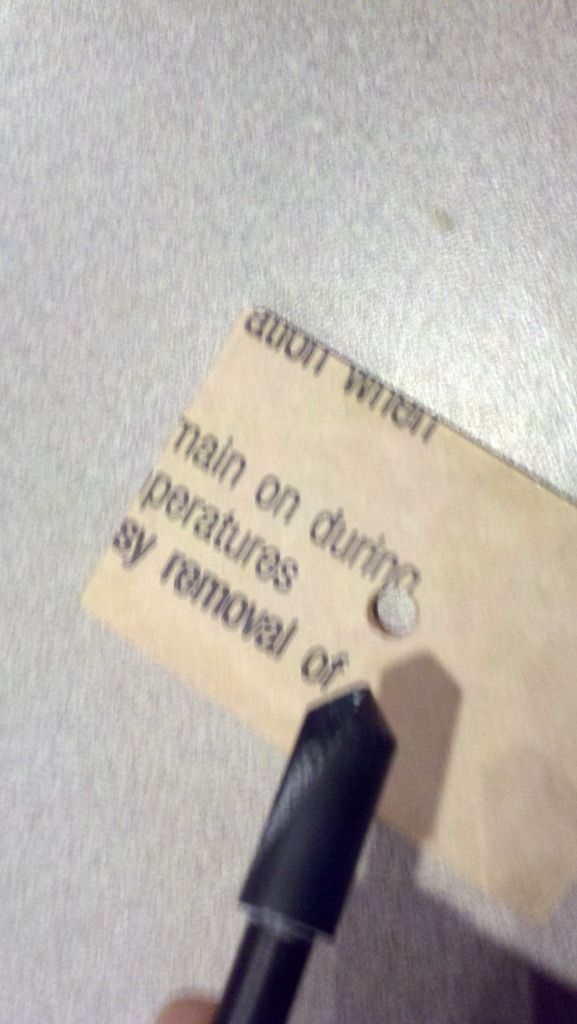
Flip the base over and countersink the peg hole ever so slightly to fit the 3mm screw. It wants to seat flush with the bottom of the base. Use a large drill bit if you do not have a counter sink bit.
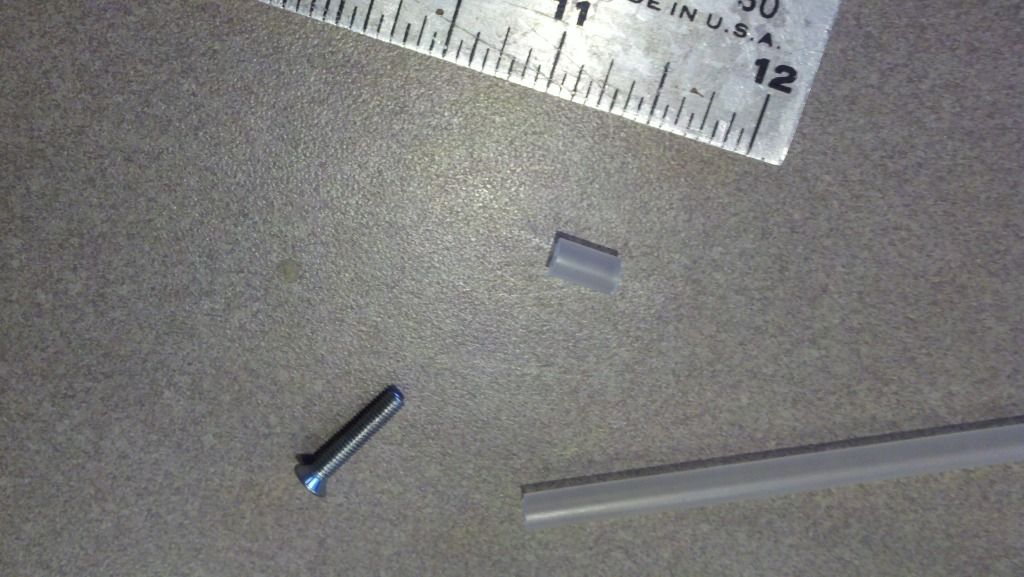
A thick piece of plastic or metal tube that the screw will fit in and will also slip fit into the hole in the base. Cut a section 3/8" long, make sure the ends are square!
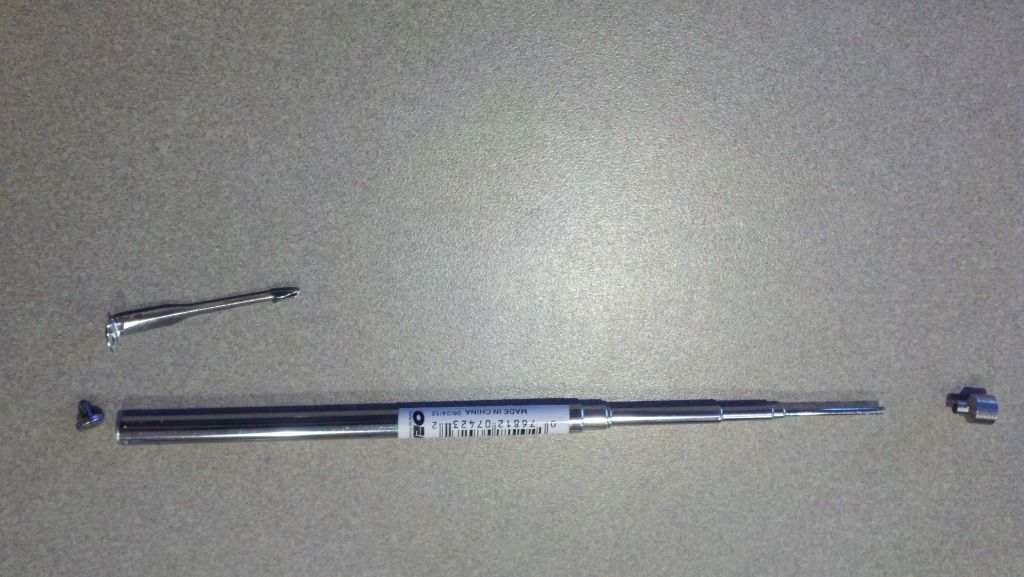
Which ever telescoping tool you find, the pocket clip on one end can be unscrewed and discarded. The small screw is hopefully 3mm thread. Clean off the label if it has one, I had to use acetone to get the glue goo off. On the other end of the tool is either a magnet or a mirror. Both are threaded onto the last bit of the pole. By clamping the end in a vice, use a pair of pliars to twist off the tip, revealing the threads.
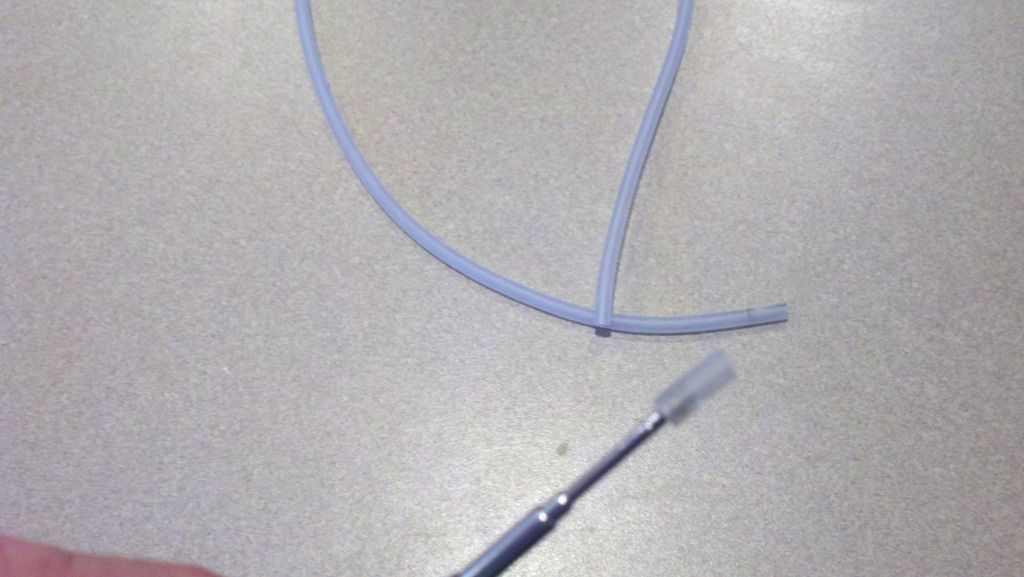
Cut a 3/8" length of fuel tubing and slip it half way onto the end of the post, it should be a snug fit. The other end of the tube is a nice slip fit on our models
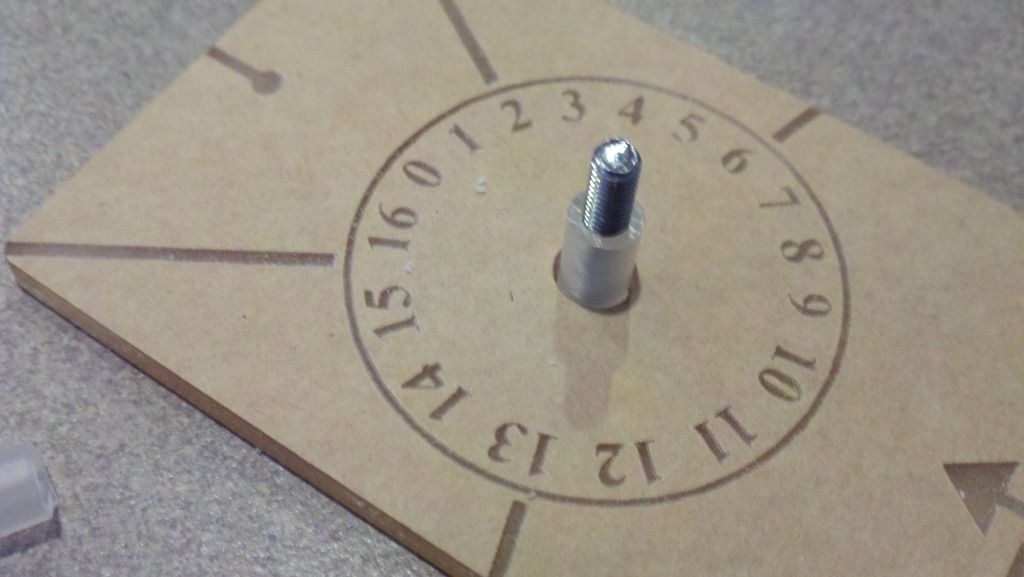
Now back to the base assembly. Slip the screw in from the bottom and slide the plastic tube over the screw and down into the hole of the base
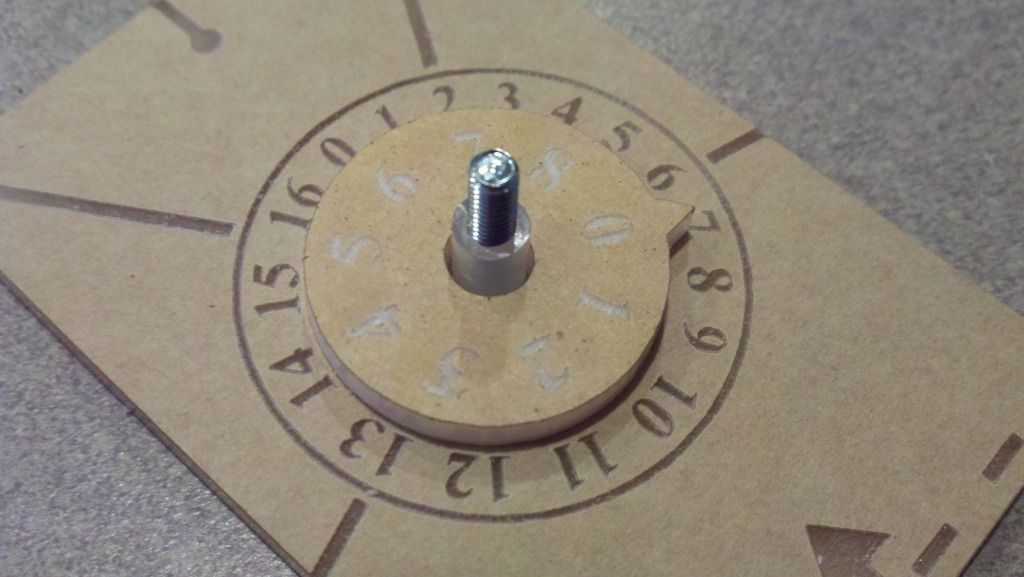
Then the altitude dial is slipped on
And the tiny ring goes on last. If the parts are getting along well, the plastic tube should just barely rise above the last ring, if not trim it or make a longer one.
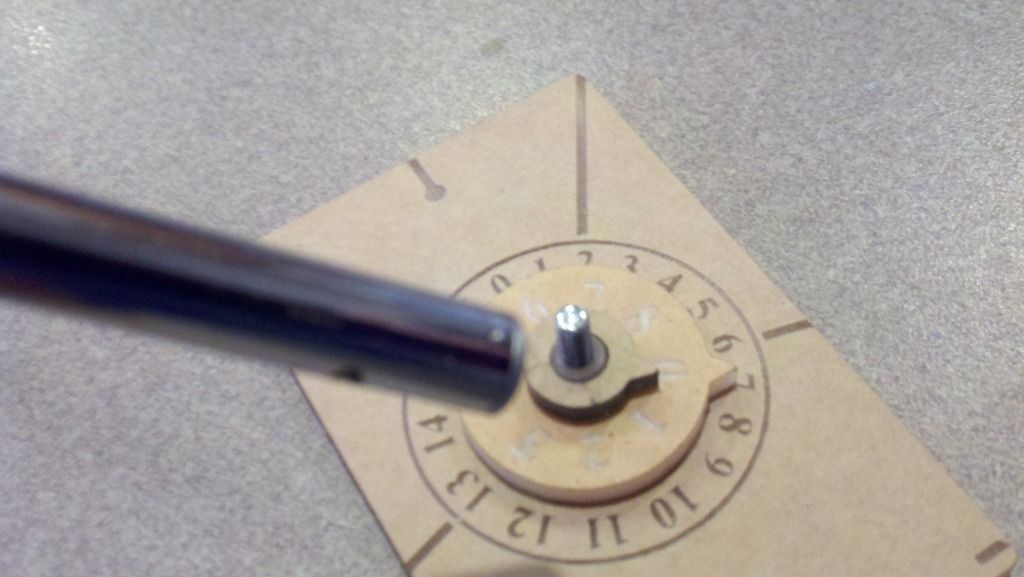
The big end of the telescoping post is then screwed onto the base screw
Thread it down to snuggly mate against the tube, then tighten with a screw driver. Check to see if the post is vertical and adjust if neccessary.
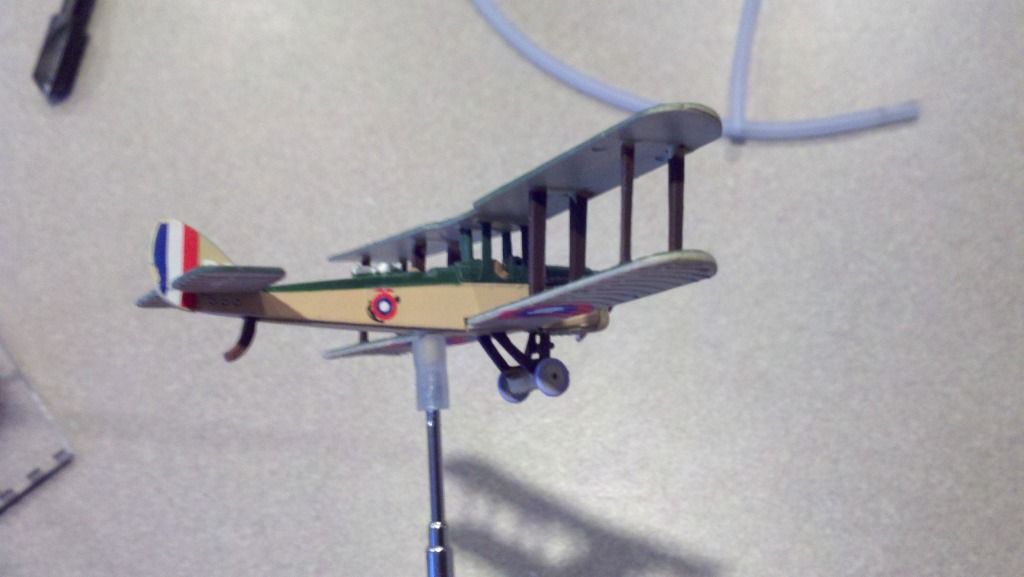
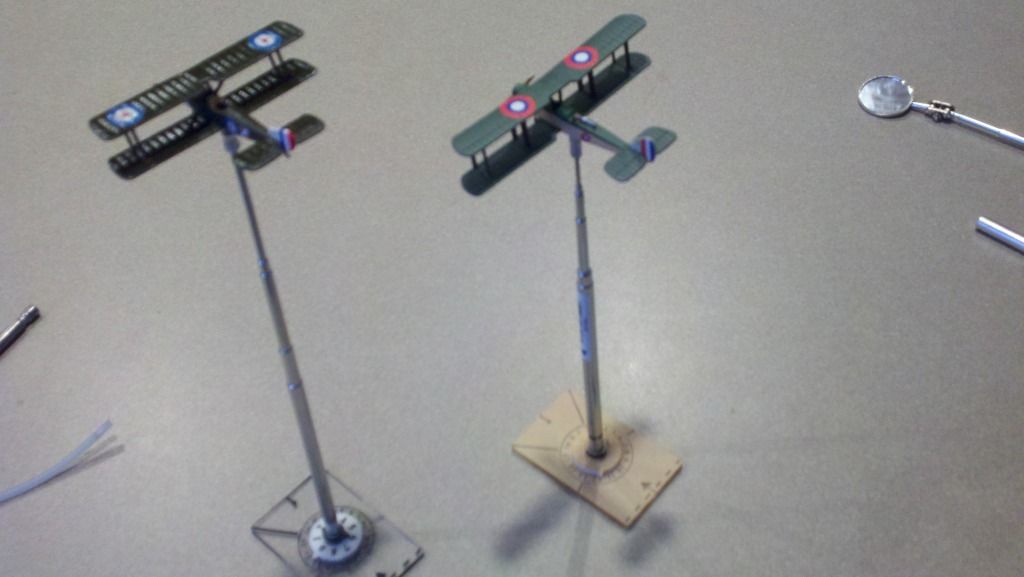
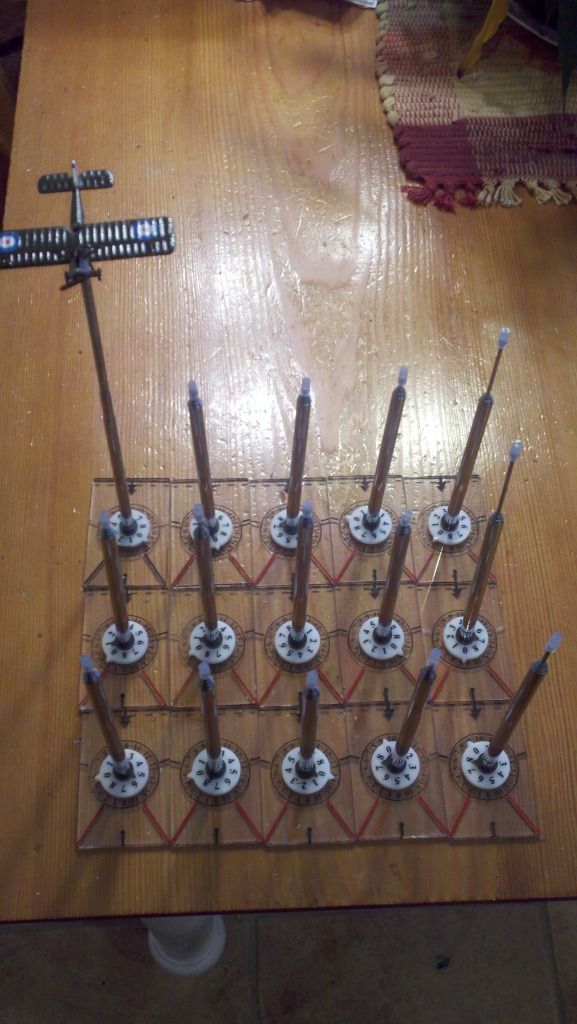
And there you have it!
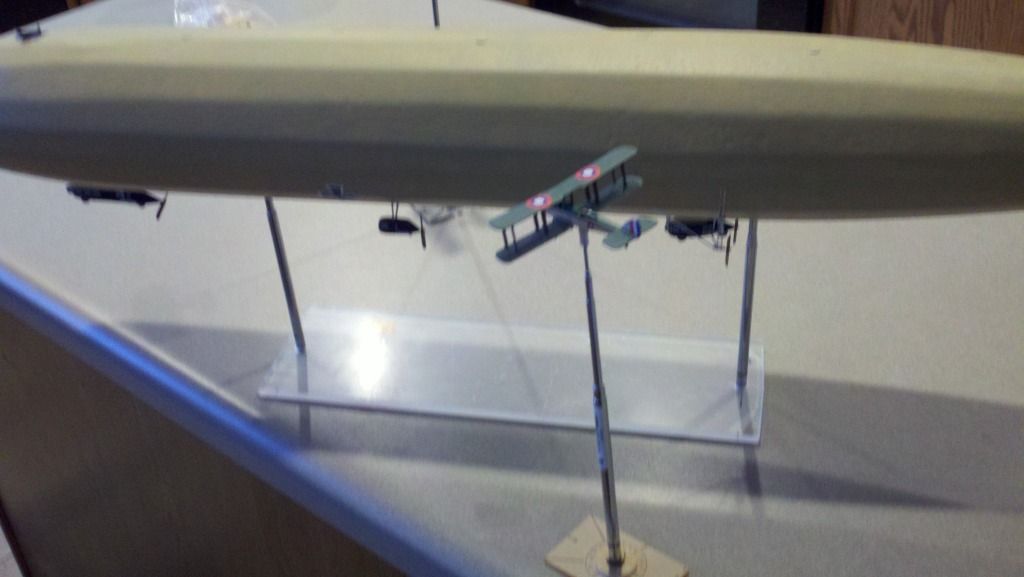
Now you can soar with the Height Climbers and engage at will!
Final cost is around $10 and the sky is the limit! Enjoy and climb on! Clipper gaining altitude . . . wow the air is thin up here!


 Reply With Quote


 At least some Rep points which have been given!


 A very elegant answer to the problem David. I did a similar thing with my heavy bombers, but with perspex


Bookmarks