


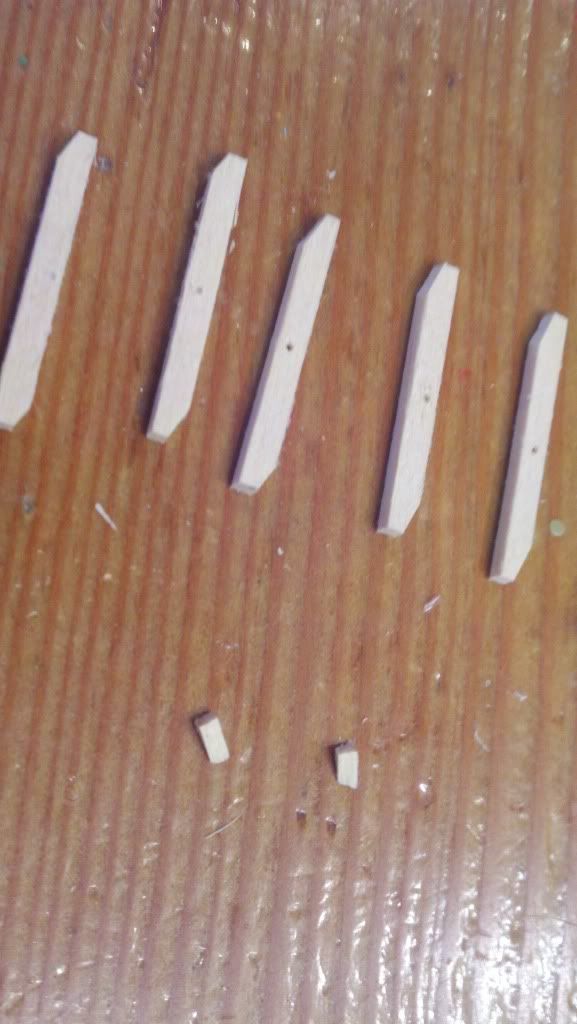
Where were we before the evil minions pulled the plug? Yes, props.
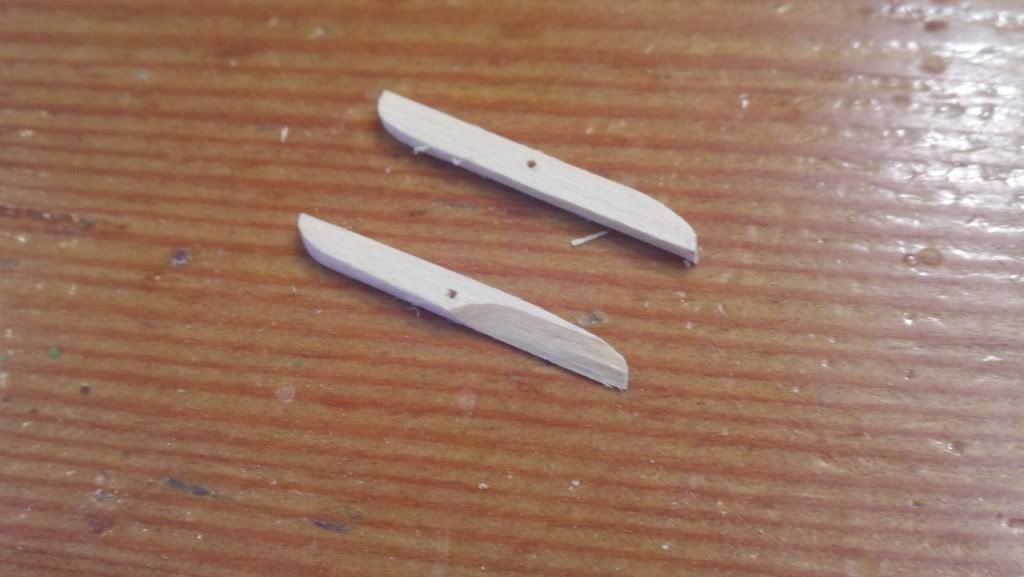
Trim the bits off, sand the leading and trailing edges.
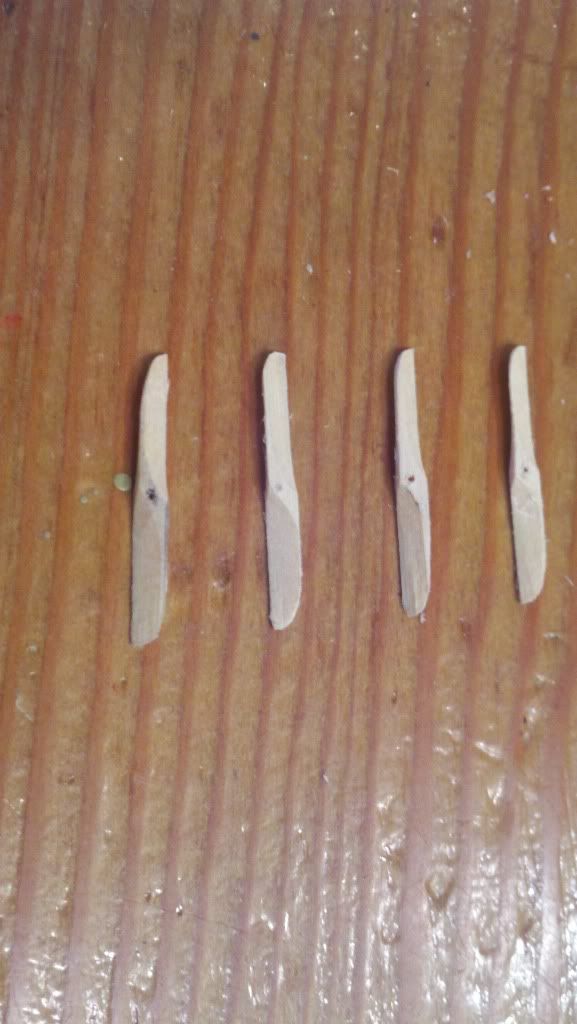
Start to carve the pitch in at 45 degrees, one blade, then the other, then flip and do back side.
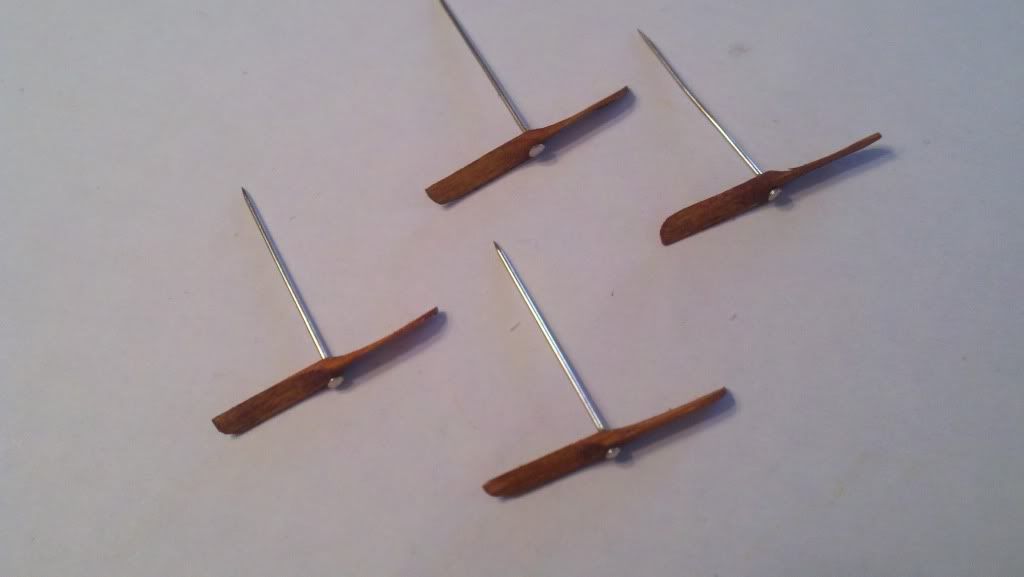
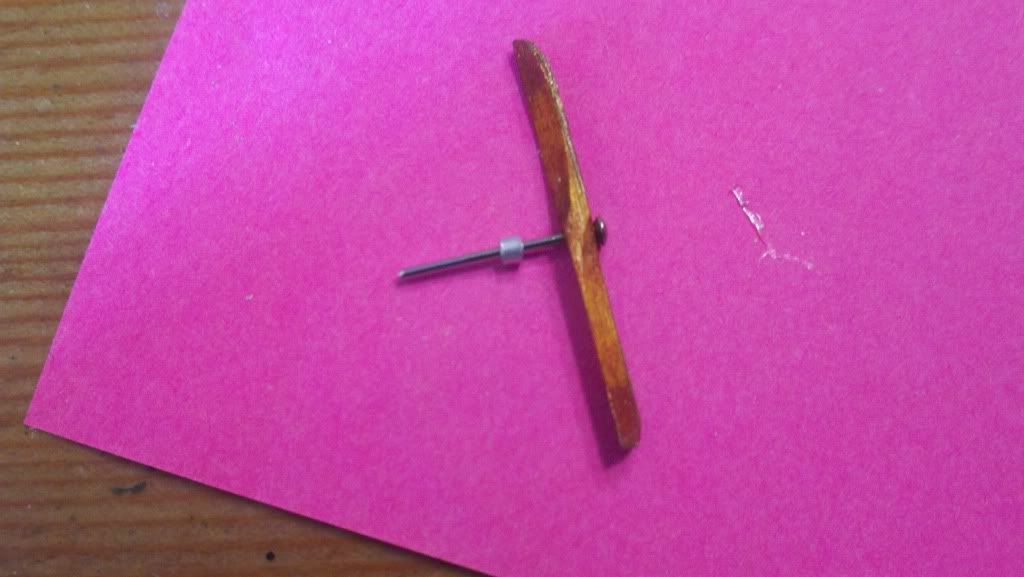
Light sanding, slip onto a pin shaft, 2 coats of sealer, a touch of wood stain, brass trim, and you have it!
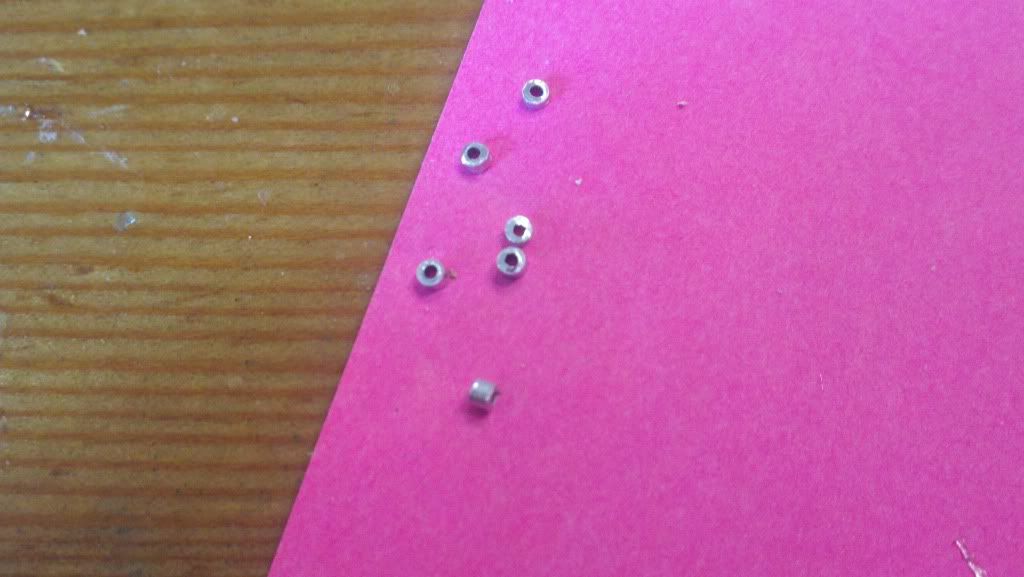
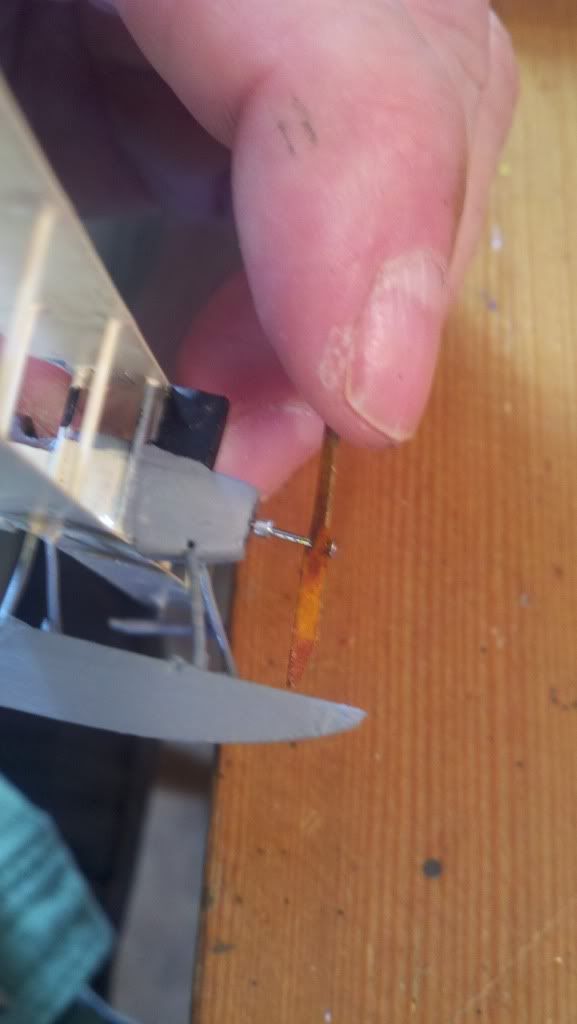
Slice a few spacers for the props 1/32" long off of a 1/16" aluminum tube.
Slip onto the prop shaft and set aside for final assembly.
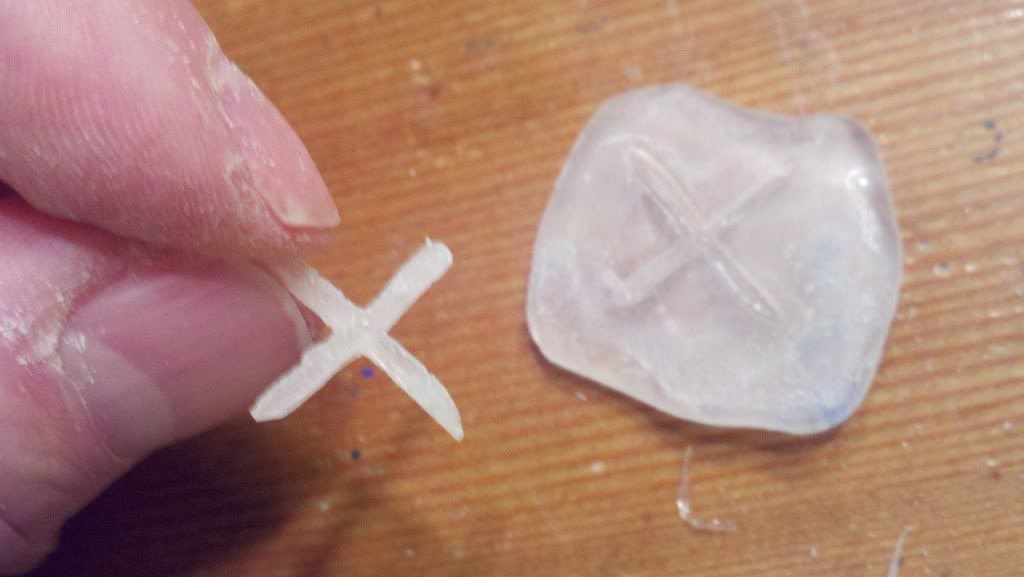
Now some of these guys want a 4 blade prop. You could half lap a pair of props, but that will be messy and very fragile.
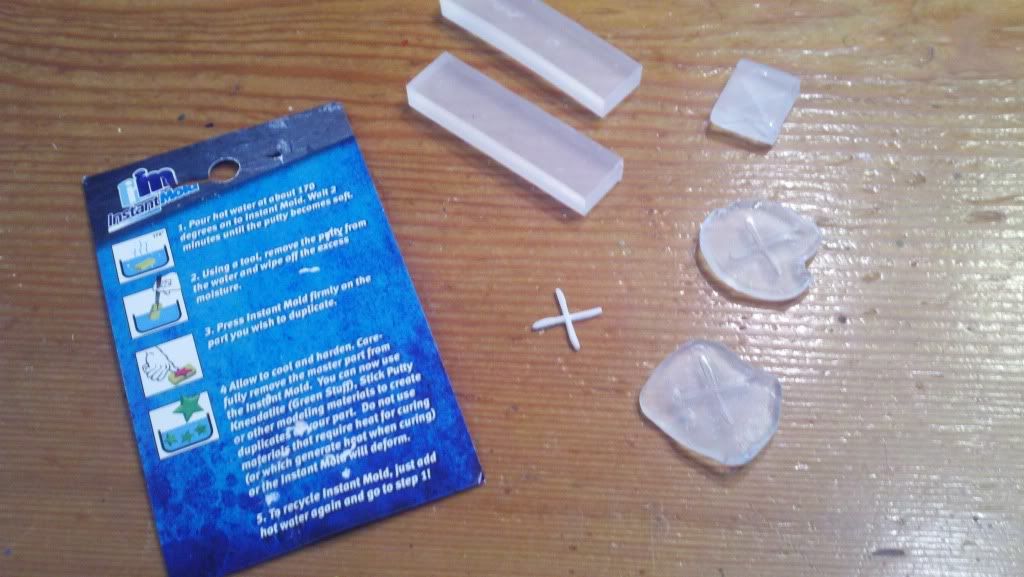
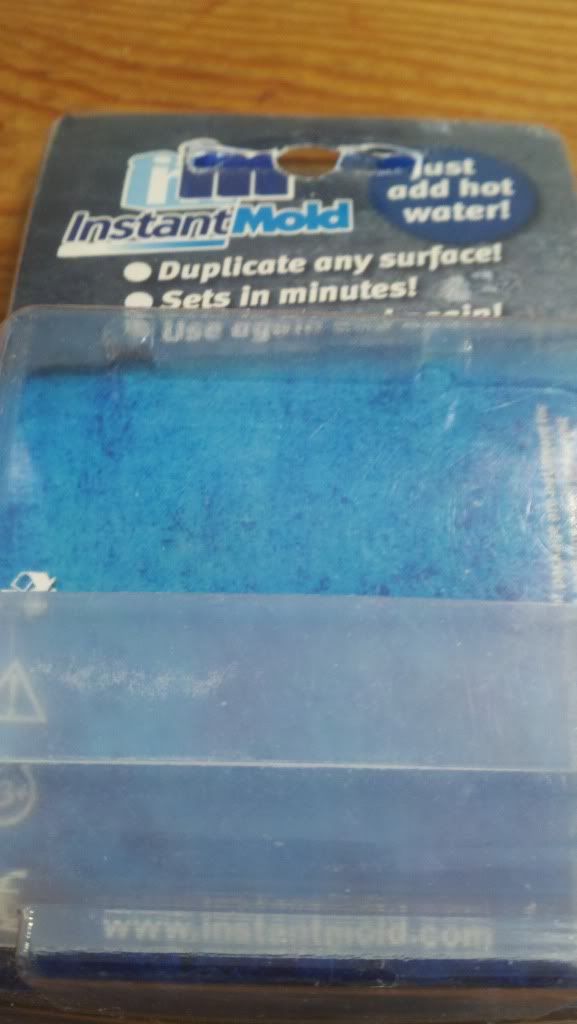
Instant Mold makes a wax based molding product called, oddly enough, "Instant Mold" www.instantmold.com For $15 you get several sticks of this re-usable moldiing wax.
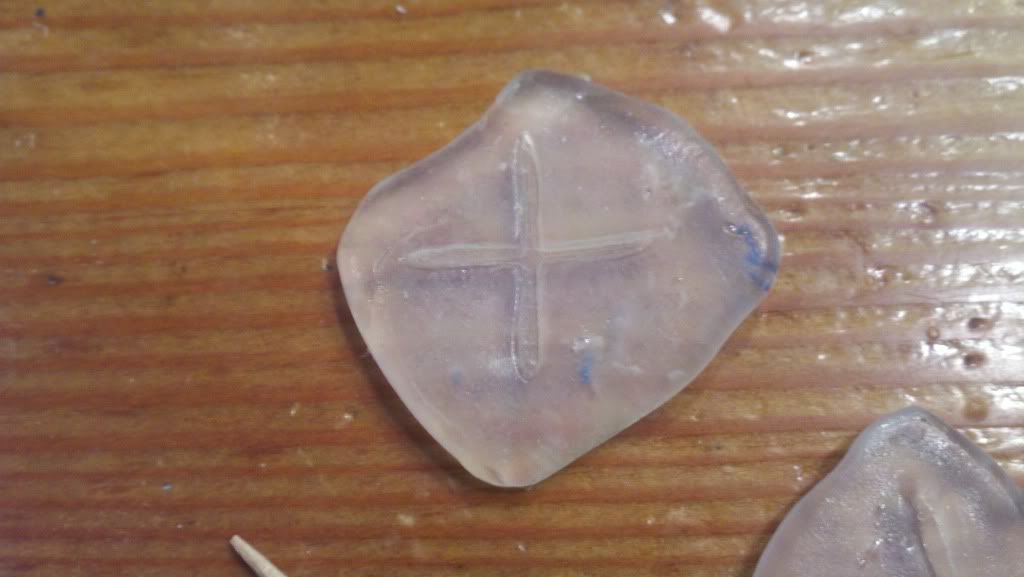
I found a prop from a DH-2 Shapeways model is just about right for our purpose here. Set the mold prop on a clean smooth surface, boil some water, drop the wax into the hot water, let it warm up, fish it out and smash it onto your prop.
When the wax cools it is rather stiff and you can pop your old prop out, leaving you with a nice mold to make more. I made a dozen molds and set to work molding more.
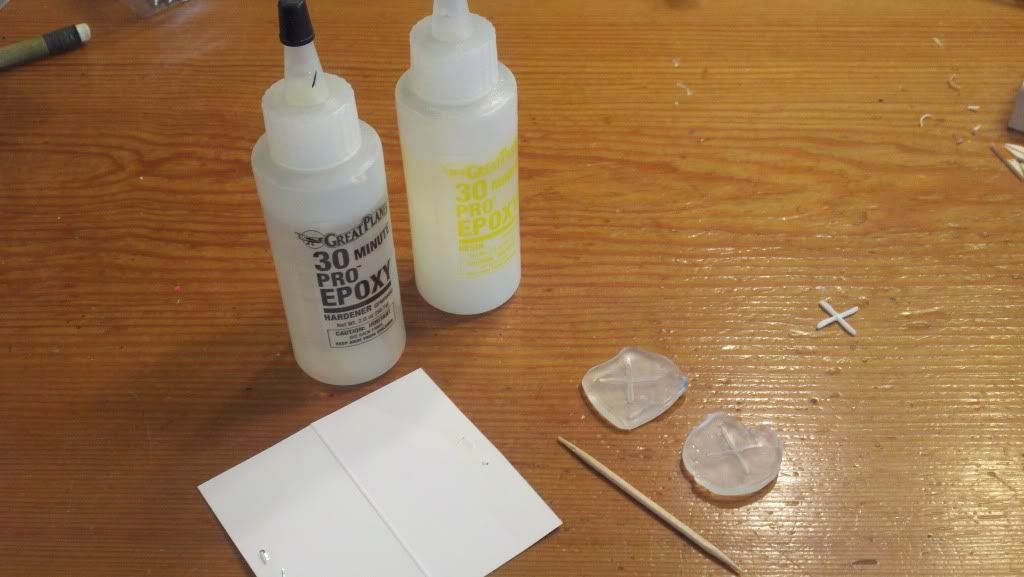
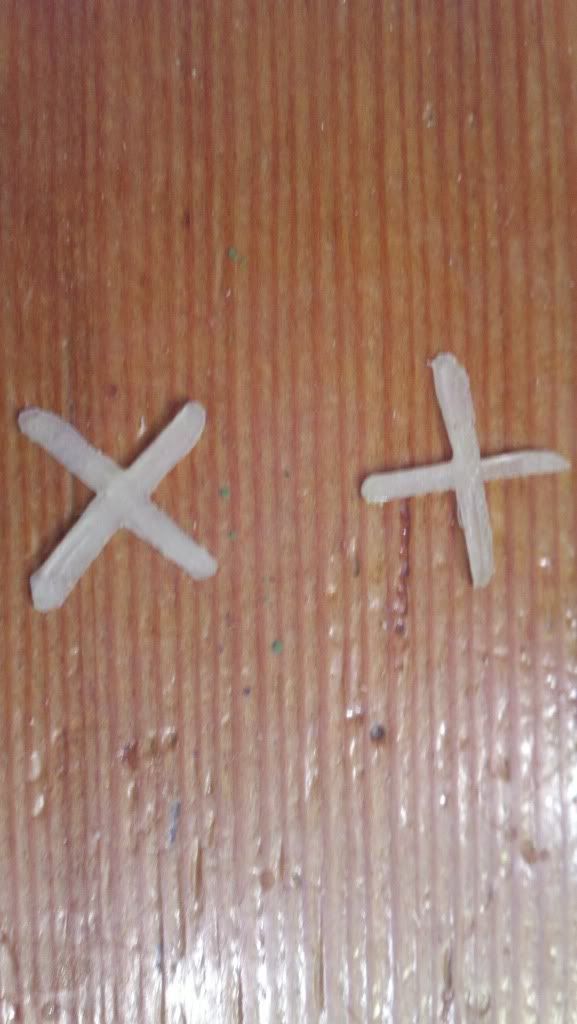
For casting resin I use 30 min epoxy. Stir a mix, feed it into the mold with a tooth pick. Repeat as many times as you have molds.
Bubbles will appear out of no where, so spend some time pocking them with a straight pin, let the epoxy cure over night.
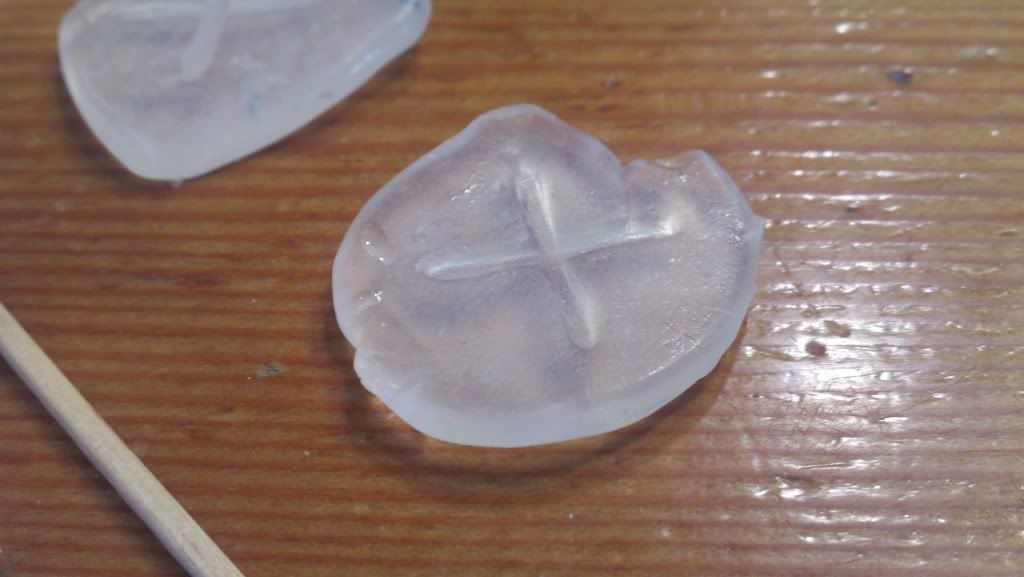
Bend the wax a bit and the new molded prop pops out!
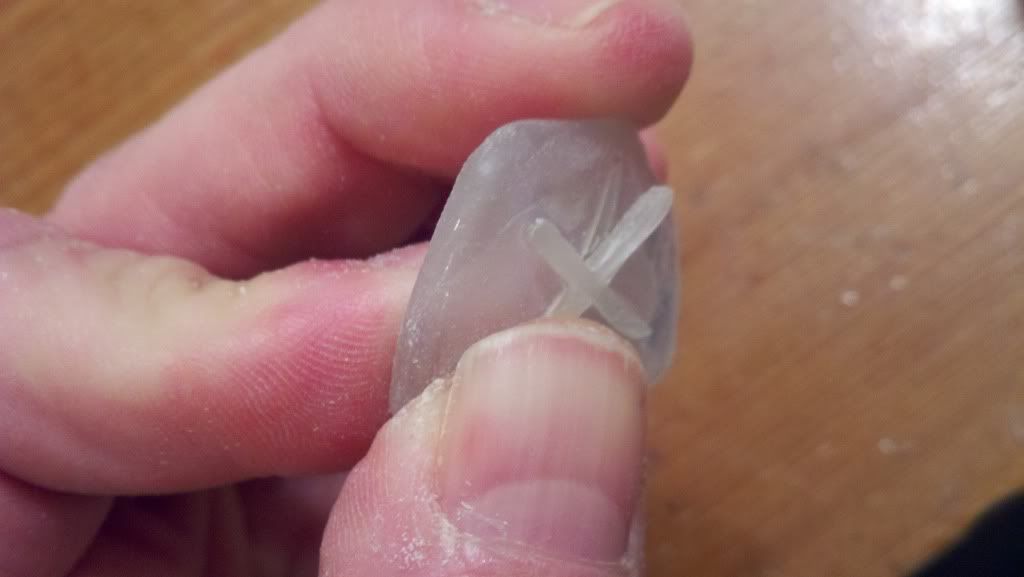
Trim the flash off and do some sanding and you have a4 blade prop!
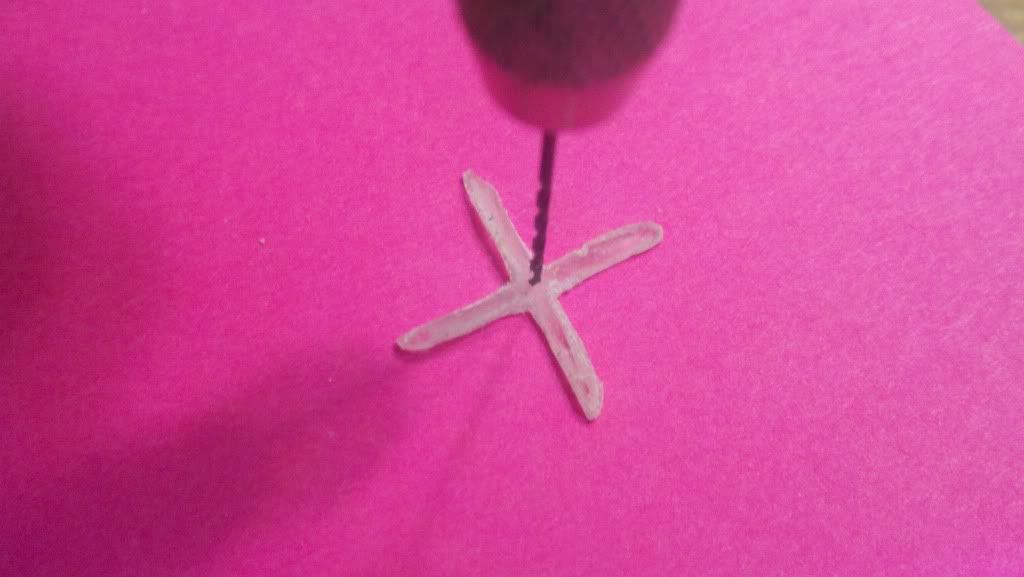
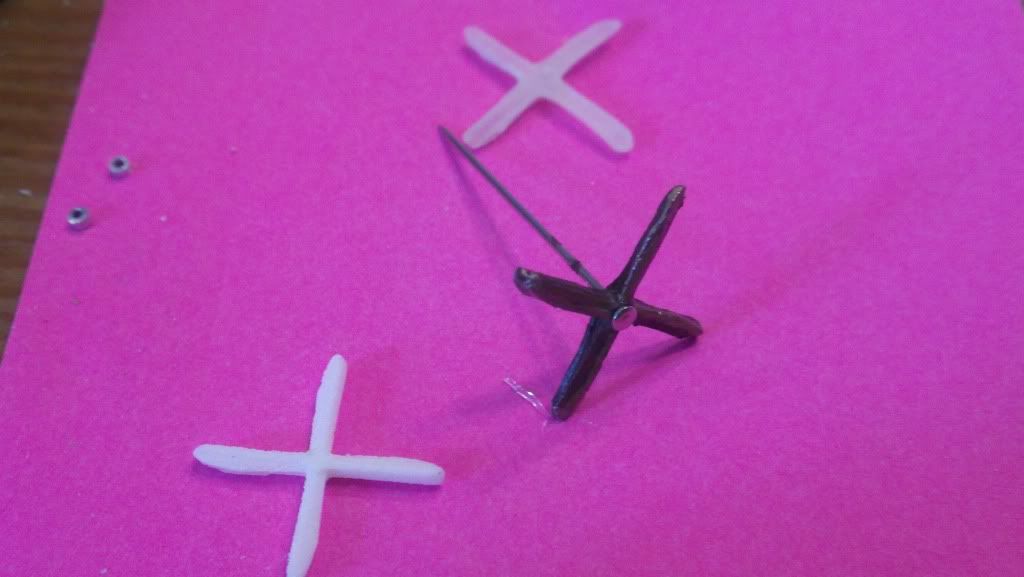
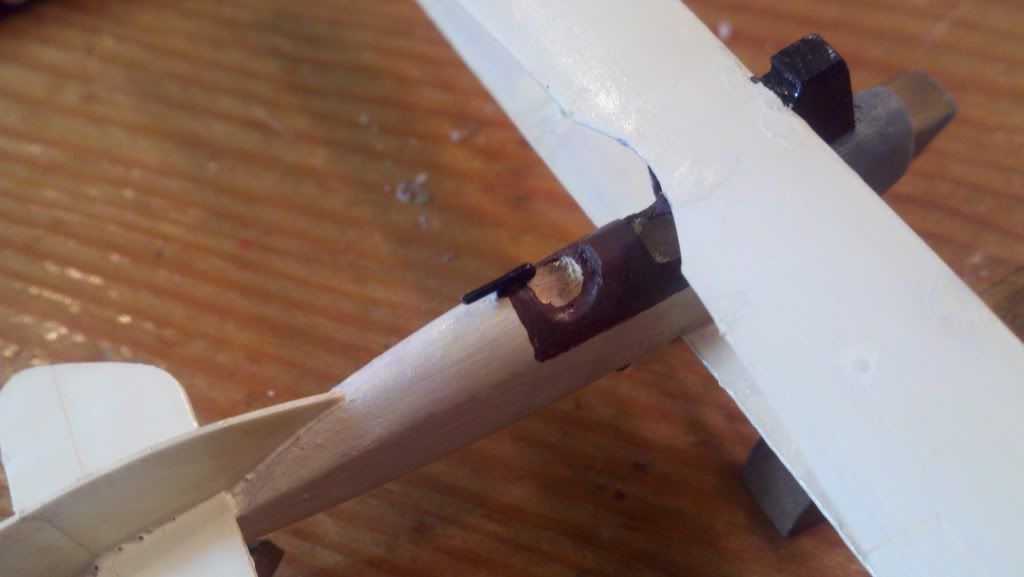
Mr prop need a prop shaft hole drilled
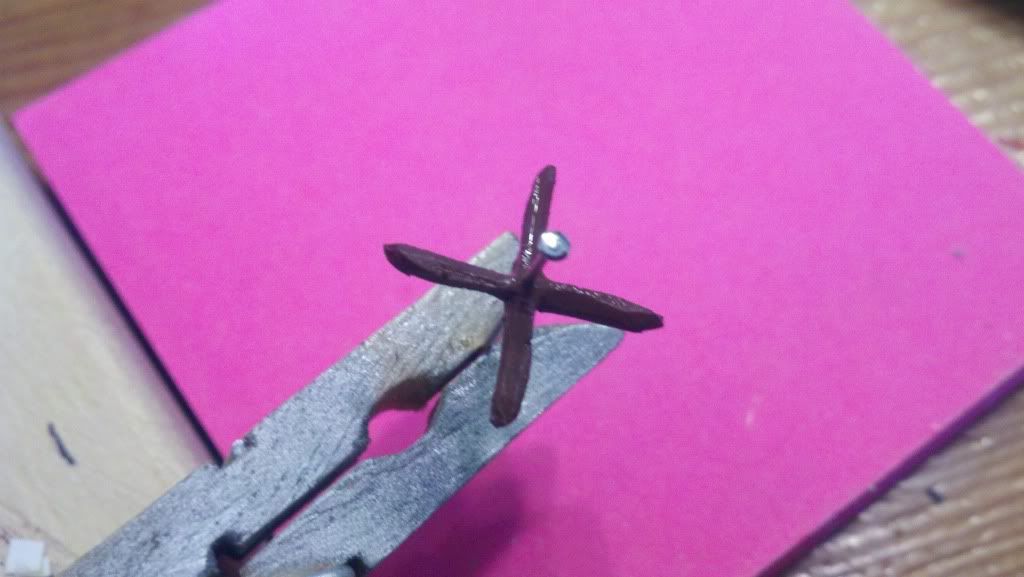
Mounting in a clothes pin vise for painting
Add a spacer,
And a model!
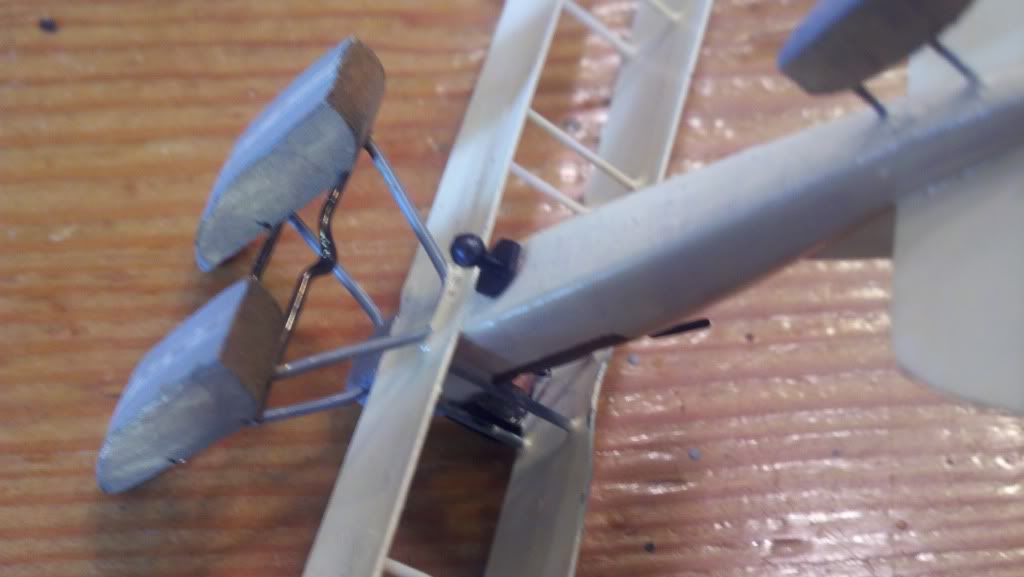
Attach you favorite device for gimbleing or a post. (See my thread on Gimbles Galore)
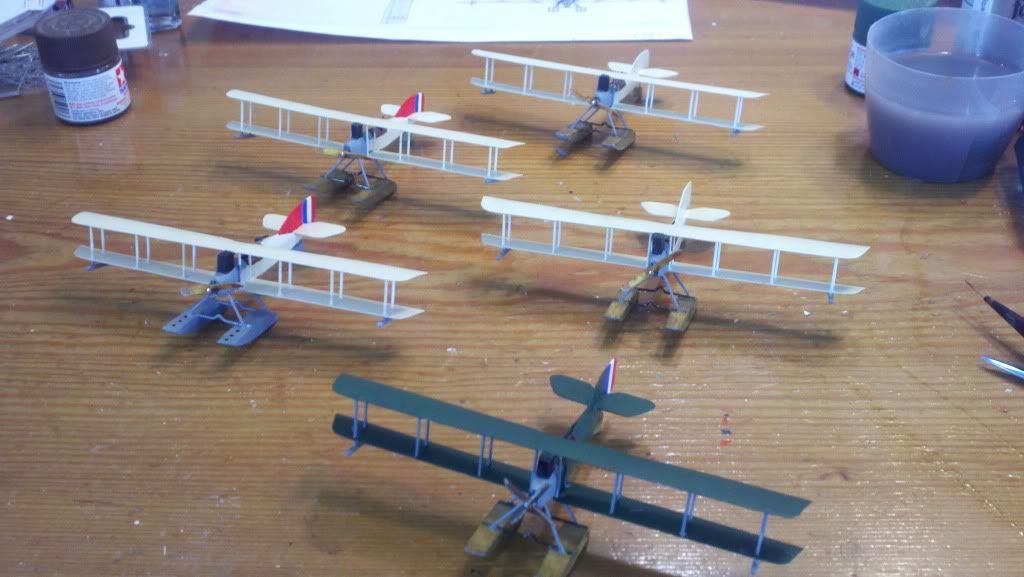
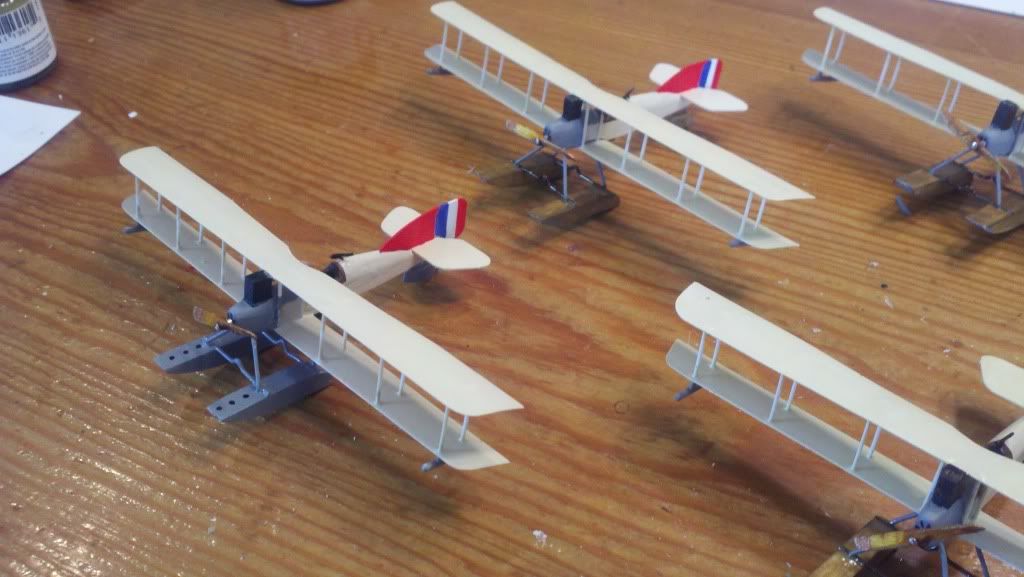
And it is off to the paint shop!
So many pretty colors!
Guns
Props
Torpedoes
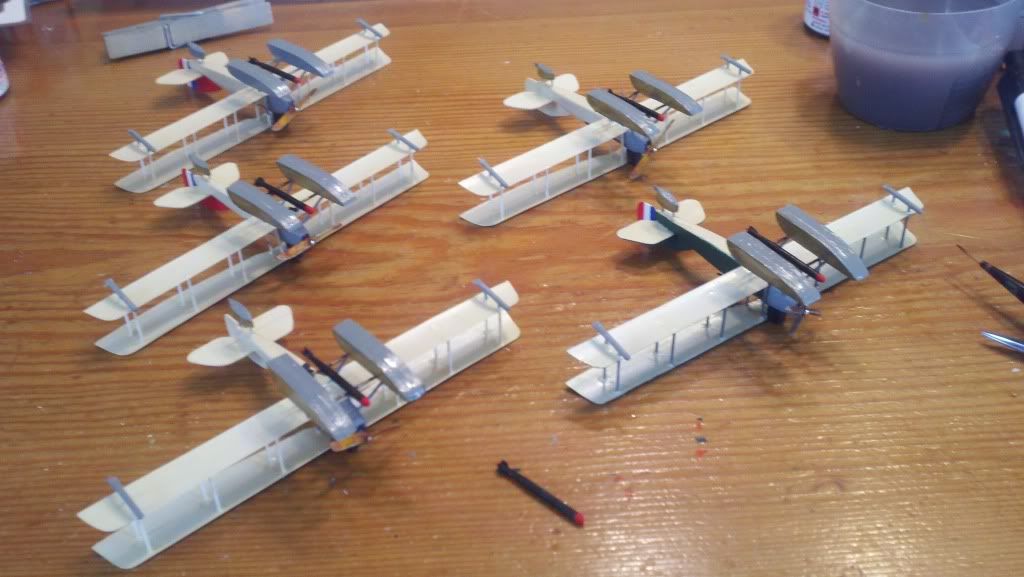
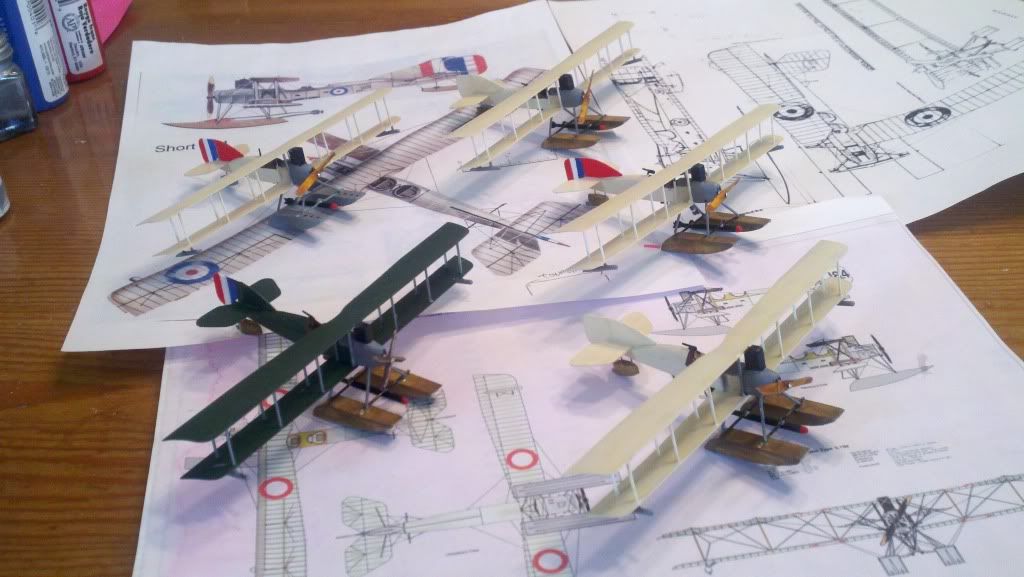
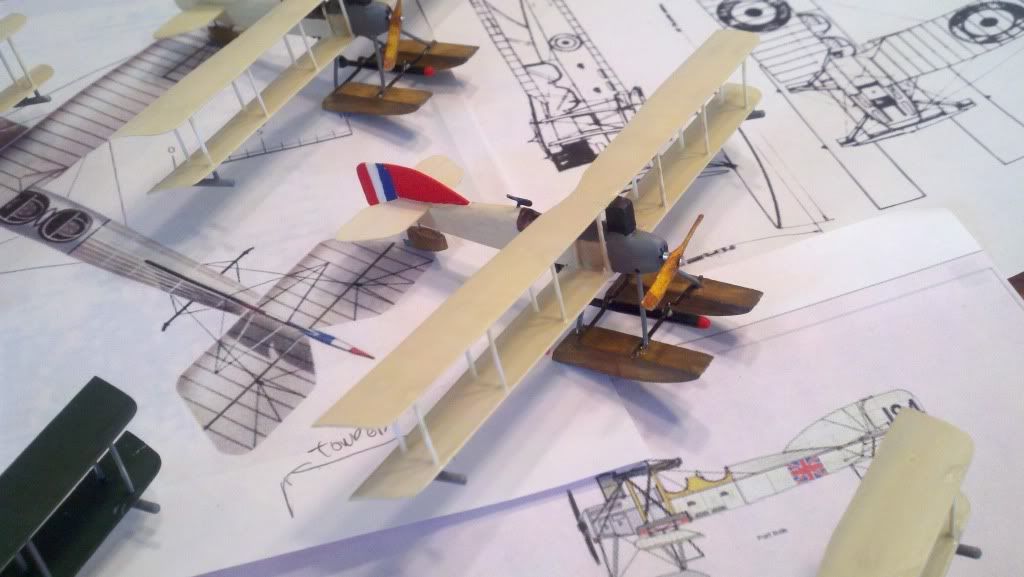
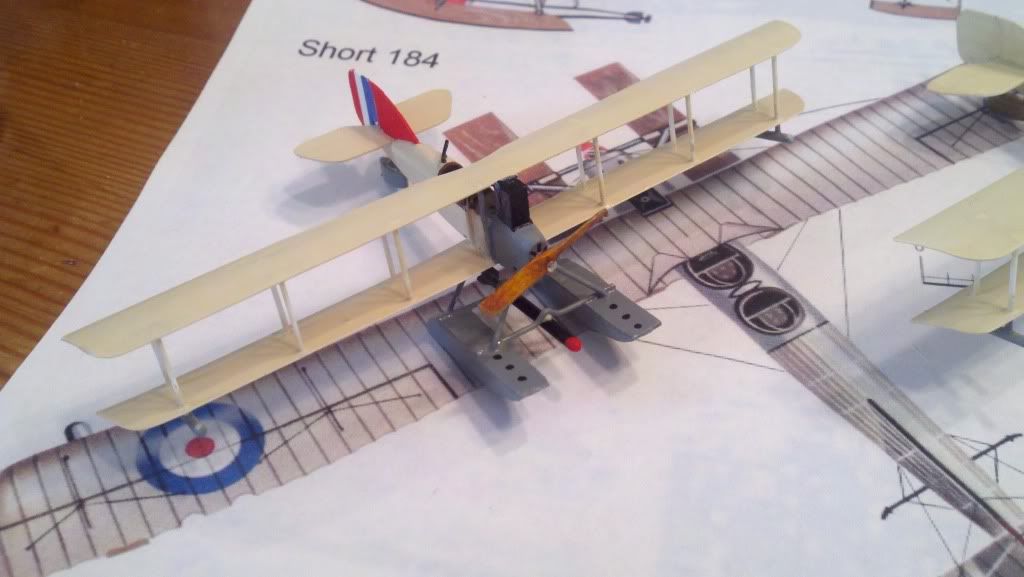
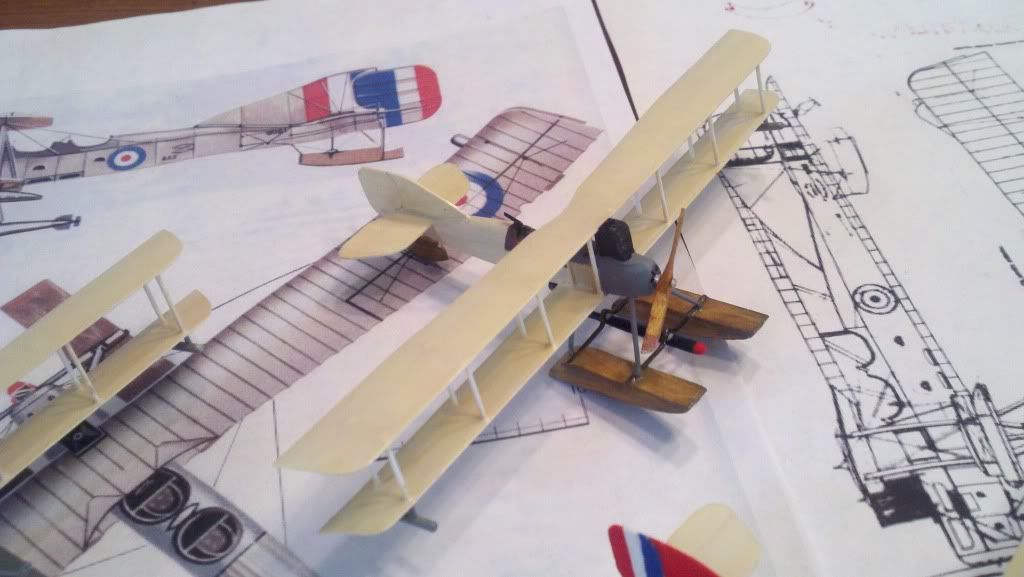
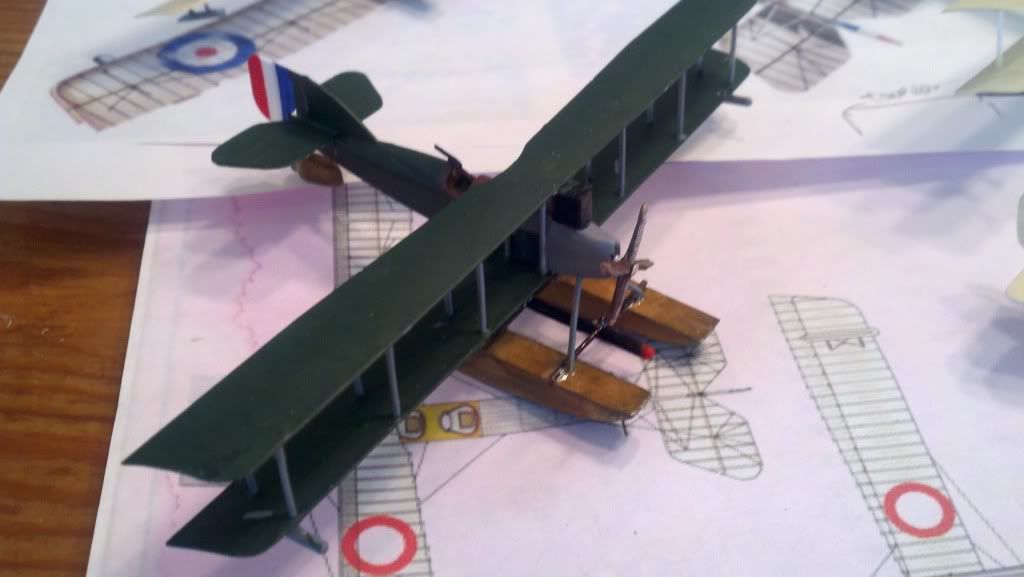
And after 5.75 hours you have 5, count 'em 5 scratch built minis!
Yes I know, we still need decals, surface details, weathering etc. But I need a nap! Time to dream of flights and flames and victory!
Clipper snooooozzzzzzes off.


 Reply With Quote


 And that David gets you some Rep points.

Bookmarks