


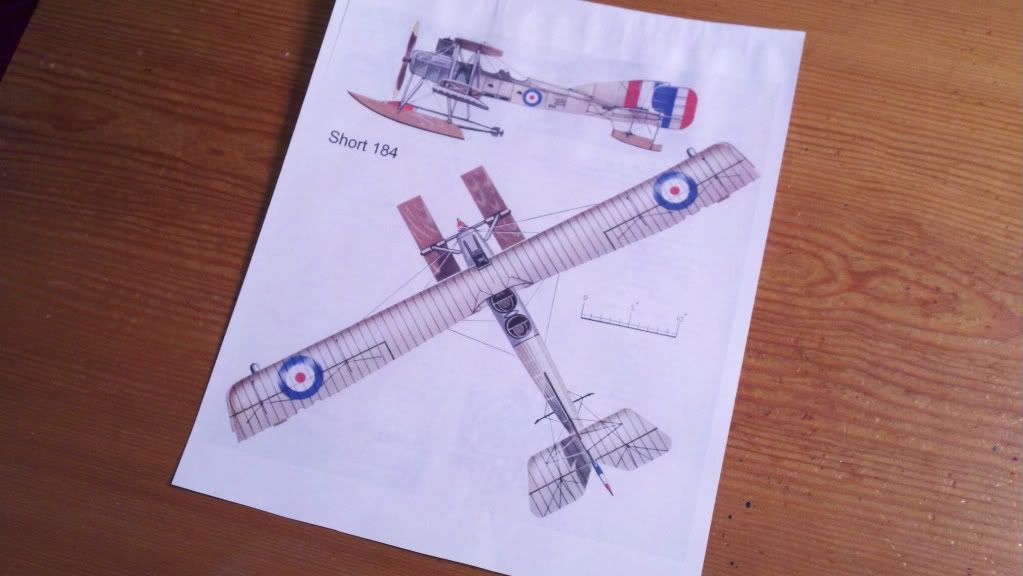
Is this where I left off? Seems like a year ago . . . it was? Nothing like a sick day off with nothing to do to motivate you to something more than watch TV
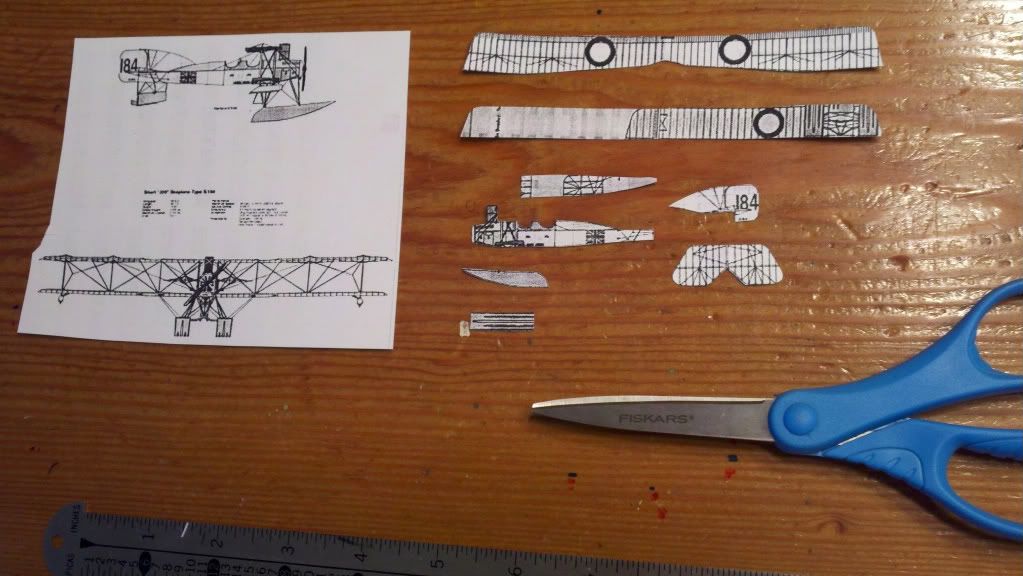
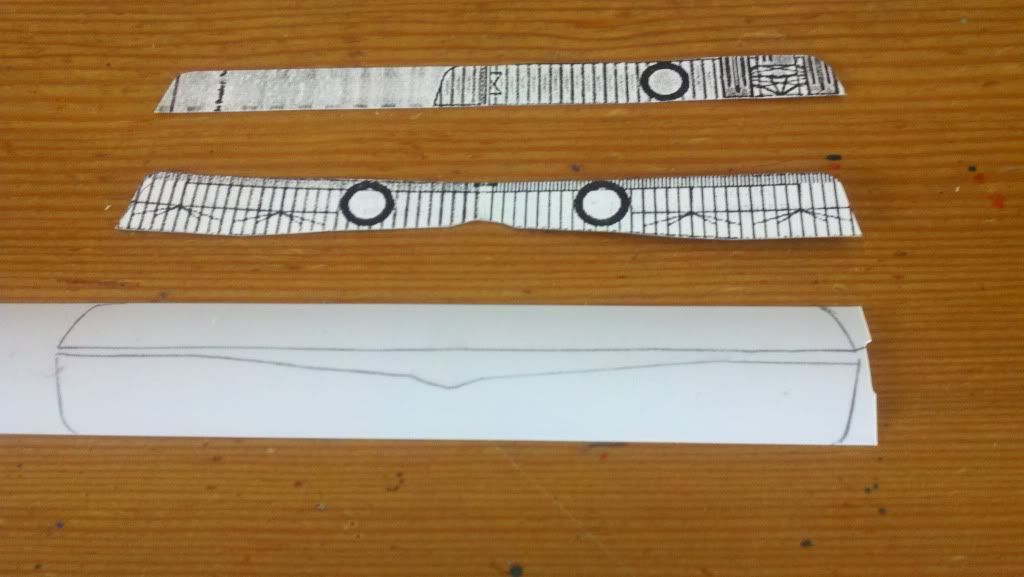
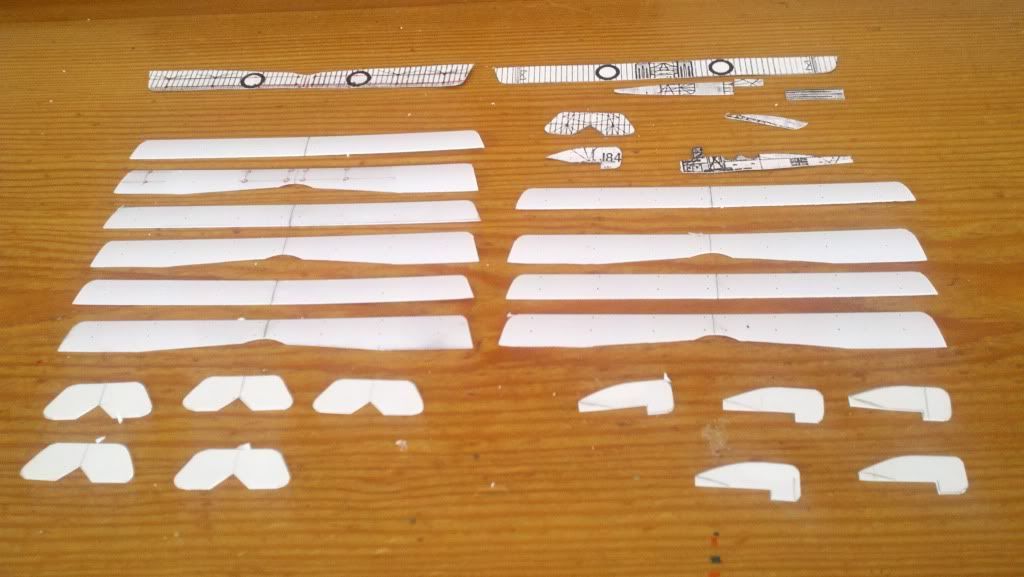
We had all the patterns cut from card stock, nicely laid out. Now for a look in the materials box.
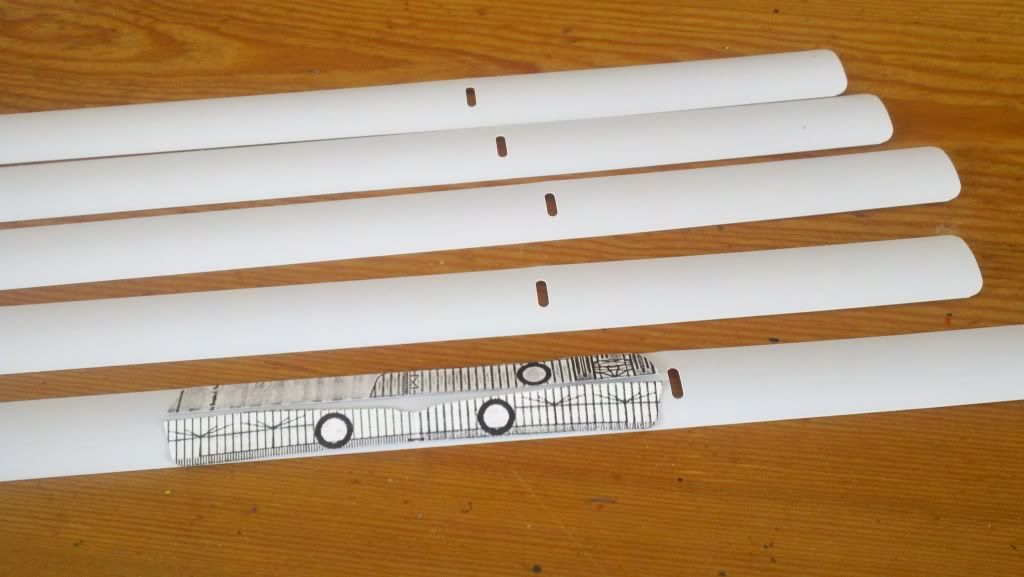
Ah yes the Shorts wings fit nicely on a strip of 1" plastic window blind-my material of choice.
Both upper and lower wings will fit, notice the leading edges align with the finished edge of the plastic.
Now to decide how ambitious you are, how many to make? Just one? if you mess it up its game over, try several, that way you can have spares if needed. I chose a wimpy five for this build, my hangers are getting a bit crowded.
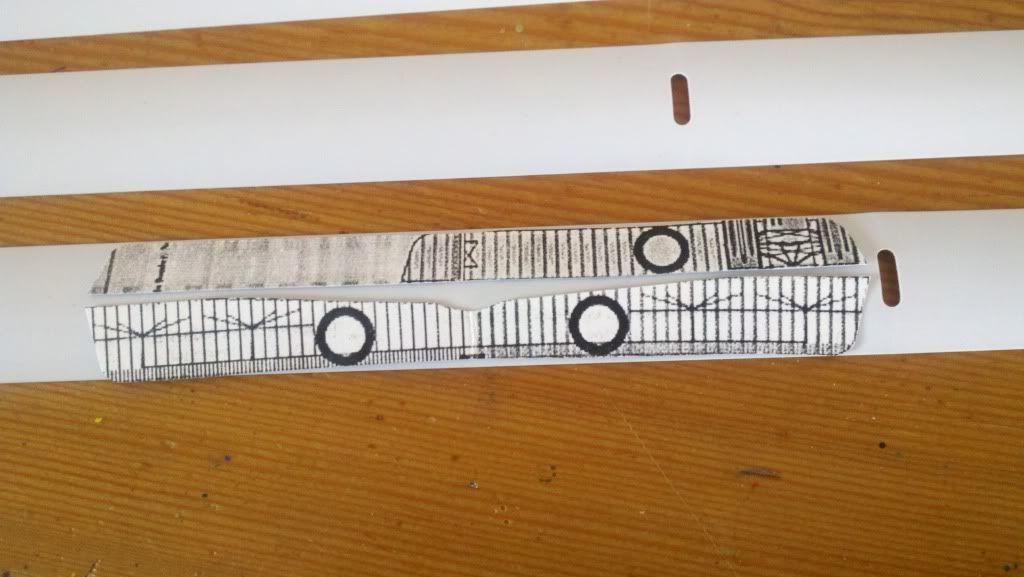
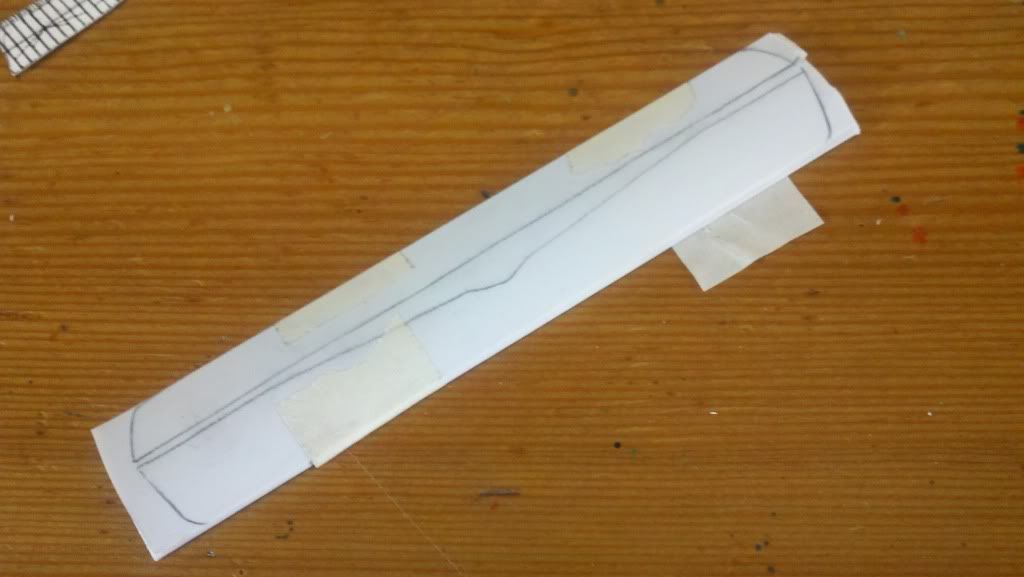
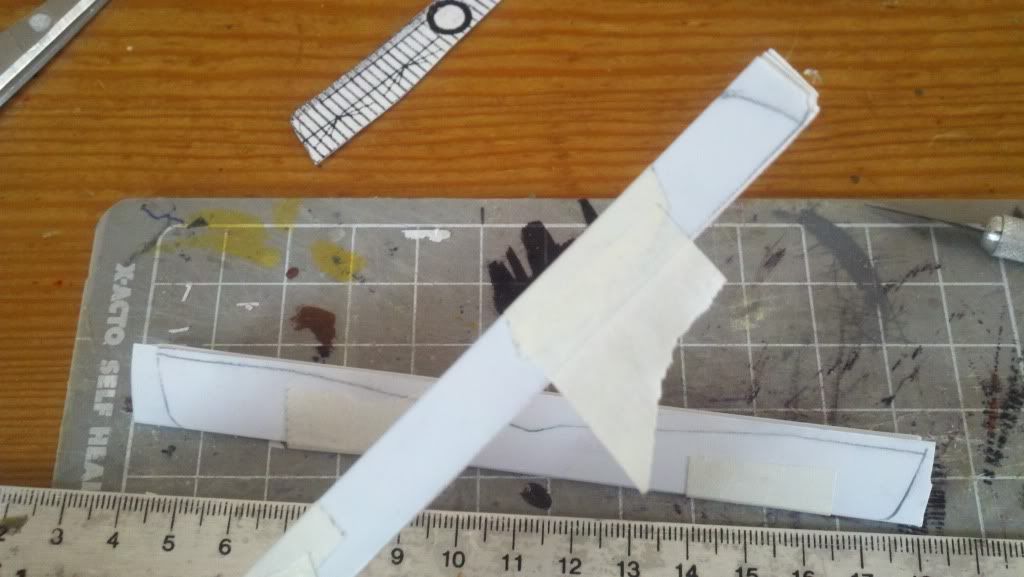
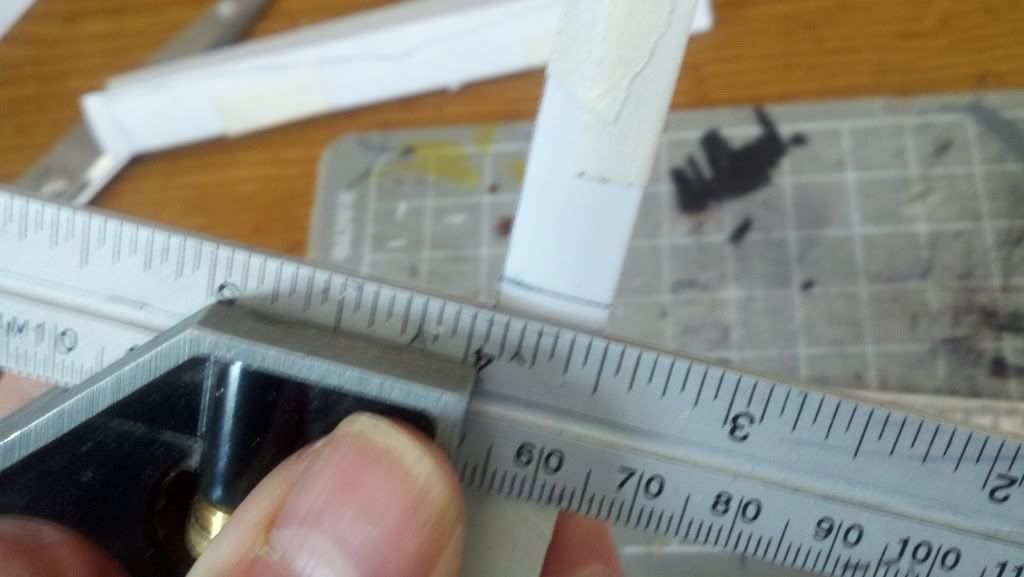
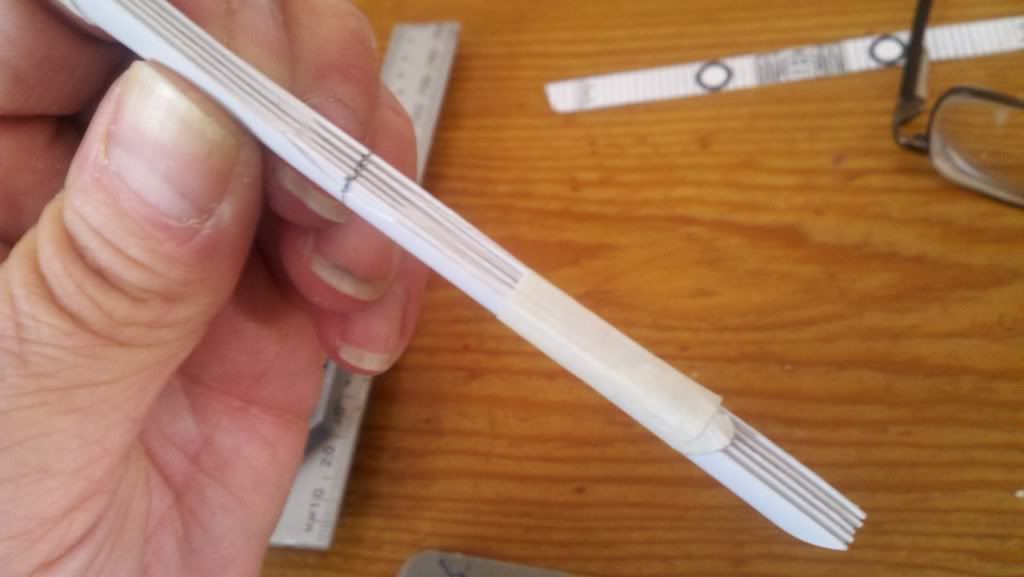
Masking tape the stack of 5 blind sections together tightly and accurately. Then tape the lower wing pattern to the tightly stacked pile of 5-with the leading edge up to the finish edge of the stack.
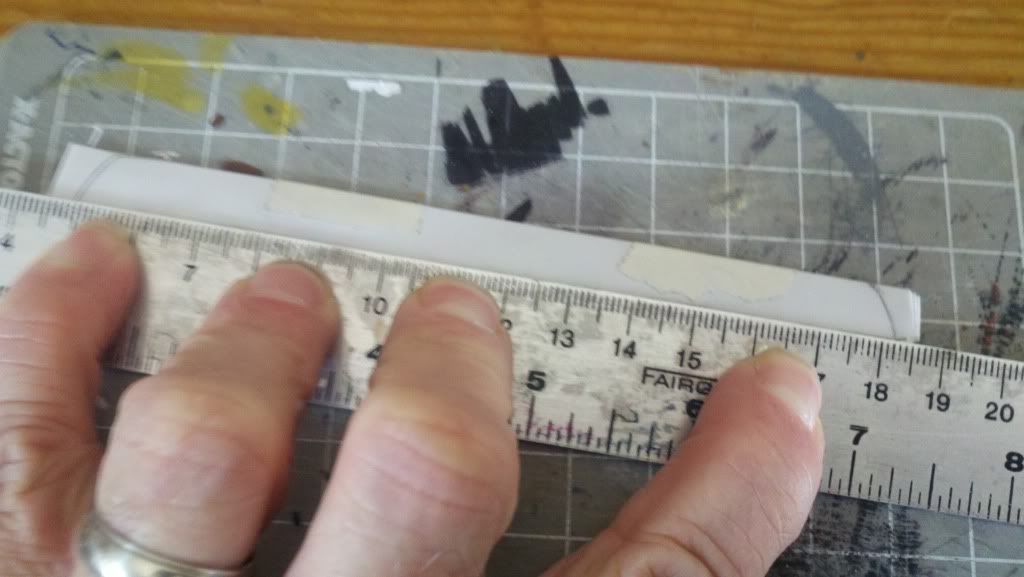
Now using a straight edge and a sharp knife, cut along the trailing edge of the wing, through all 5 layers. Take several slices at it, not all 5 at once.
Now tape the loose trailing edge of the wing stack and the same with the remaining other stack.
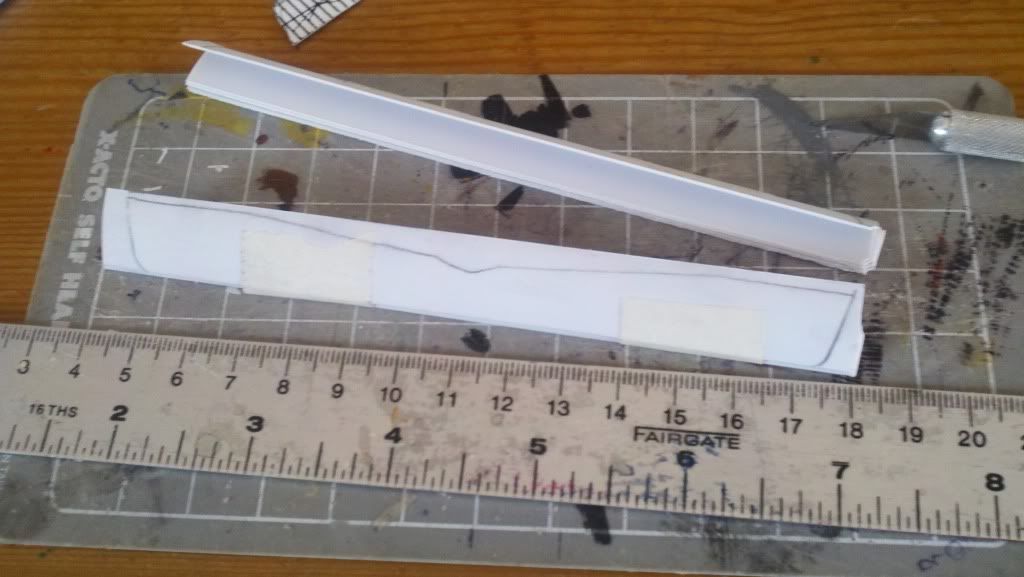
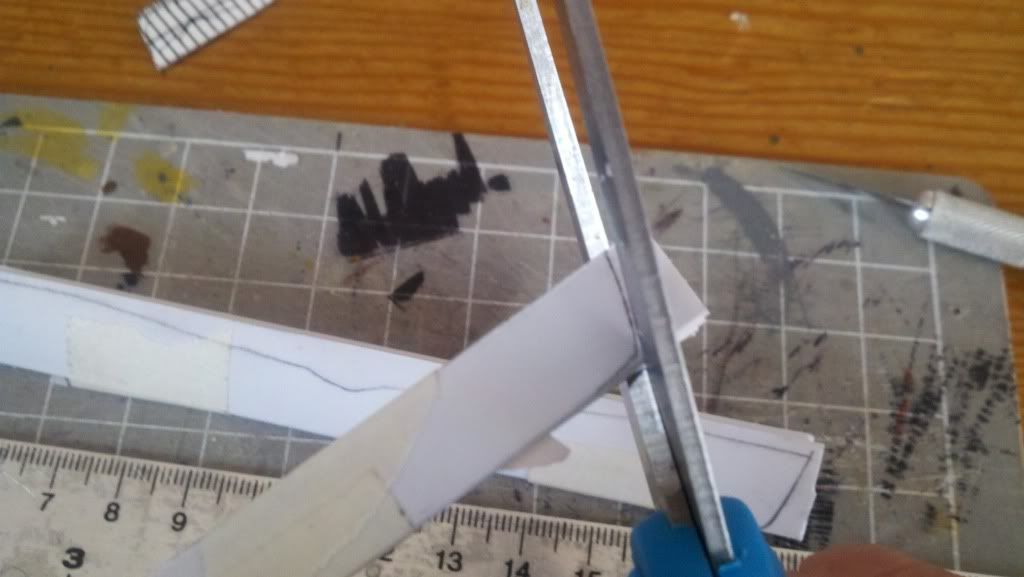
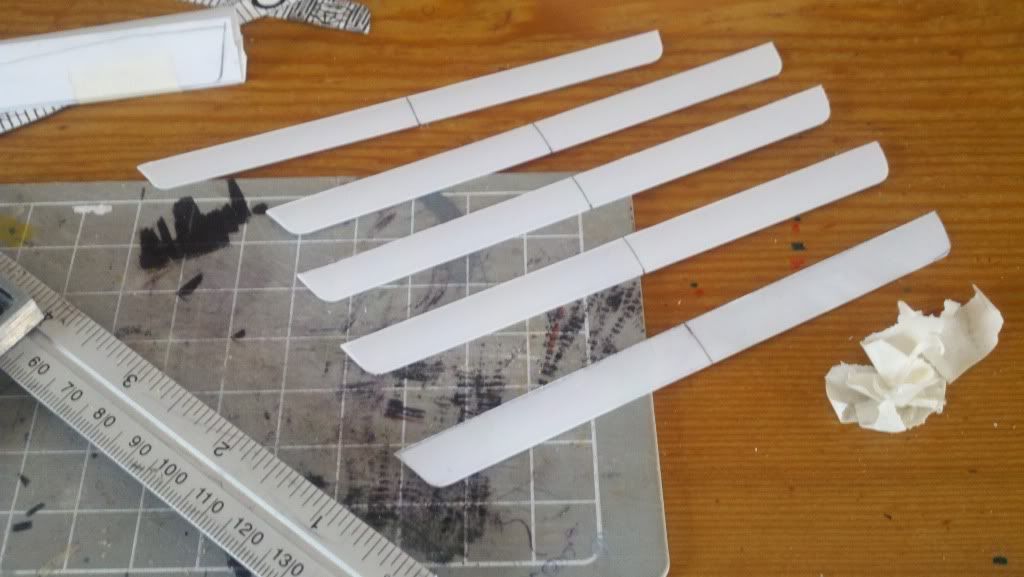
Use a sharp pair of scissors or model knife to trim the wing tip angles.
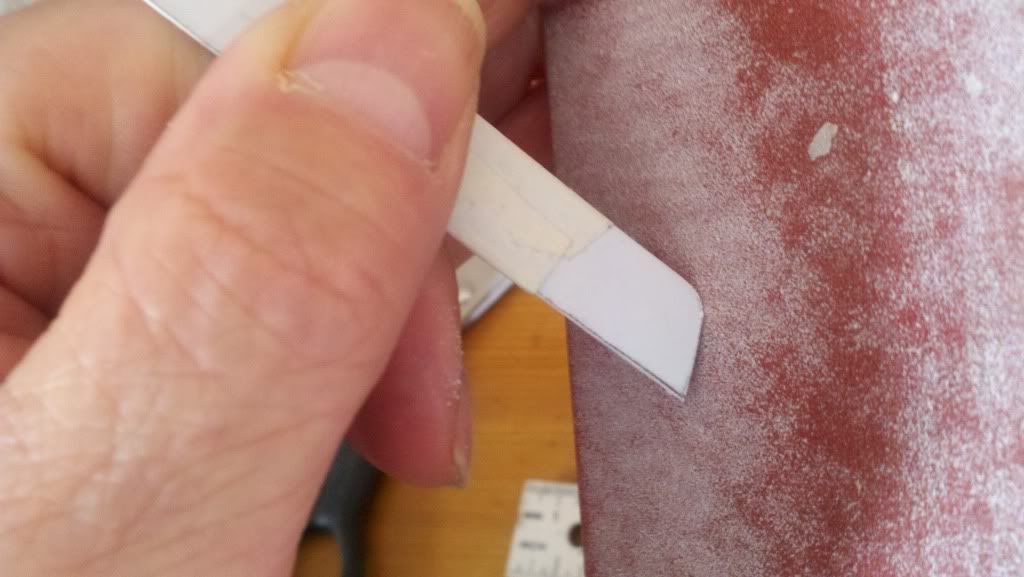
Sand the radius smooth with a sanding block with 220 grit paper or use an emery board.
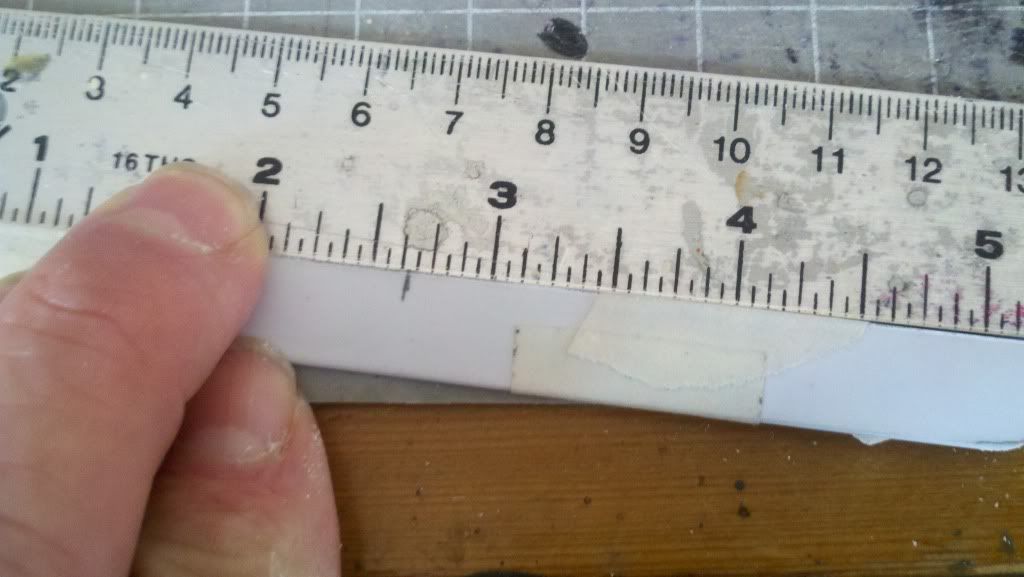
Measure the wingspan and mark the center line of the lower wing on both the leading and trailing edges.
Use a square or triangle to mark the center lines on top and bottom as well.
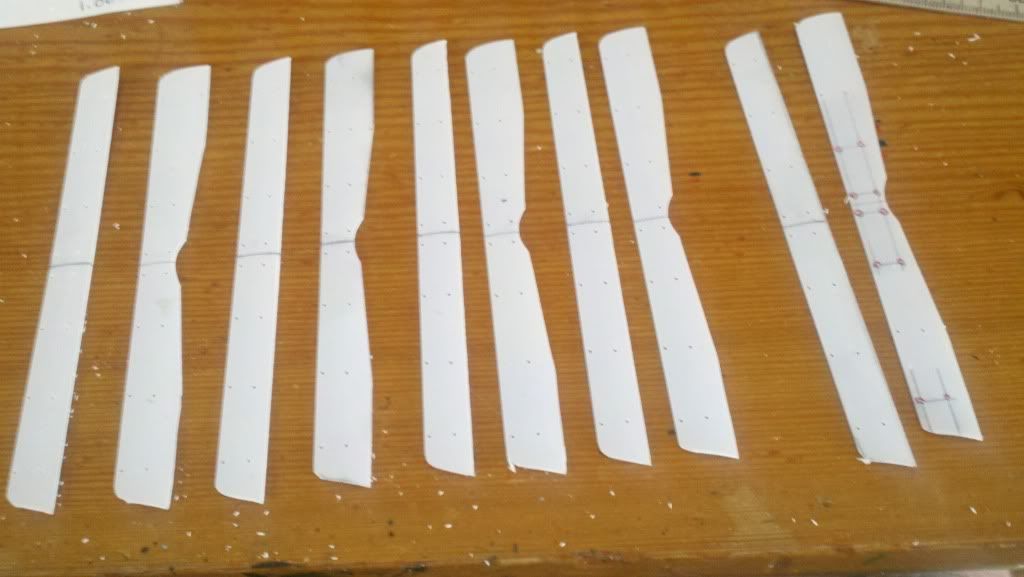
Carefully peel off the tape and you now have 5 identical lower wings!
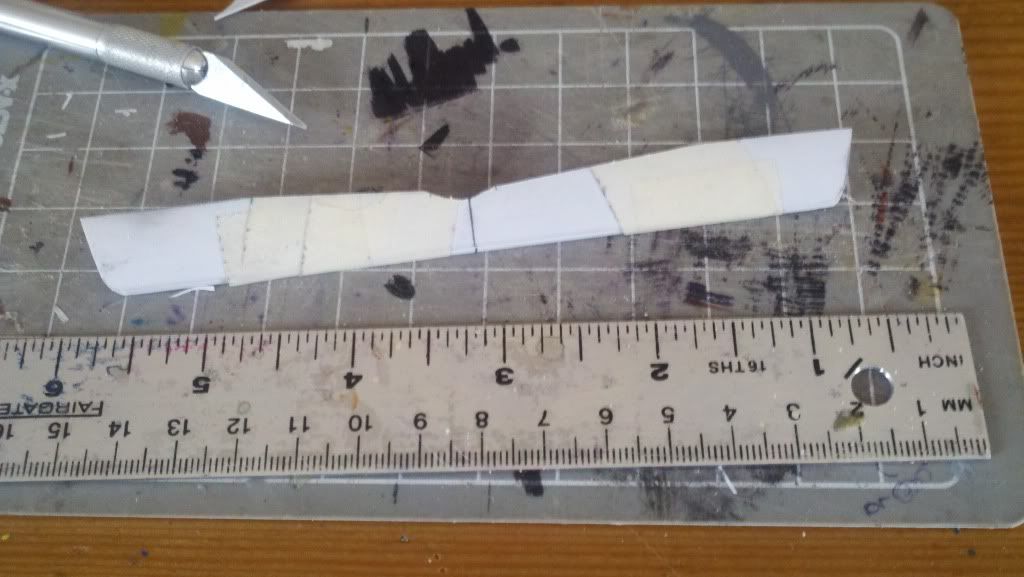
Repeat the process for the upper wing. This one is a bit trickier with the tapers on the trailing edges and fuselage cut out, but now you have mastered the process, you can do it!
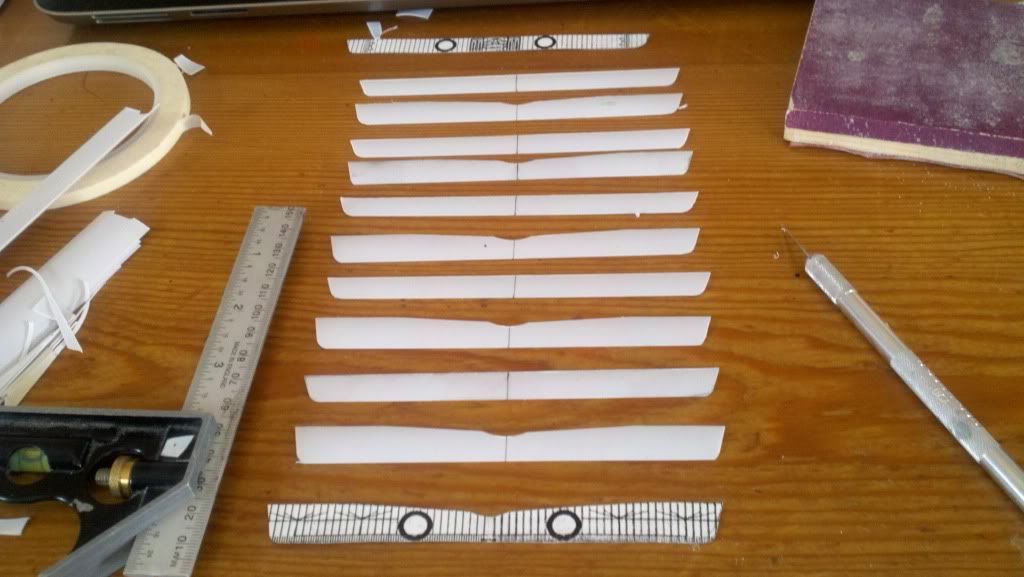
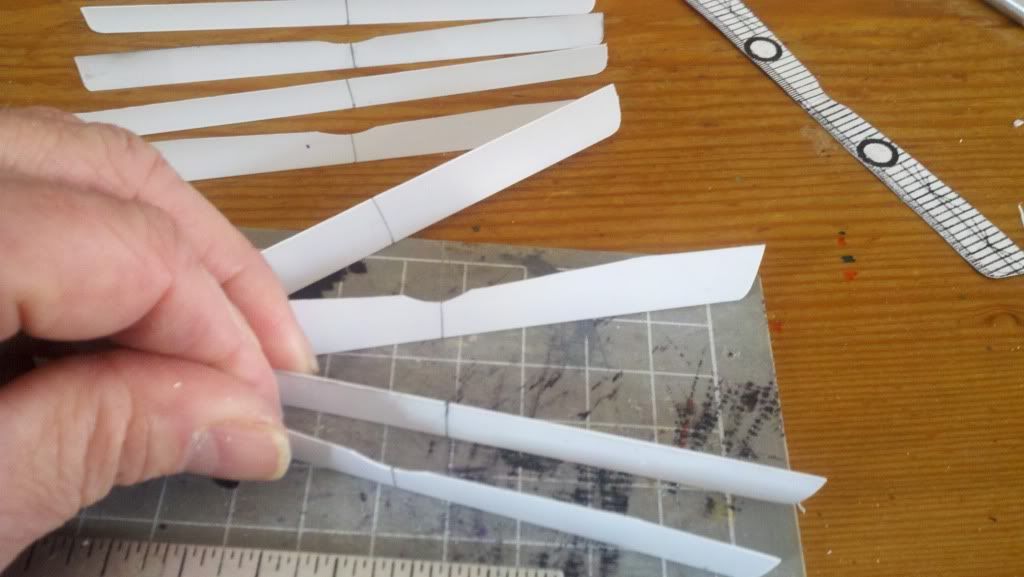
Layout your horde of wings, alternate between top and bottom wings
Now we test your dexterity.
Slip a bottom wing between a pair of top wings, and make a stack or alternating top and bottom wings.
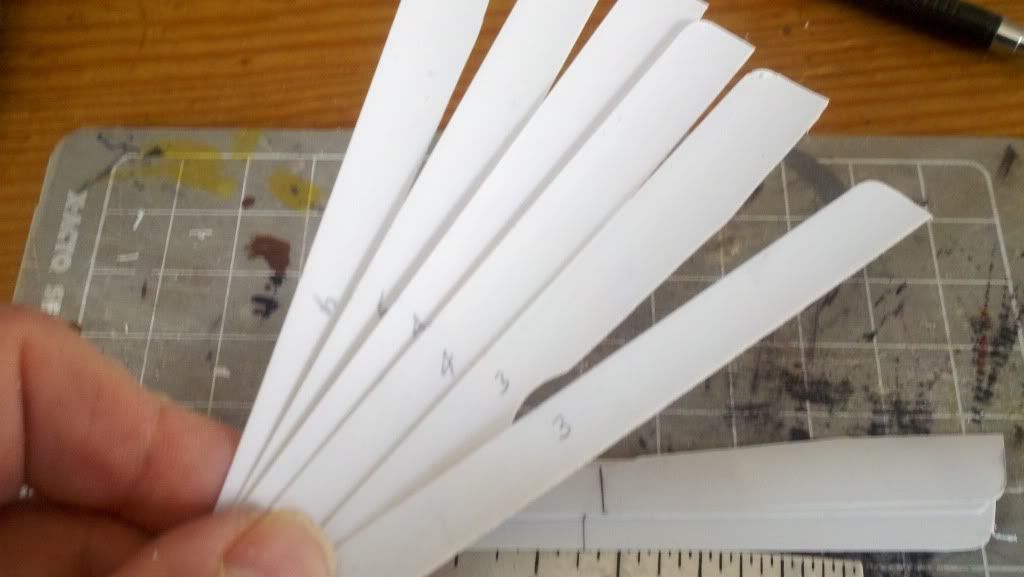
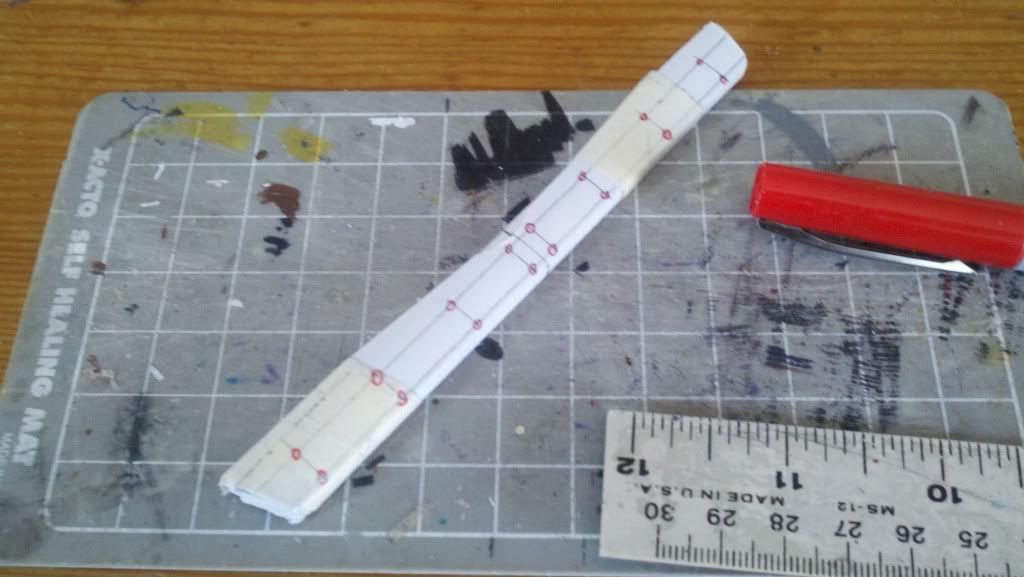
Label the wings in pairs, 1-1, 2-2 etc.
Make sure they are all in line!
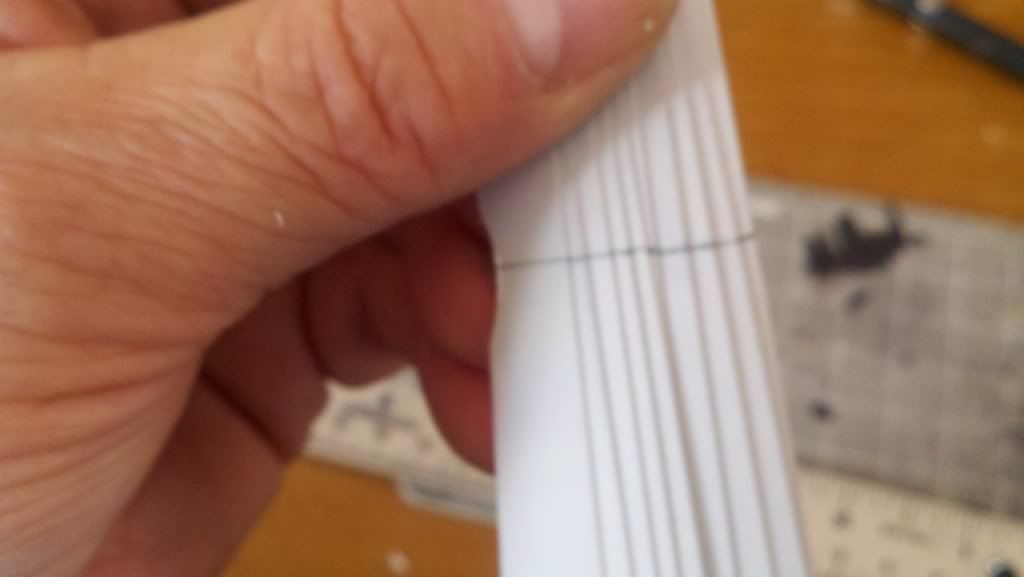
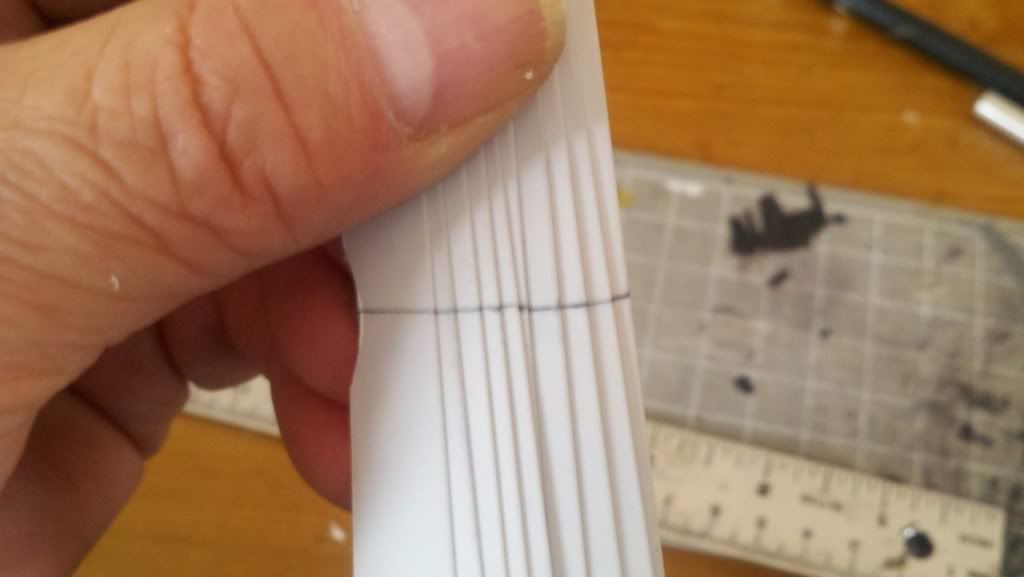
Now tape them all into a stack, lined up on the leading edges.
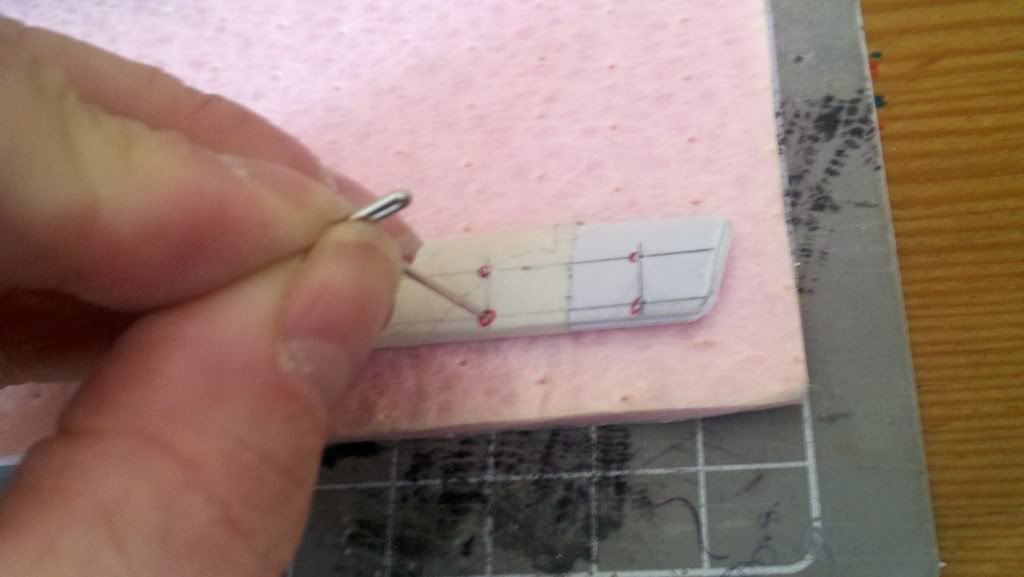
Next we mark the strut locations onto the wing stack-be careful!
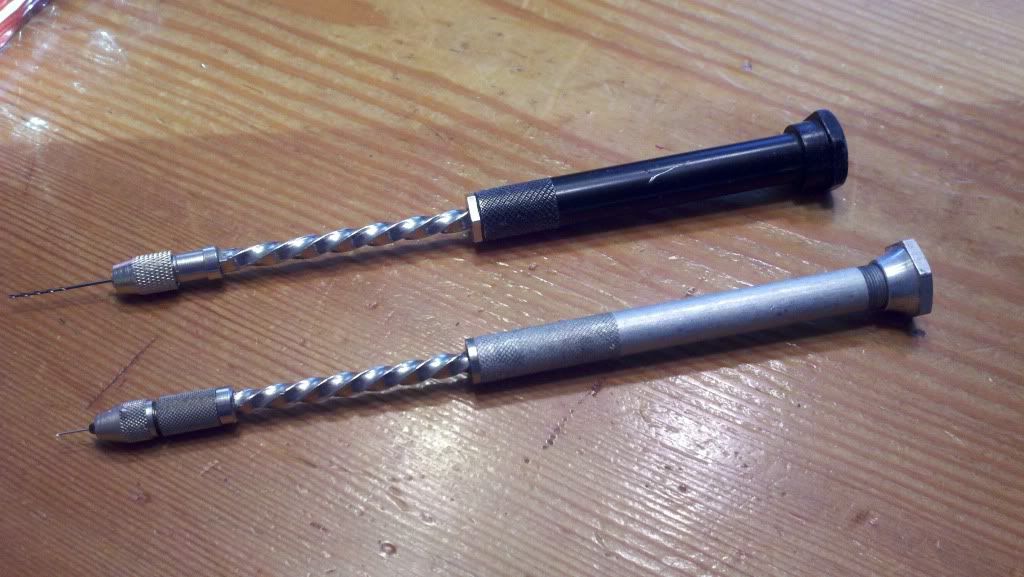
I use a T-pin to make a starter for the drill at each location.
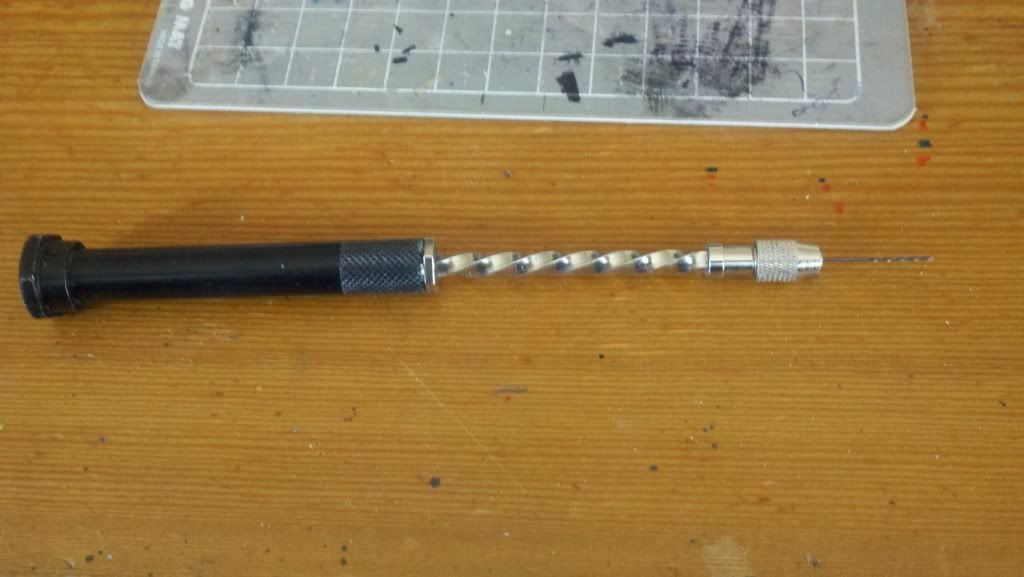
Now for the boring part. I love this old time model push drill! A vise drill will work, but not as cool! Fit it with a 0.020" drill bit (same as the struts will be) and start the drilling. I use a foam cushion placed under the stack which tells me when i have drilled through. Clean, lined up holes are a must!
Un-tape and set them all out, now you have match drilled pairs of wings, 5 sets of them too!
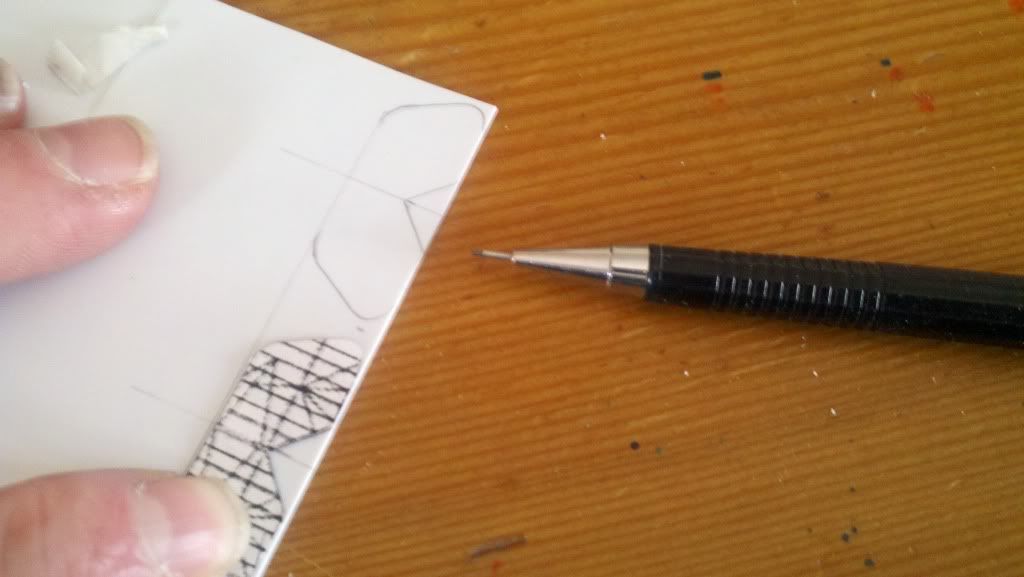
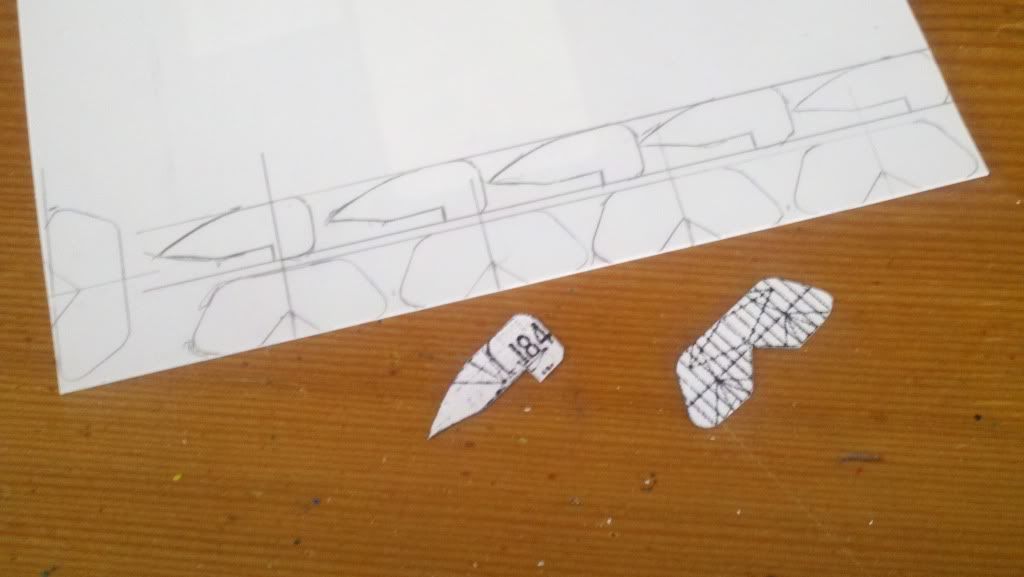
Now for the next step. Tail feathers. I choose 0.020" styrene sheet for these guys, trace each stabilizer and rudder on the plastic with a sharp pencil and carefully cut them out. You can stack, tape and cut them out in sets of 5 if you want to, but it is just as fast here with one at a time.
Take time to draw on the center lines as well as scribe the control surface lines-its much easier now!
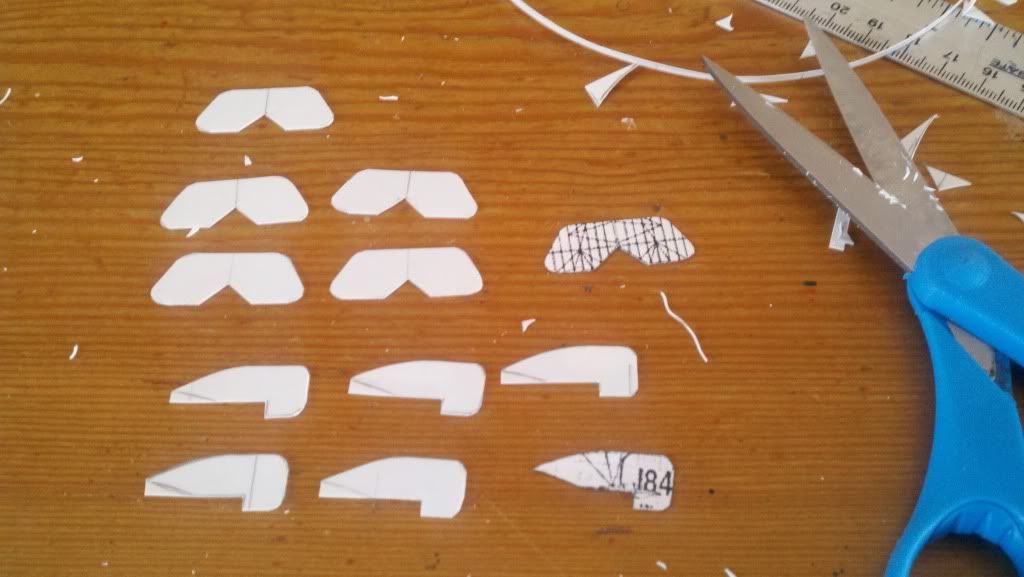
And there you have them, 5 sets of parts ready to go. It took me longer write this up than to make the parts! Time so far in actual building = 1.3 hours!
Take some time to sand the edges a bit, trim the flash off the holes and get ready for Part 3 - The dreaded fuselage build! Till then, enjoy a mission or two!
Clipper now sleeps . . . .


 Reply With Quote


Bookmarks