


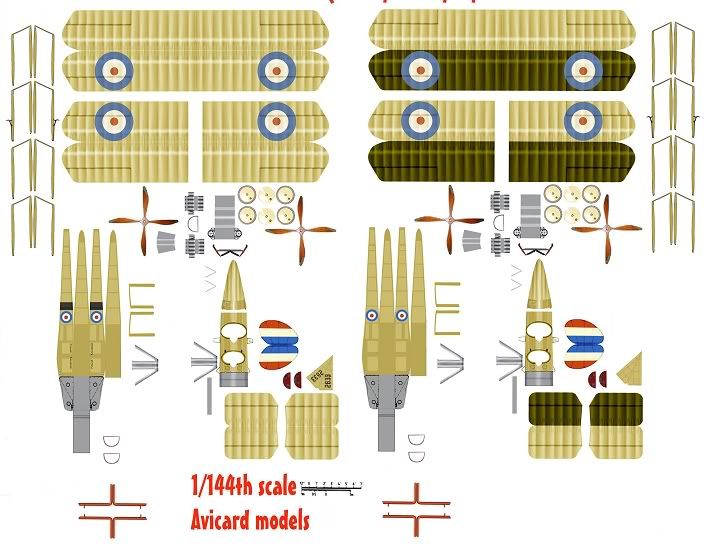
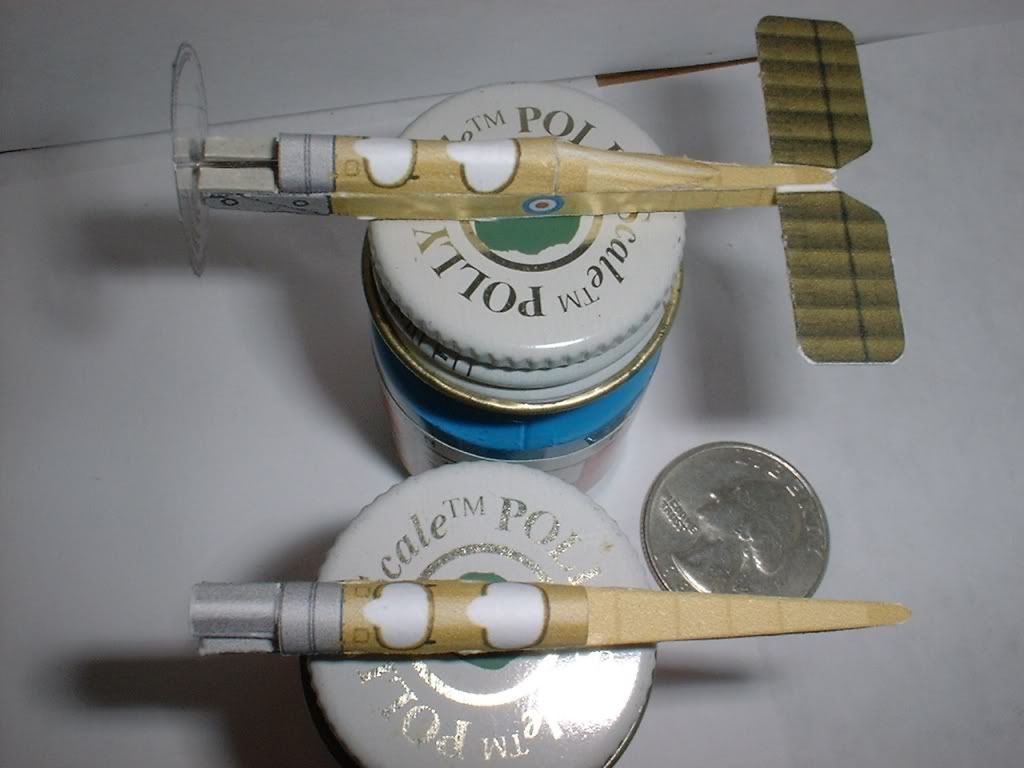
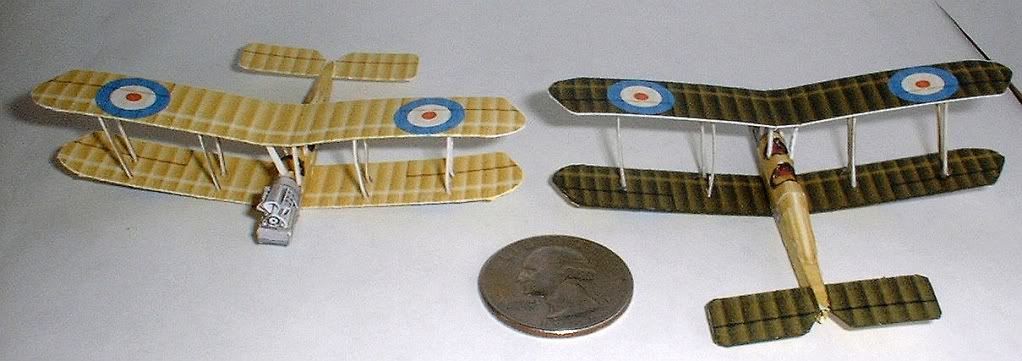
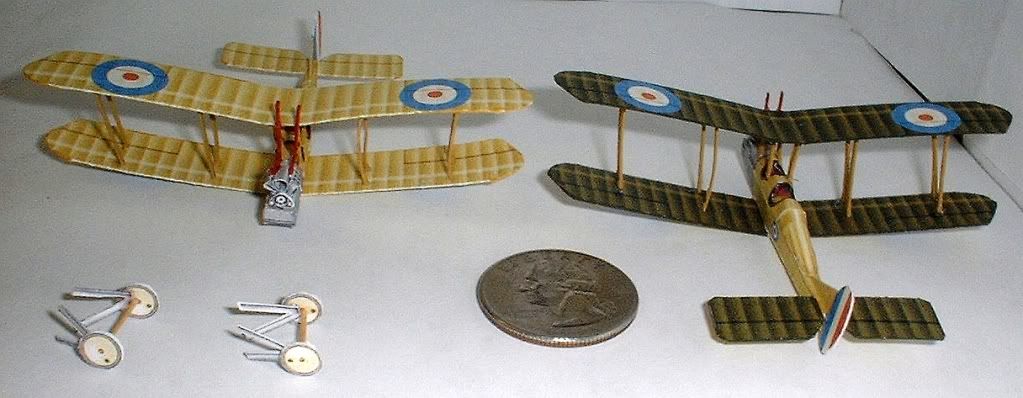
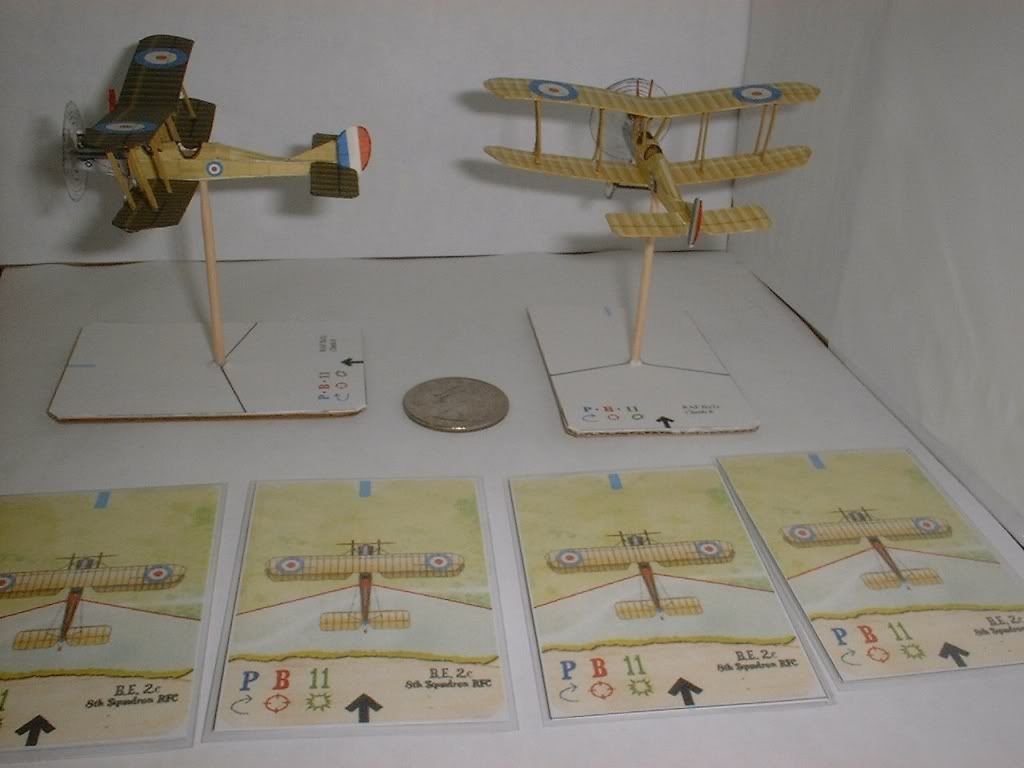
The cardmodel of the RAF Be2c was designed by our own Batesyboy.
This is a rare opportunity to build a free cardmodel of a two seater, models of scouts are common but free models of two seaters are extremely rare.
German pilots loved the BE2c.
They called it kaltes Fleisch ("cold meat").
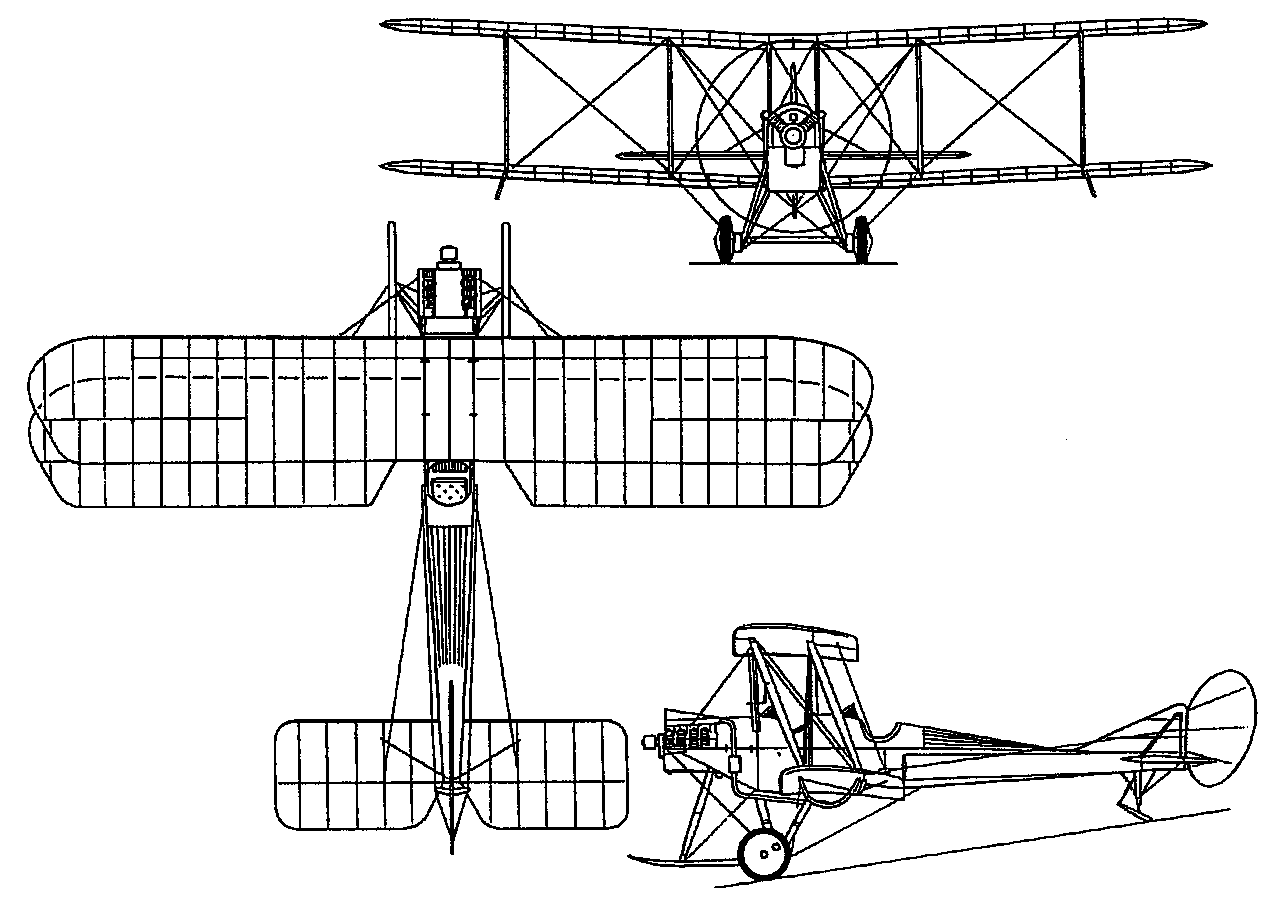
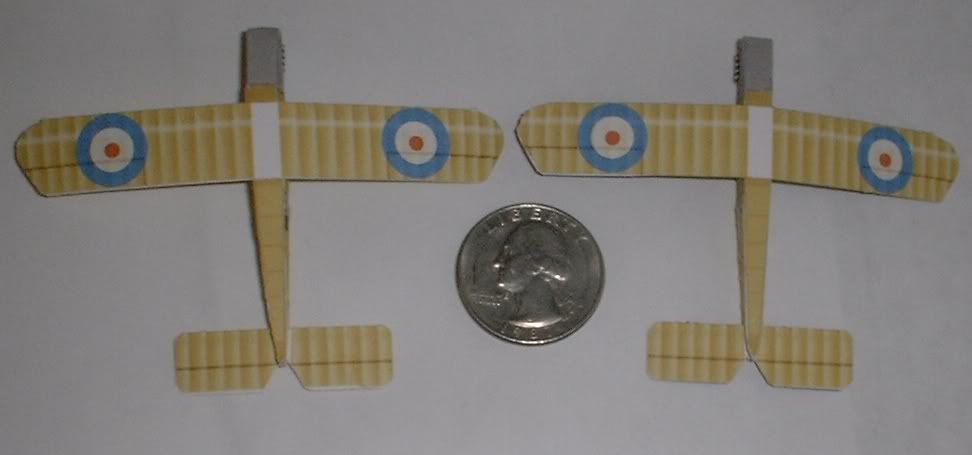
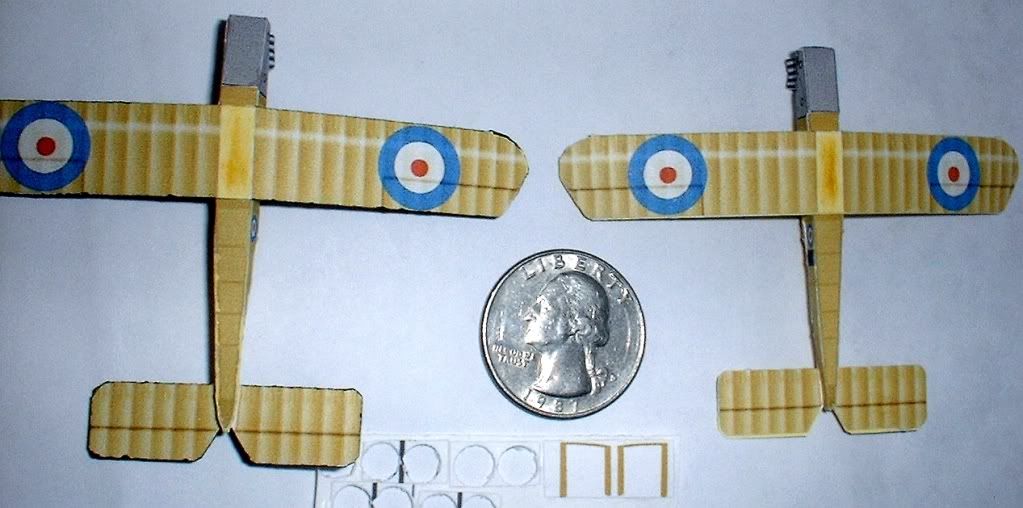
The cardmodel layout on the printed sheet shows two versions of the BE2c and a three view drawing to use as a reference.

 Reply With Quote
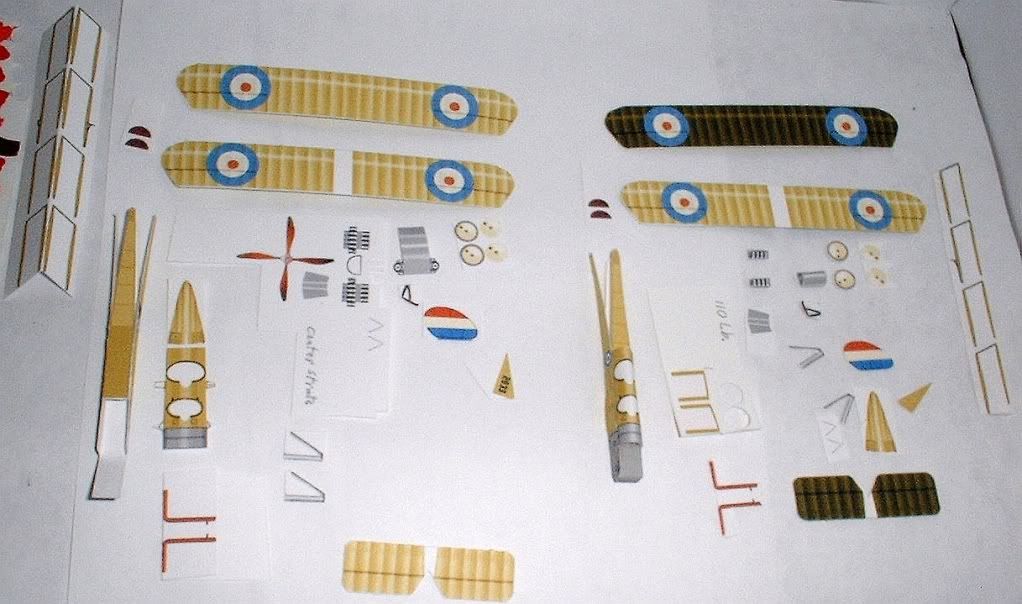


Bookmarks