Ares Games
Results 1 to 39 of 39

Thread: Fixing the Sopwith Triplane

  1. #1

    Default Fixing the Sopwith Triplane

    So you all know my horror with the new Ares Sopwith Triplanes


    So in the freezer with the Blighter, left overnight and then imersed in hot, not boiling, water.
    I then carefully applied pressure to the struts which, generally come apart quite easily. Maybe due to the thiness of the wings the Sopwith was more than a bit relucant to to part. The bottom struts gave way quite easily but the centre /top were a bit of a bother.
    So in the end I snipped off the top wing leaving this


    With a sharp hobby knife cut away the struts and scrape away any residue on the strut positions. This will leave the positioning for the new struts visable. Then re-glue the centre wings back in position.
    On my Collishow I used SuperGlue but for this one I think maybe a plastic glue, like GW, so the plastic will melt and give a studier bond.

    Next get some Styrene strip the one I found is by Plastruct and is no 90733
    030" x 060" or 0.8mm x 1.5mm
    comes in a pack of 10 and approx 26cm long ( approx 10")


    I then cut four pieces approx 8mm
    The actual strut is 5mm but the extra is to cut the angle for the strut. So you may want to cut different lengths and then trim to size after.
    I then cut the bottom of one strut at an angle, this is going to be in line and same angle as the bottom strut so use that strut to make sure they are the same angle. Glue into place on the same hole/postion as the original strut. Hopefully you can see the angle


    I did the two outer wing struts first toget the angle, then trim off the top, again at a slight angle so the top wing fits flush.
    Then cut the two centre struts and glue in place, again using the slots from the previous strut.
    Follow the same procedure as the outer.
    You should then have te four struts around 5mm in height all the same angle and with a slight angle at the top so out top wing lies flat.
    Paint the struts.
    Then glue the top wing in place, I turned the top wing upside down so I could see the position of the old strut and placed the rst down onto the wing.
    When it has just glues and is tacky turn over and make any ajustments ( quickly if superglue) then leave to dry .

    Hopefully you will then have


    If there is any part here not clear drop me a pm and Ill try and assist.
    Last edited by Boney10; 08-19-2013 at 07:33.

  2. #2

    Default

    Great write-up! I'm feeling tempted to try this, but might have to get an extra tripe to try it on first. The results look great.

    EDIT: Actually felt inspired enough to order an extra Collishaw and Little. I'll try this technique and post my results when I ever get around to it.
    Last edited by alpine; 08-19-2013 at 09:30.

  3. #3

    Default

    Very useful thanks Chris.
    I was going to use the jigs that came with my Reviresco Tripe, but I dont think I will need to now.
    Rob.

  4. #4

    Default

    Thanks for the 'how-to'. Now it's off to the local hobby shop to try and track down the required raw materials and paint.

  5. #5

    Default

    Does it fit in the original packaging afterward?

  6. #6

    Default

    Quote Originally Posted by csadn View Post
    Does it fit in the original packaging afterward?
    Yes Chris it does

  7. #7

    Default

    Wow! Thank you, Chris! That looks like it would be snap! (now that you've done all the difficult groundwork)

  8. #8

    Default

    Was that first picture a tripe straight out of the box with wavy wings? Is there a production problem? I wanted to pick a few up...

  9. #9

    Default

    Thank you for sharing this great how to! It's soeasy and cheap enough, and the results are so much better than the original, I might have to try it myself.

  10. #10

    Default

    Quote Originally Posted by The Scout View Post
    Was that first picture a tripe straight out of the box with wavy wings? Is there a production problem? I wanted to pick a few up...
    Yes Ted the first pic is the standard ready to go Tripe from Ares

  11. #11

    Default

    Quote Originally Posted by Boney10 View Post
    Yes Chris it does
    Drat Chris. I was hoping to be able to write a "How To" enlarge your box to take the modification.
    Rob.

  12. #12

  13. #13

    Default

    Here is the repaired version in its original box


    Chaps if I were to do some struts who would be interested?

  14. #14

    Default

    I'd take 2 or 3 sets!

    A pre-cut and pre-painted set of replacement struts would be a huge help.
    Last edited by greenalfonzo; 08-20-2013 at 06:54.

  15. #15

    Default

    Quote Originally Posted by greenalfonzo View Post
    I'd take 2 or 3 sets!

    A pre-cut and pre-painted set of replacement struts would be a huge help.

    Pre painted might not do too well with plastic weld Kev.
    Rob.

  16. #16

    Default

    Quote Originally Posted by Boney10 View Post
    Yes Ted the first pic is the standard ready to go Tripe from Ares
    Thanks. I will avoid this model. I have no inclination or ability to perform repairs on something that is suppose to be at a certain level of finish.

  17. #17

    Default

    [QUOTE= <snip>... Chaps if I were to do some struts who would be interested?[/QUOTE]

    I'll take 3 sets!

  18. #18

    Default

    Quote Originally Posted by Flying Officer Kyte View Post
    Pre painted might not do too well with plastic weld Kev.
    Rob.
    Really? But I don't own any of my own paint or brushes or anything! What kind of glue would work with painted parts, assuming I can keep it to the unpainted tips of the struts?

  19. #19

    Default

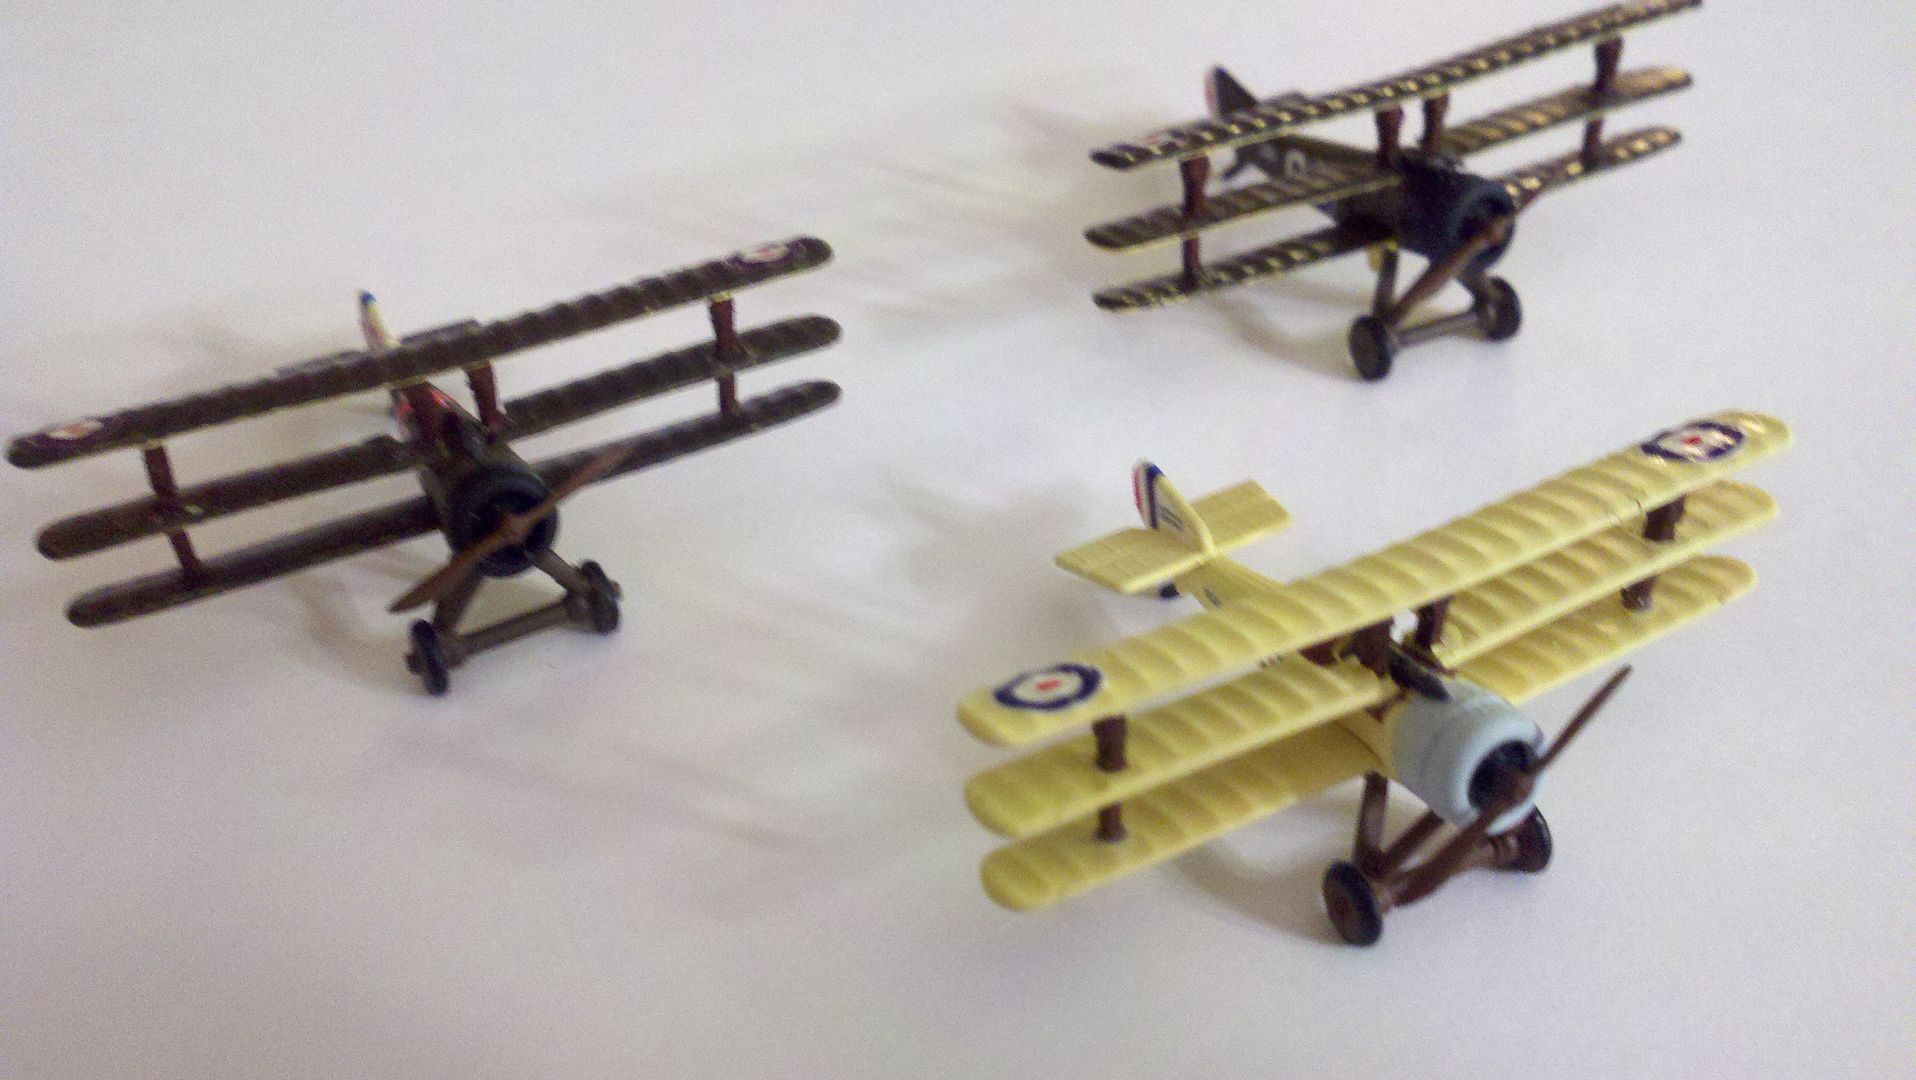
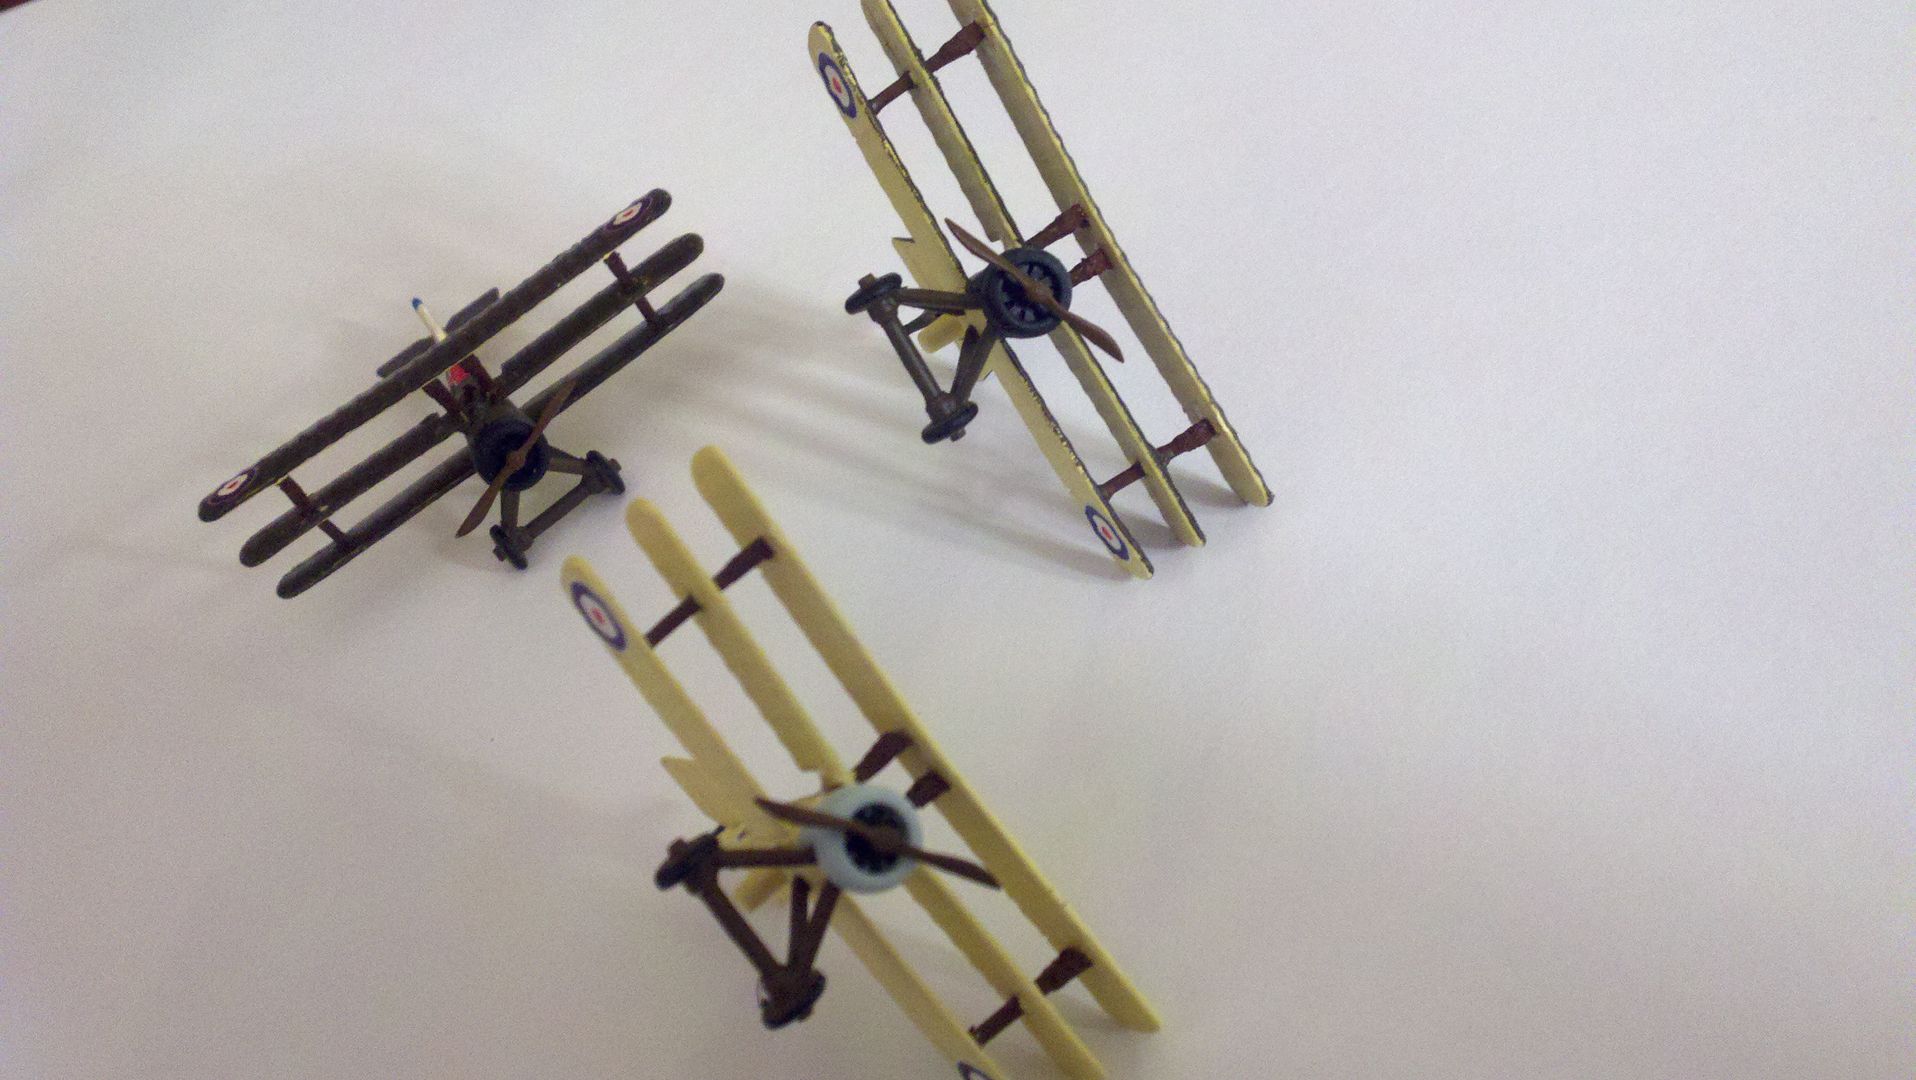
    We had a bit of wing lifting here tonight as well . . .


    Added .045 styrene blocks to top of existing struts with CA, sanded, painted and replaced the top wings, and painted the wing edges too!


    They look much happier now . . .

  20. #20

    Default

    Quote Originally Posted by clipper1801 View Post
    We had a bit of wing lifting here tonight as well . . .


    Added .045 styrene blocks to top of existing struts with CA, sanded, painted and replaced the top wings, and painted the wing edges too!


    They look much happier now . . .
    They certainly look less like stunted Dwarves Clipper.
    Rob.

  21. #21

  22. #22
    Last edited by Biggles downunder; 08-21-2013 at 17:47.

  23. #23

    Default

    Quote Originally Posted by Biggles downunder View Post
    Here is the 'real deal', from my album - the TVAL Triplane:

    http://www.wingsofwar.org/forums/alb...chmentid=88452
    That is certainly unequivocal Wayne.
    Rob.

  24. #24

    Default

    I'd try this, but my modeling skill with plastic are hopelessly inadequate -- would some sort of metal work for this project?

  25. #25

    Default

    So when making the struts do you only replace the top wing struts or middle wing as well? Do both top and middle wings need to be taken off in order to do this technique?

  26. #26

    Default

    I just changed the top struts out, matching the gap of the lower ones. I clipped the struts off flush with the bottom of the top wing, added plastic to the ends of the struts and trimmed them when cured to the proper length and CA glued the top wing back on. If you were careful you could paint the struts and extensions brown, then glue on the wing. Not a big deal. If you want I can get the elves to do upgrades (PM them - me)

  27. #27

    Default

    Theydo seem to be a bit problematic. I had a tripe with broken upper struts out of the box.

  28. #28

    Default

    They are rather fragile indeed. the middle wings are not glued well to the fuselage either and they come loose during the operation . . . that appears to be because they are assembled after painting and the glue sticks better to the paint than the plastic . . . story of my life : )

  29. #29

    Default

    Quote Originally Posted by csadn View Post
    I'd try this, but my modeling skill with plastic are hopelessly inadequate -- would some sort of metal work for this project?
    Why not go Shapeways instead of fiddling with a rebuild. The model needs repainting afterwards anyway and Kampffliegers Triplane is a fine specimen with all the right proportions as is...

  30. #30

    Default

    Quote Originally Posted by GilmoreDK View Post
    Why not go Shapeways instead of fiddling with a rebuild. The model needs repainting afterwards anyway and Kampffliegers Triplane is a fine specimen with all the right proportions as is...
    Two reasons:

    1) As noted, I suck at building plastic kits -- thirty years, and still can't get it right.

    2) Metal bends; plastic breaks. :)

  31. #31

    Default

    Quote Originally Posted by Boney10 View Post
    ...Chaps if I were to do some struts who would be interested?
    I'd tap you up for some Chris - see you at Newbury !!

  32. #32

    Default

    Yea to that Chris.
    I would need enough for four machines.
    Rob.

  33. #33

    Default

    Fixed my Sopwith Tiplane, cut the top wing off, also cut the lower supports off too, left the middle wing in place.Click image for larger version. 

Name:	SAM_2557.jpg 
Views:	108 
Size:	133.3 KB 
ID:	110366Click image for larger version. 

Name:	SAM_2558.jpg 
Views:	108 
Size:	121.4 KB 
ID:	110367 Drilled holes through the middle wing to allow struts to pass through to bottom wing then glue and fix to the top wing. Painted struts and wing edges.

  34. #34

    Default

    Fantastic job, Neil. Looks like it came straight from the factory.

  35. #35

    Default

    A very expert job Neil.
    The single strut must help with the strength a lot.
    Rob.

  36. #36

    Default

    Using the single strut Rob makes it really solid. It has the other advantage of making the strut alignment from lower wing to top wing alot easier. It sounds fiddly, but when fitting the top wing and checking things before gluing it does help.

    Thanks Kev, I found when taking the plane apart that this is the method Ares used in the construction.

  37. #37

  38. #38

    Default

    I bet that really helps keep the alignment straight as well. That's something I fear when I attempt to fix my tripes.

  39. #39

    Default

    Yes Kev it does help with the wing alignment. If you keep the two sets of lower wings fixed at the fuselage, this sets the gap required between all the wings, including the top, and secondly the position from the front view, then from the side to fit the top wing.


Similar Missions

  1. Sopwith Triplane Armament
    By yankeedog in forum WGF: Historical Discussions
    Replies: 11
    Last Post: 07-25-2013, 21:16
  2. Sopwith Triplane in Calgary
    By JMSwallow in forum UK Wing
    Replies: 8
    Last Post: 11-14-2012, 03:59
  3. WSF Sopwith Triplane
    By Wombat in forum Shapeways Models
    Replies: 8
    Last Post: 05-29-2012, 14:53
  4. Sopwith Triplane paint job
    By flash in forum Hobby Room
    Replies: 20
    Last Post: 01-11-2012, 15:07
  5. Skytrex Sopwith Triplane
    By jbmacek in forum Sale/Trade/Wanted Classifieds
    Replies: 6
    Last Post: 03-30-2011, 19:44

Bookmarks

Posting Permissions

  • You may not post new threads
  • You may not post replies
  • You may not post attachments
  • You may not edit your posts
  •