Ares Games
Results 1 to 17 of 17

Thread: 1st Paper + Polystyrene Model - Nieuport 28

  1. #1

    Default 1st Paper + Polystyrene Model - Nieuport 28

    So, recently I posted the question if anyone had ever built a paper model out of styrene, with a paper "skin". Clipper & I discussed it a bit, but otherwise no one else stepped forward, so I assume I'm blazing uncharted territory here, more or less. I've been building up my nerve, & finally took the plunge yesterday. Didn't decrease my build time any, unfortunately, but otherwise all I can say is:

    Styrene, where have you been all my life?

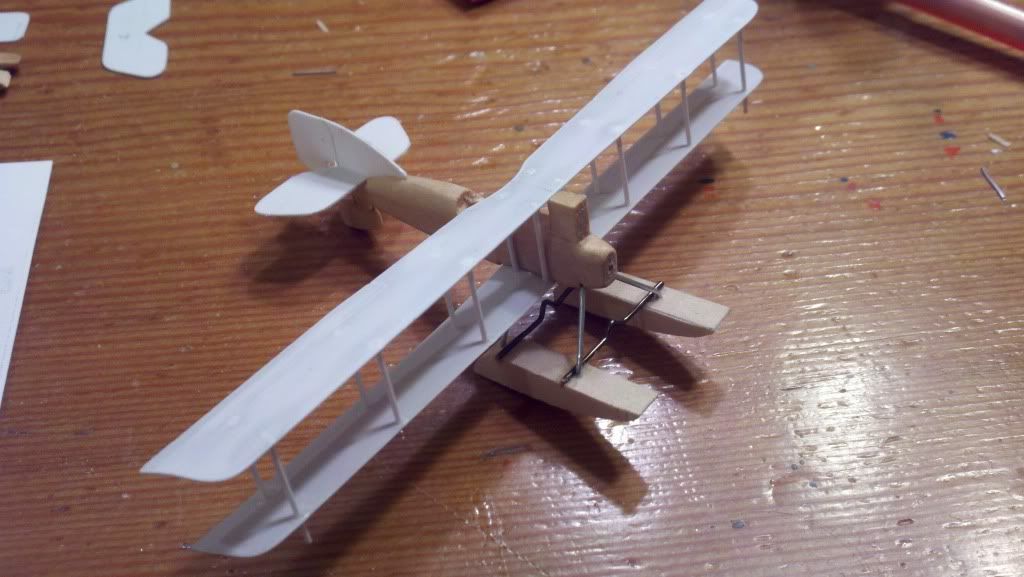
    All the things I'd read are true: a joy to work with, super easy to cut, shape, cement, sand, color, you name it. Superior to working with card in every way IMO. Here are the results. The Nieuport is on the left, posed w/ the Frank Luke SPAD for comparison:


    I'm super pleased with the results. This is the closest to a "perfect" build I've managed to have. I finally got the strong, clean, lines I've been looking for. So from now on it's Styrene for me!

  2. #2

    Default

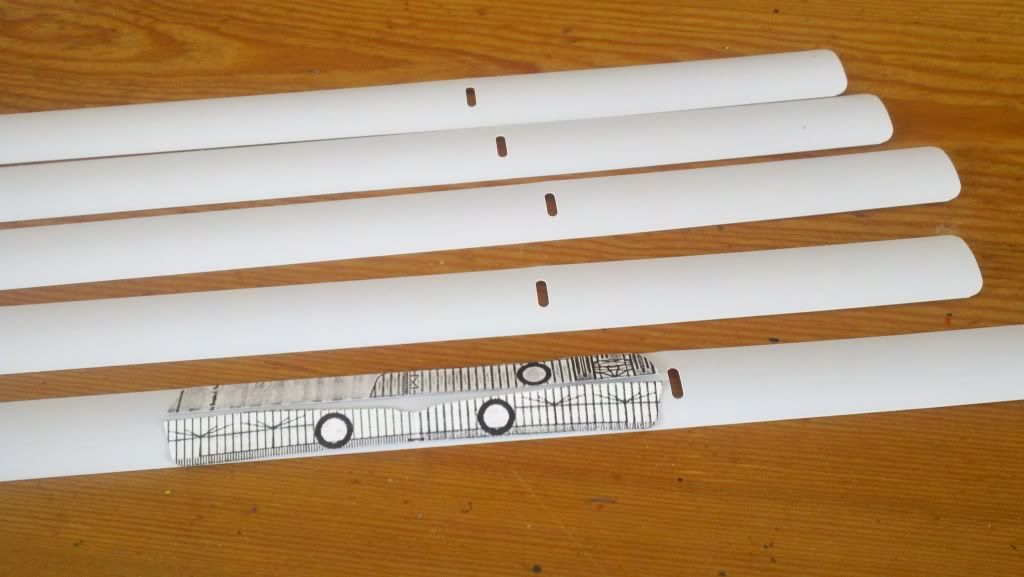
    Rob, great work! Did I mention to you that I use 1" plastic mini blinds for my WWI wings? It gives the airfoil a good curve and one blind will come with more styrene wing material than you can use in a life time-even if you have elves . . . keep up the good work!


  3. #3

    Default

    Quote Originally Posted by clipper1801 View Post
    Rob, great work! Did I mention to you that I use 1" plastic mini blinds for my WWI wings? It gives the airfoil a good curve and one blind will come with more styrene wing material than you can use in a life time-even if you have elves . . . keep up the good work!
    Thanks David! Coming from you, I could ask for no higher praise! You did indeed tell me about the blinds trick, which I "borrowed" & used on the Nieuport. I'm indebted to you for it, as it was the perfect thing to achieve the proper look I've desperately been after. One 1" mini blind & one .99 "For Sale" sign & I was/am all set.

  4. #4

    Default

    So is the fuselage made out of styrene too, or just the wings. If so, how did you shape it.
    Karl

  5. #5

    Default

    Quote Originally Posted by Jager View Post
    So is the fuselage made out of styrene too, or just the wings. If so, how did you shape it.
    Karl
    Yep, whole build is 100% styrene, nose to tail, wingtip to wingtip, landing gear & all.

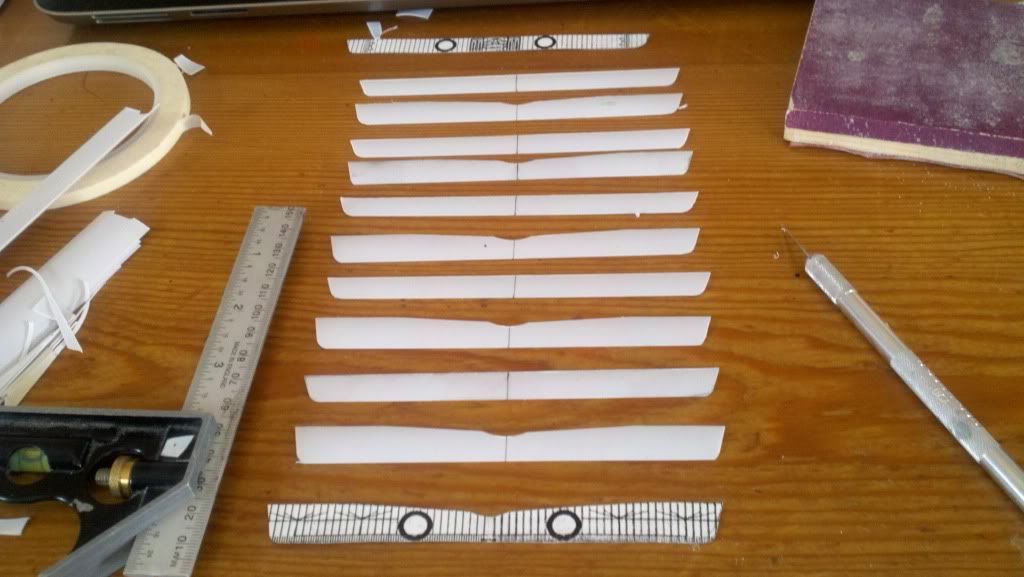
    I shaped it by hand, bending it around the handle of my X-Acto knife first, & then "rolling" it between my fingers. As thin as the "For Sale" type signs are, the material was actually quite easy to shape, & held the shape surprisingly well.

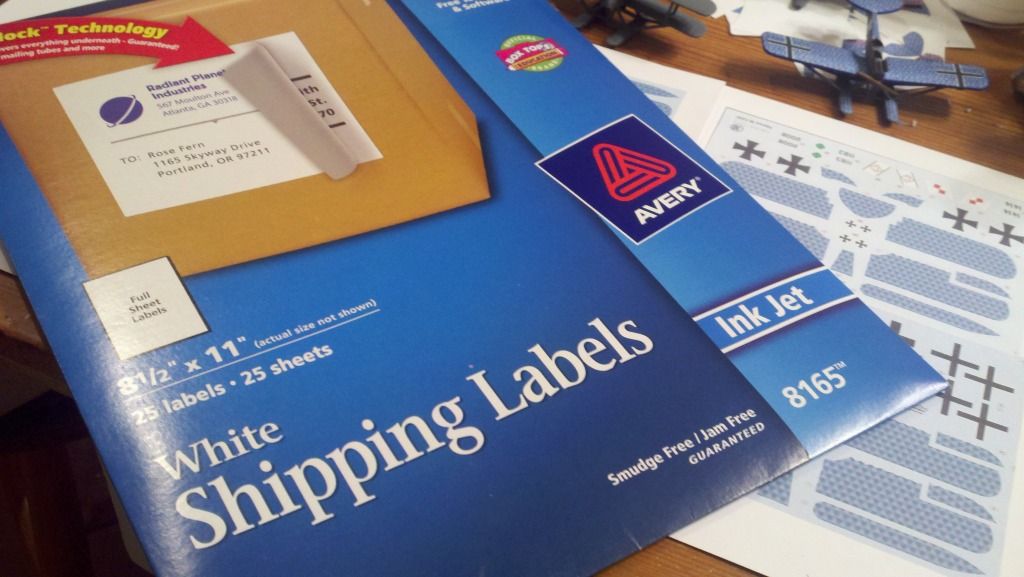
    Here is the type of signs in question:


  6. #6

    Default

    So then, the printable label like Clipper uses for decals?
    sounds interesting
    Karl

  7. #7

    Default

    Quote Originally Posted by Jager View Post
    So then, the printable label like Clipper uses for decals?
    sounds interesting
    Karl
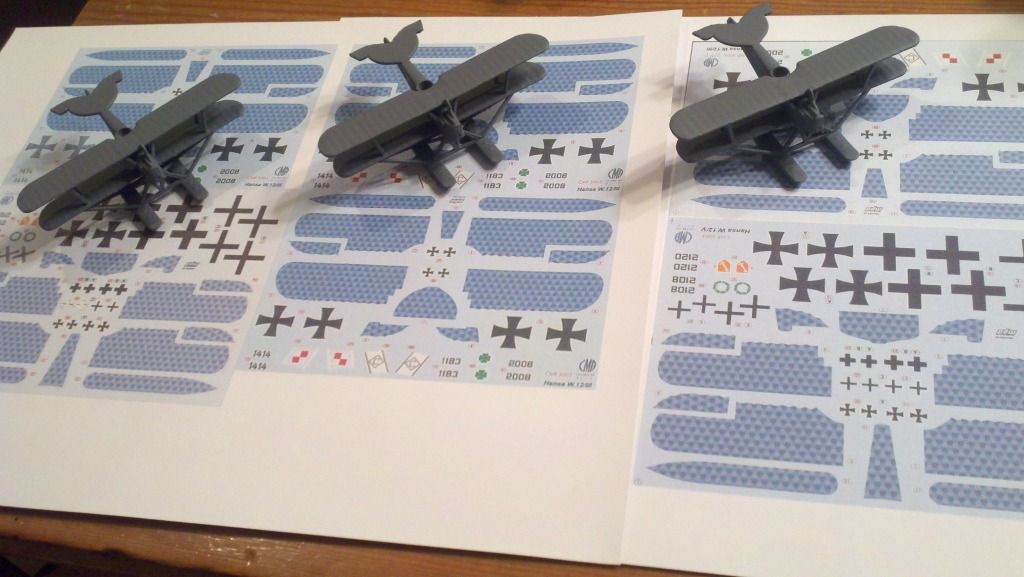
    Dunno...I'm not sure what kind of material Clipper uses for decals. If you mean the paper component, I printed it on laser paper & then glued it on w/ white glue at first (would not recommend: it dries brittle & you can hear it "breaking" when you shape the piece. It would probably be ok for pieces that didn't require shaping though.) Then I switched to glue stick (much better, flexable).

    Now that you mention it though, sticker paper (while expensive) would probably be even BETTER to print on, as it would literally would be print, cut, peal, stick, cut, assemble, peg, spray, DONE!

  8. #8

    Default

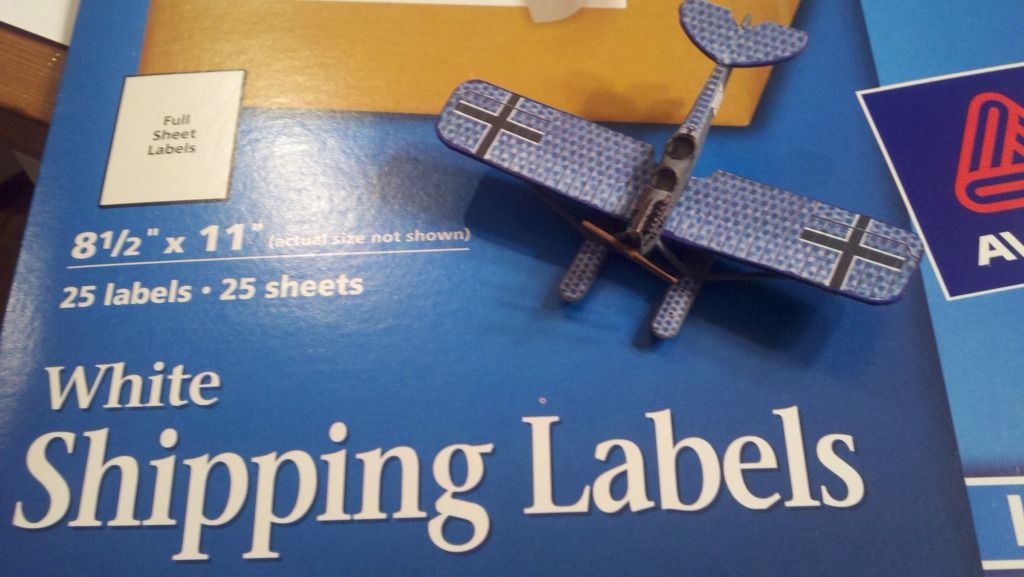
    I use 8 1/2 x 11 shipping label stock available at most all buisness supply stores (Walmart for $4) comes in 10-25 sheet packs and if you organize your images on a word processor and make duplicates you can make 4-6 models per page. The surround can be marked with perm marker for details, even cut out white arrows etc for insignias, no limits!


    Down side is you have to cut out each bit, they are a little thick and at times need a little glue stick to hold down, but that is all manageable! The clear shipping labels are ok but a bit frosty looking and being a Mylar, they don't like to stay stuck long . . . if someone worked at a sign company with inkjet printable vinyl . . .

  9. #9

    Default

    Quote Originally Posted by MoonSylver View Post
    Landing gear looks a little wonky.

  10. #10

    Default

    Nice work Rob
    I have scratch built a few aircraft from plastic card but not given them a paper skin.
    I have used four methods for construction of the fuselage.
    1, laminate a number of thick layers of card together then cut and sand to shape. Very durable result.
    2, box section cut peices to size and shape glue in ribs and glue together use filler for humps ridges etc. Use medium thickness card. Good durable result.
    3, pipe using different size diameter pipes fill and sand. Great for round fuselages Good durable result. Also good for cowlings with engines and props that turn.
    4, make a spine with shaped ribs then layer super thin card over it. Had to use two layers but gave great durable result.

    As for wings I use medium card with leading edge sanded/rounded and trailing edge scrapped sanded and scalloped.
    For rib effect I have scalloped/sanded, scored with craft knife or glued stretched sprue.
    Check out my albums for various methods if you wish.

    I have also been using a bit of pewter which has been fun to work with and gives a great result too.

    Linz

  11. #11

    Default

    Quote Originally Posted by clipper1801 View Post
    I use 8 1/2 x 11 shipping label stock available at most all buisness supply stores (Walmart for $4) comes in 10-25 sheet packs and if you organize your images on a word processor and make duplicates you can make 4-6 models per page. The surround can be marked with perm marker for details, even cut out white arrows etc for insignias, no limits!
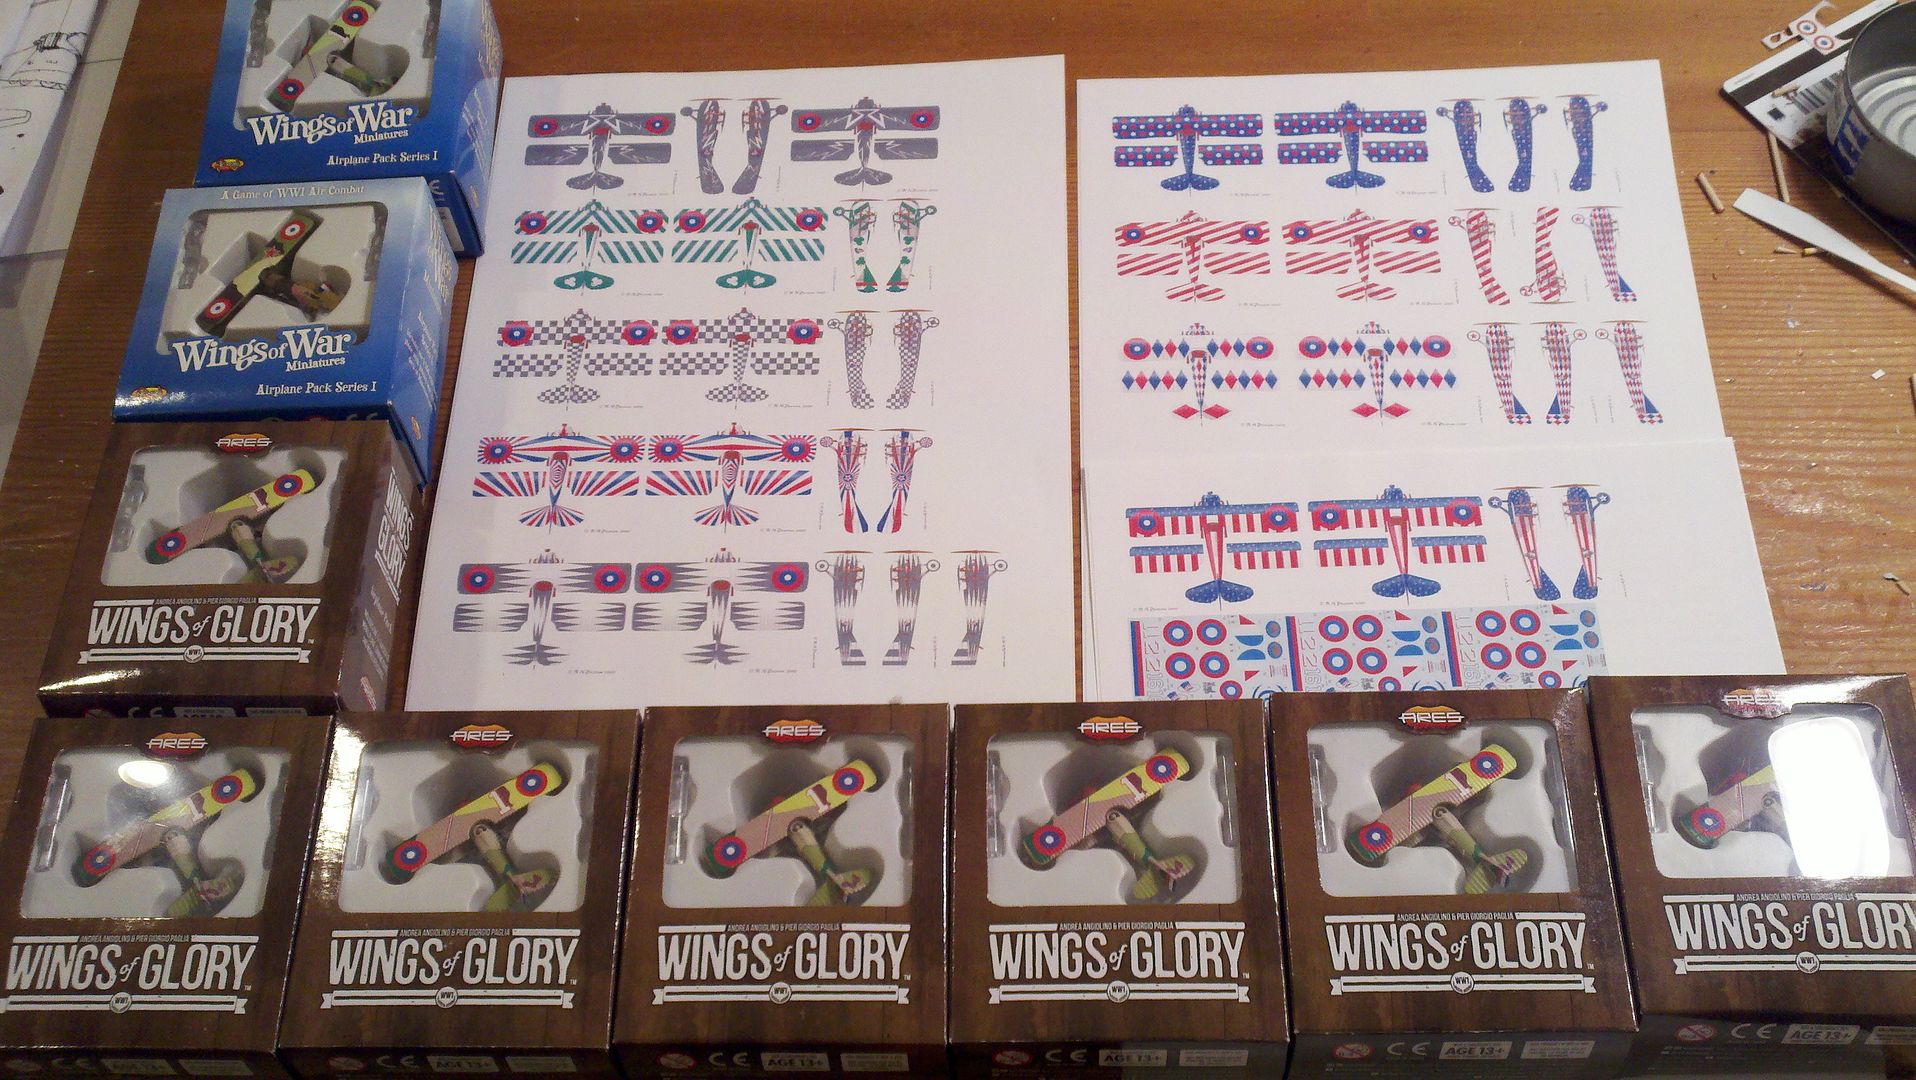
    Hm. I have used labels before, for other craft purposes. I believe you can get them cheaper than "sticker paper", where the whole sheet is one big adhesive back. Will have to check & see how big a resized plane sheet is vs. how big the largest size of label is. I can usually get 4 planes on an 8 1/2 x 11 sheet, so I think it could be doable...

    Looking at those labels Clipper, I wonder how doable it would be to use the existing Paper plans I have as templates for the body of the plane & then labels like those stuck over top for the paintjob/details...hmm...

    Quote Originally Posted by Linz View Post
    Nice work Rob
    I have scratch built a few aircraft from plastic card but not given them a paper skin.
    I have used four methods for construction of the fuselage.
    1, laminate a number of thick layers of card together then cut and sand to shape. Very durable result.
    2, box section cut peices to size and shape glue in ribs and glue together use filler for humps ridges etc. Use medium thickness card. Good durable result.
    3, pipe using different size diameter pipes fill and sand. Great for round fuselages Good durable result. Also good for cowlings with engines and props that turn.
    4, make a spine with shaped ribs then layer super thin card over it. Had to use two layers but gave great durable result.

    As for wings I use medium card with leading edge sanded/rounded and trailing edge scrapped sanded and scalloped.
    For rib effect I have scalloped/sanded, scored with craft knife or glued stretched sprue.
    Check out my albums for various methods if you wish.

    I have also been using a bit of pewter which has been fun to work with and gives a great result too.

    Linz
    Interesting. Hoping to avoid ribs & such if possible, I got a good result just from working the fusealage into a round shape & edge gluing w/ a tab inside running down the seam. Would there be a reason to use ribs & spines over that method? It seemed pretty solid...

    Quote Originally Posted by csadn View Post
    Landing gear looks a little wonky.
    It's because I made the choice to glue the wheels on at an angle so they would stick. I always try them straight first, but if they're not going to hold I settle for an angle, just for strength & durability. Doesn't show badly from the side, only from the front/underneath, ie the one picture you chose. Not 100% accurate, but I'm shooting for usable model over correct detail with wheels falling off. Thanks for noticing.

    Perhaps I should think about some kind of axle, if I there is something thin enough to glue it to. Wire perhaps? Come to think of it, I might even be able do a thin strip of styrene that sticks out a bit further on the sides to bond the wheels to. Will have to think on it...
    Last edited by MoonSylver; 07-11-2013 at 14:55.

  12. #12


    Users Country Flag


    Name
    Friedhelm
    Location
    NRW
    Sorties Flown
    5
    Join Date
    Jul 2013

    Default

    Wow, very good work, and ....they look great -

  13. #13

    Default

    Pretty darned cool. That's one of the things I love about this place, people are always willing to experiment.

  14. #14

    Default

    Quote Originally Posted by Zedzeke View Post
    Wow, very good work, and ....they look great -
    Thanks! Keep in mind, just the Nieuport on the left is scratch built. The Spad on the right is for comparison only.

    Quote Originally Posted by jbmacek View Post
    Pretty darned cool. That's one of the things I love about this place, people are always willing to experiment.
    Thanks John! It took me a while to get my courage up to attempt it, as time & effort are at a premium for me, but once I took the plunge, all of my fears were unfounded. The styrene preforms better than I could have expected. It can be tricky when you bonding it together sometimes, but no less than working w/ card+superglue. Other than that, it's easy as can be.

    Just finished the "Flag Bus" & started an Se5.a, pics soon.

  15. #15

    JDD
    Guest


    Default

    Years ago Renwal made a series of 1/72nd WW1 kits that featured a styrene plastic model and thin tissue paper "skin" with the paint scheme and markings printed on it. The model had the recesses and ribbing molded in, and the skin was applied by cutting to shape and then gluing down by brushing on liquid model cement, which soaked through the paper, conformed to the underlying molded details, and locked the whole thing together. Perhaps something similar could work here, if you could find a way to print your "skins" on a thin paper like the flying-model guys use? (I've had problems in the past with adhesive paper eventually "letting go" of underlying plastic, so I'm a bit leery of that.)

    Beautiful models, BTW, and the plastic blind idea for wing stock is brilliant. Well done!

  16. #16

    Default

    The following link discusses printing on onion skin and tissue gift wrap:
    It appears that taping or gluing the leading edge of the tissue to a carrier sheet may allow you to print on very thin paper.

    http://www.kitforums.com/viewtopic.php?f=6&t=7213

    If you google, "printing on onion skin", you will see that many people have had problems with small pieces of onion skin getting caught in their printers.

  17. #17

    Default

    Superb effort. As for the crit mentioned....well I wouldn't even try to attempt it. So don't knock it if you ain't tried it. Wish I had the patience and sheer tenacity to try something like this. The closest I've go is the wings for a zeppelin staaken. Putting together the complicated cardboard bits frightens the life out of me.

    So well done again.
    See you on the Dark Side......


Similar Missions

  1. A Discussion of Paper Model Scale
    By Zakopious in forum Paper Card Models
    Replies: 12
    Last Post: 04-06-2013, 06:31
  2. Paper Model Gallery
    By batesyboy in forum Paper Card Models
    Replies: 4
    Last Post: 01-02-2012, 14:00
  3. Scratch built Drachen - My first paper model!
    By nodegamra in forum Hobby Room
    Replies: 50
    Last Post: 09-15-2011, 10:38
  4. Paper model to resin model
    By pbhawkin in forum Hobby Room
    Replies: 6
    Last Post: 08-15-2011, 16:17
  5. Replies: 16
    Last Post: 02-09-2011, 14:56

Bookmarks

Posting Permissions

  • You may not post new threads
  • You may not post replies
  • You may not post attachments
  • You may not edit your posts
  •