Ares Games
Results 1 to 34 of 34

Thread: A New Finish?

  1. #1

    Default A New Finish?

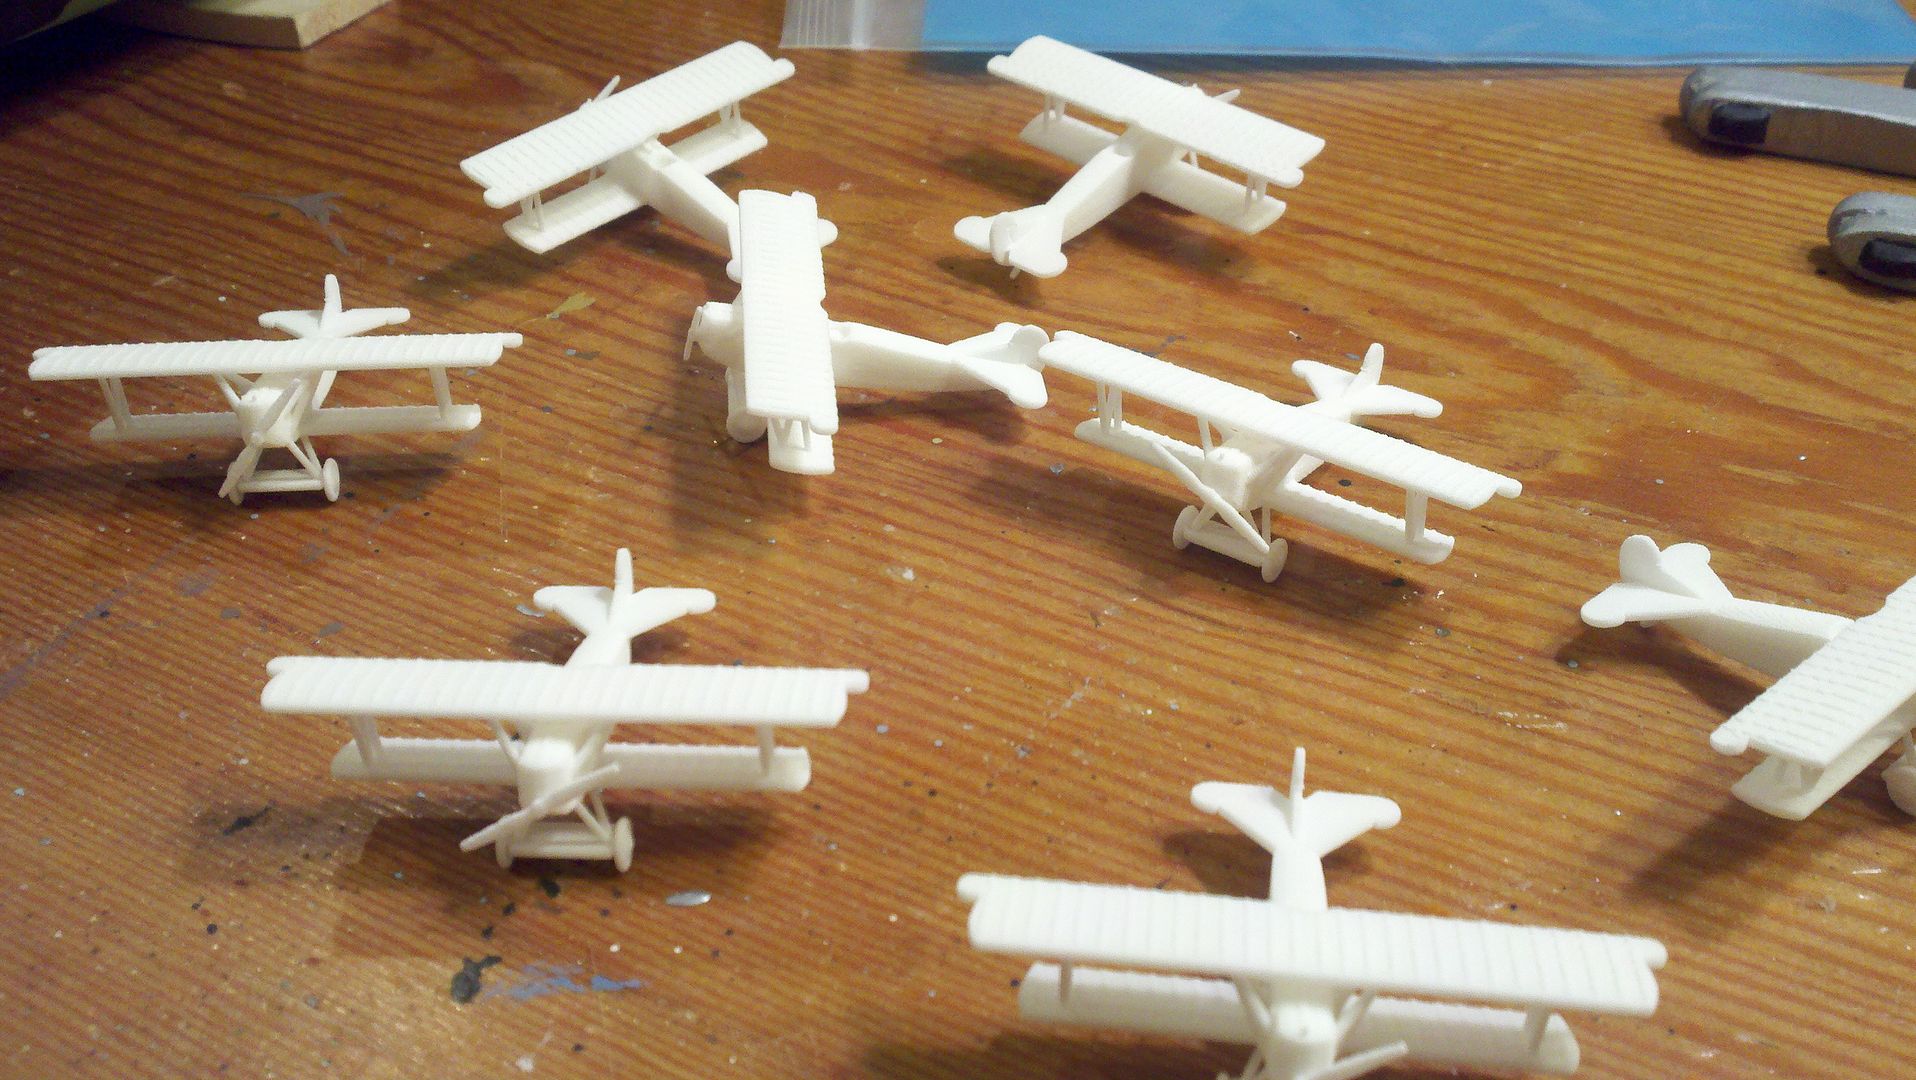
    When I was a little Clipper my dad ran a Vocational College and I had run of the facilities and teachers on my off time. I remember learning how to paint cars in the auto shop one summer and the instructor was very glad to teach me how to paint my own motorcycle tank and frame. It started with a lot of sanding and priming, wet sanding and more priming. When it came to the color I was instructed to spray a light tack coat, let it set until it was sticky to the touch, then spray a medium heavy "wet" coat on, being careful not to allow it to run. As Ii drove the 900 miles back from Boise the other day/night my mind began to wonder . . . the problem we have with the Shapeways WSF is its porosity. The surface is made up of tiny granules of plastic the are fused together and there are zillions of micro sized holes that need to be filled. Am I right so far Zoe? Now we give out models many coats of "filler" which seals the material and builds up a "skin" on the surface of the model. What if you could put a "tack" coat of very sticky and super fast drying paint, follow that coat up with a "wet" coat of super fast drying gloss paint. The tack coat would stop the wet coat from completely soaking in before the layers set. After 10 hours of driving I began to believe it could work. But what paint? The trick is having it dry super fast and not completely have one layer dissolve the previous one and let the first coat cure without blushing the second one. Most of our paints are water based acrylics which have a slow drying time and some will dissolve the first coat if it is not completely dry when you add the second. With me so far? Enter the latest order from Shapeways, 8 Fokker DVII's!


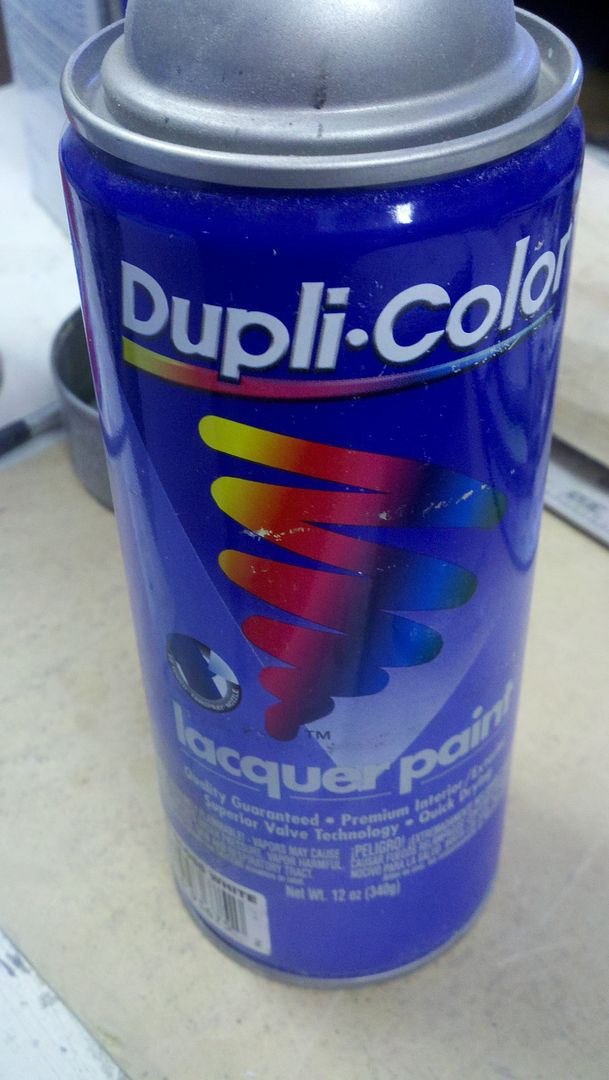
    After a quick wash and dry I went out to the shop to do some looking on the paint shelf. Lots of left overs. In and amongst them I found a set of cans of spray acrylic lacquer from my old Bronco that I had done some body work on, one of the cans was a linen white . . . Dupli Color Brand (solvent based acrylic lacquer)


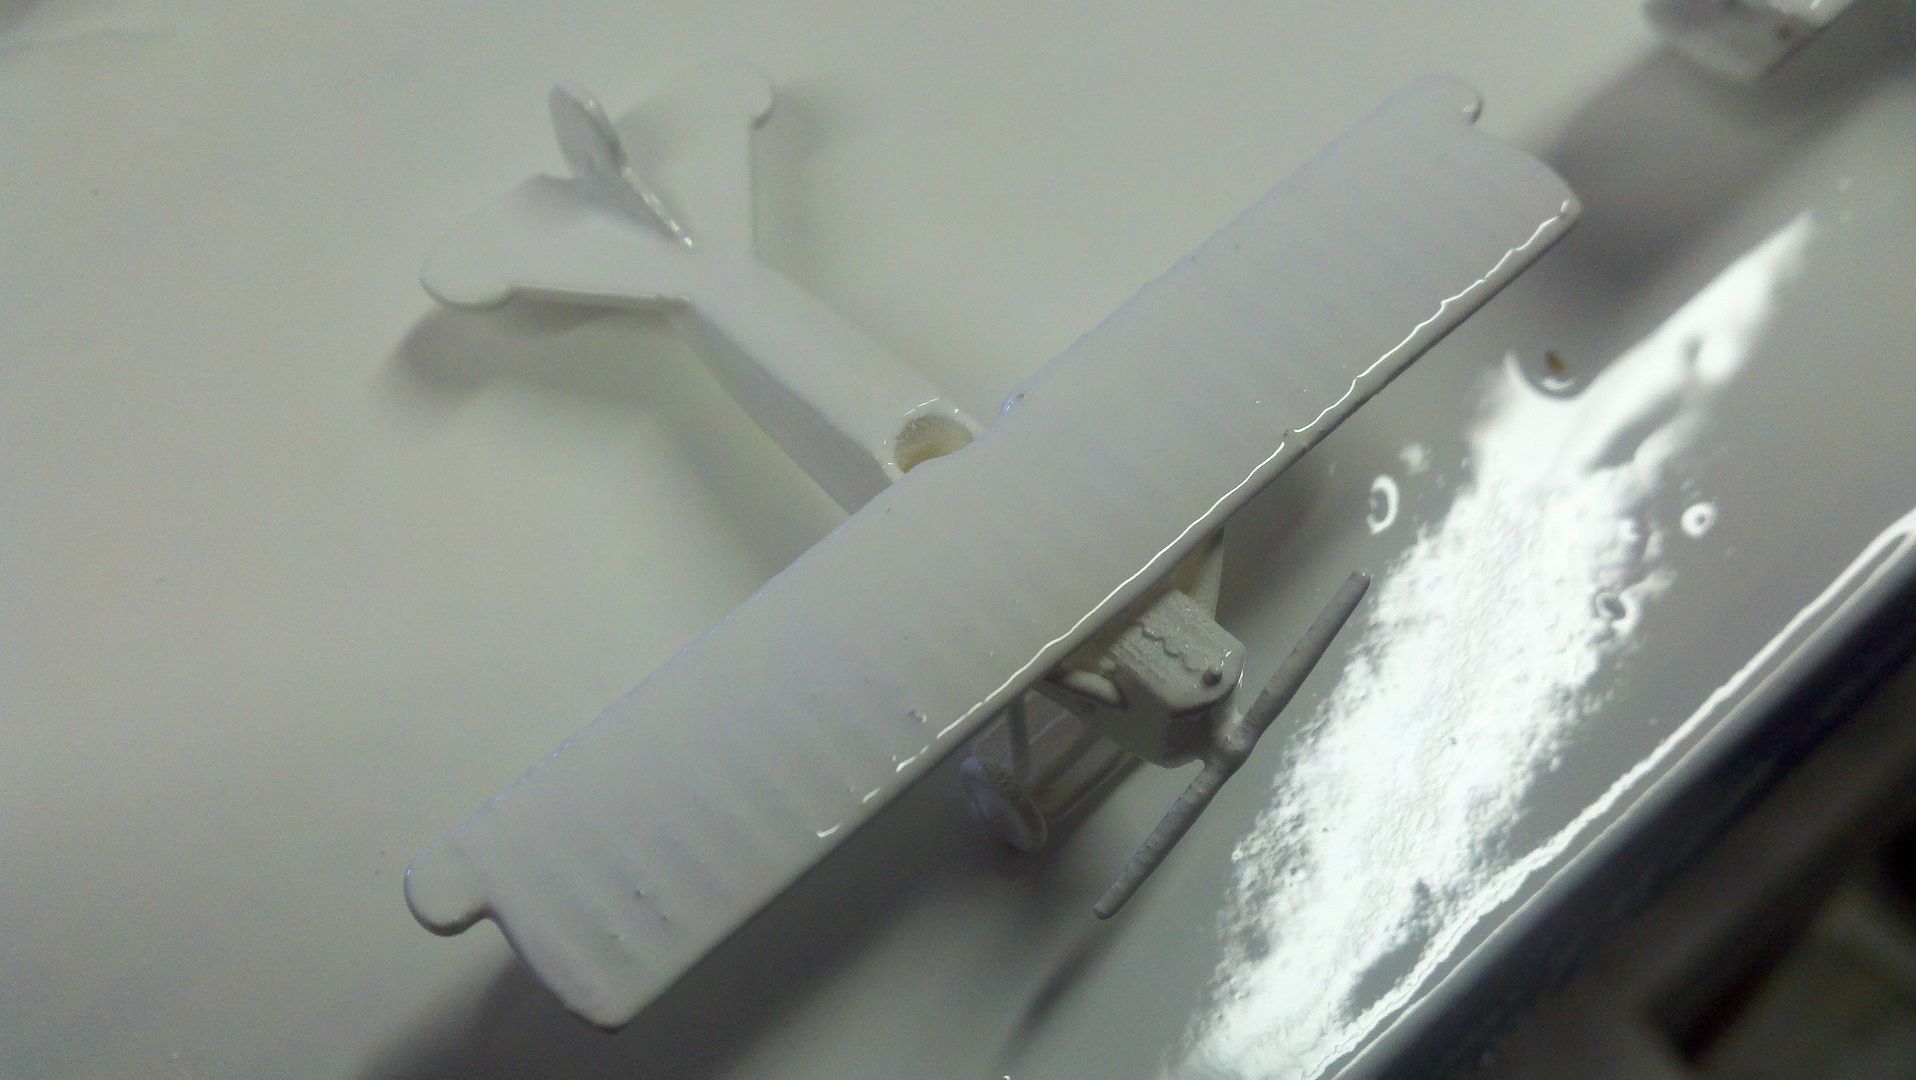
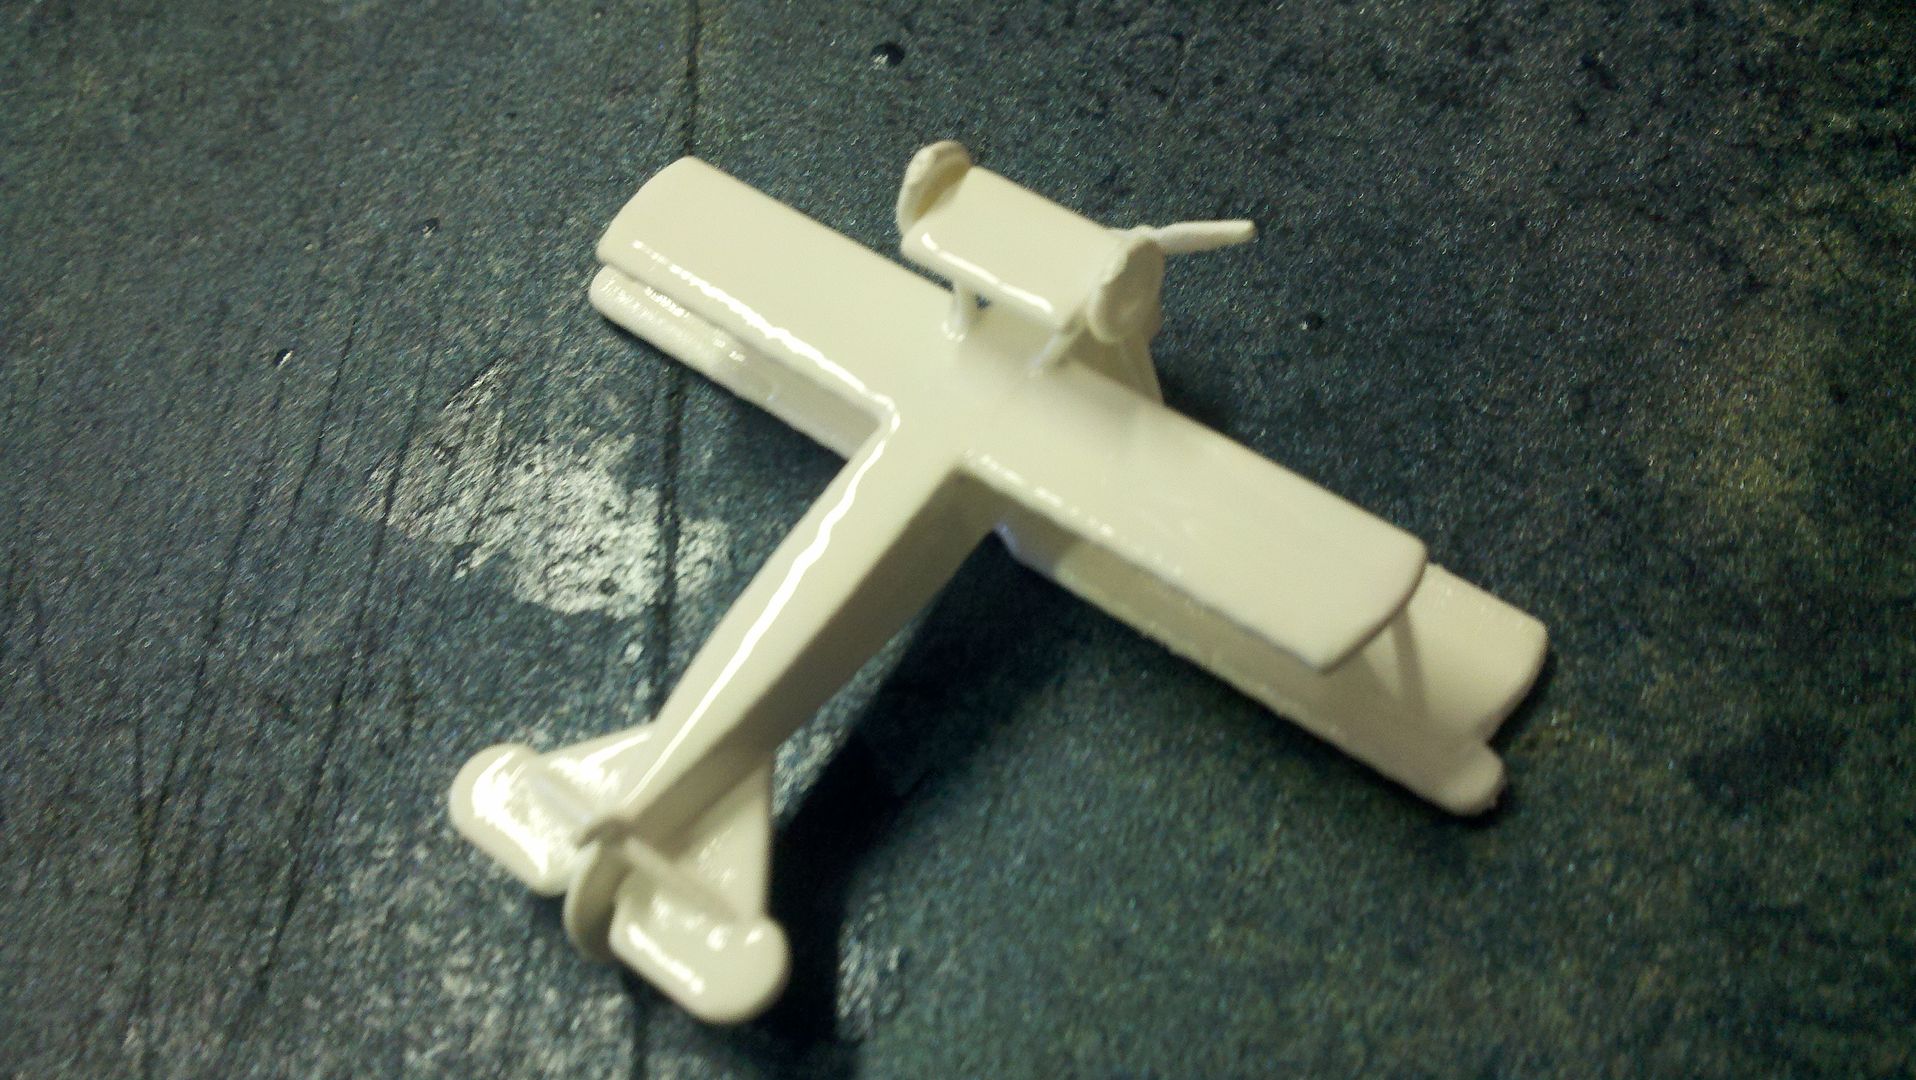
    What to do? Risk a model? That's not how Clipper rolls, why risk just one when you can risk several at once? I decided to risk 8. In this next picture I try to show the impact, the gloss of the paint is easy to see on the board under the model.


    Here on the bottom of the model you can see the gloss from merely 2 coats of the paint applied as planned . . .


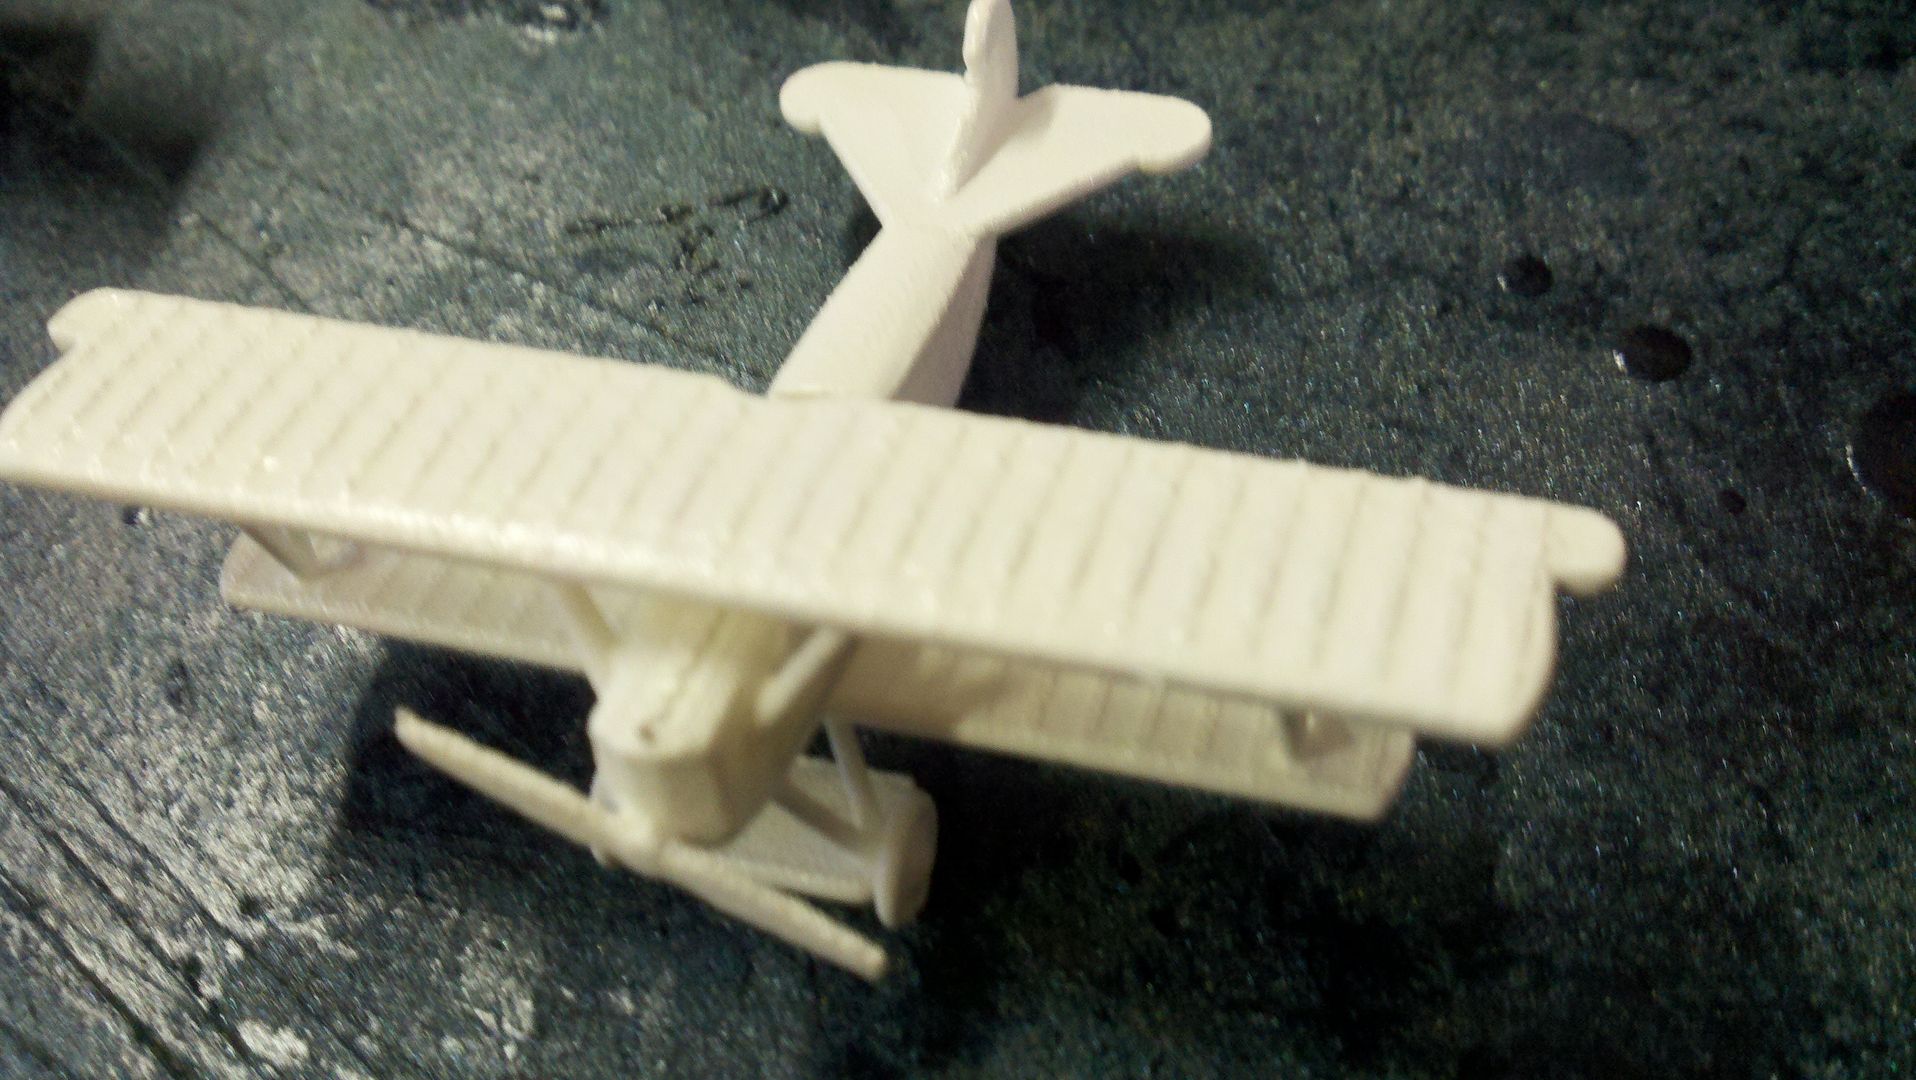
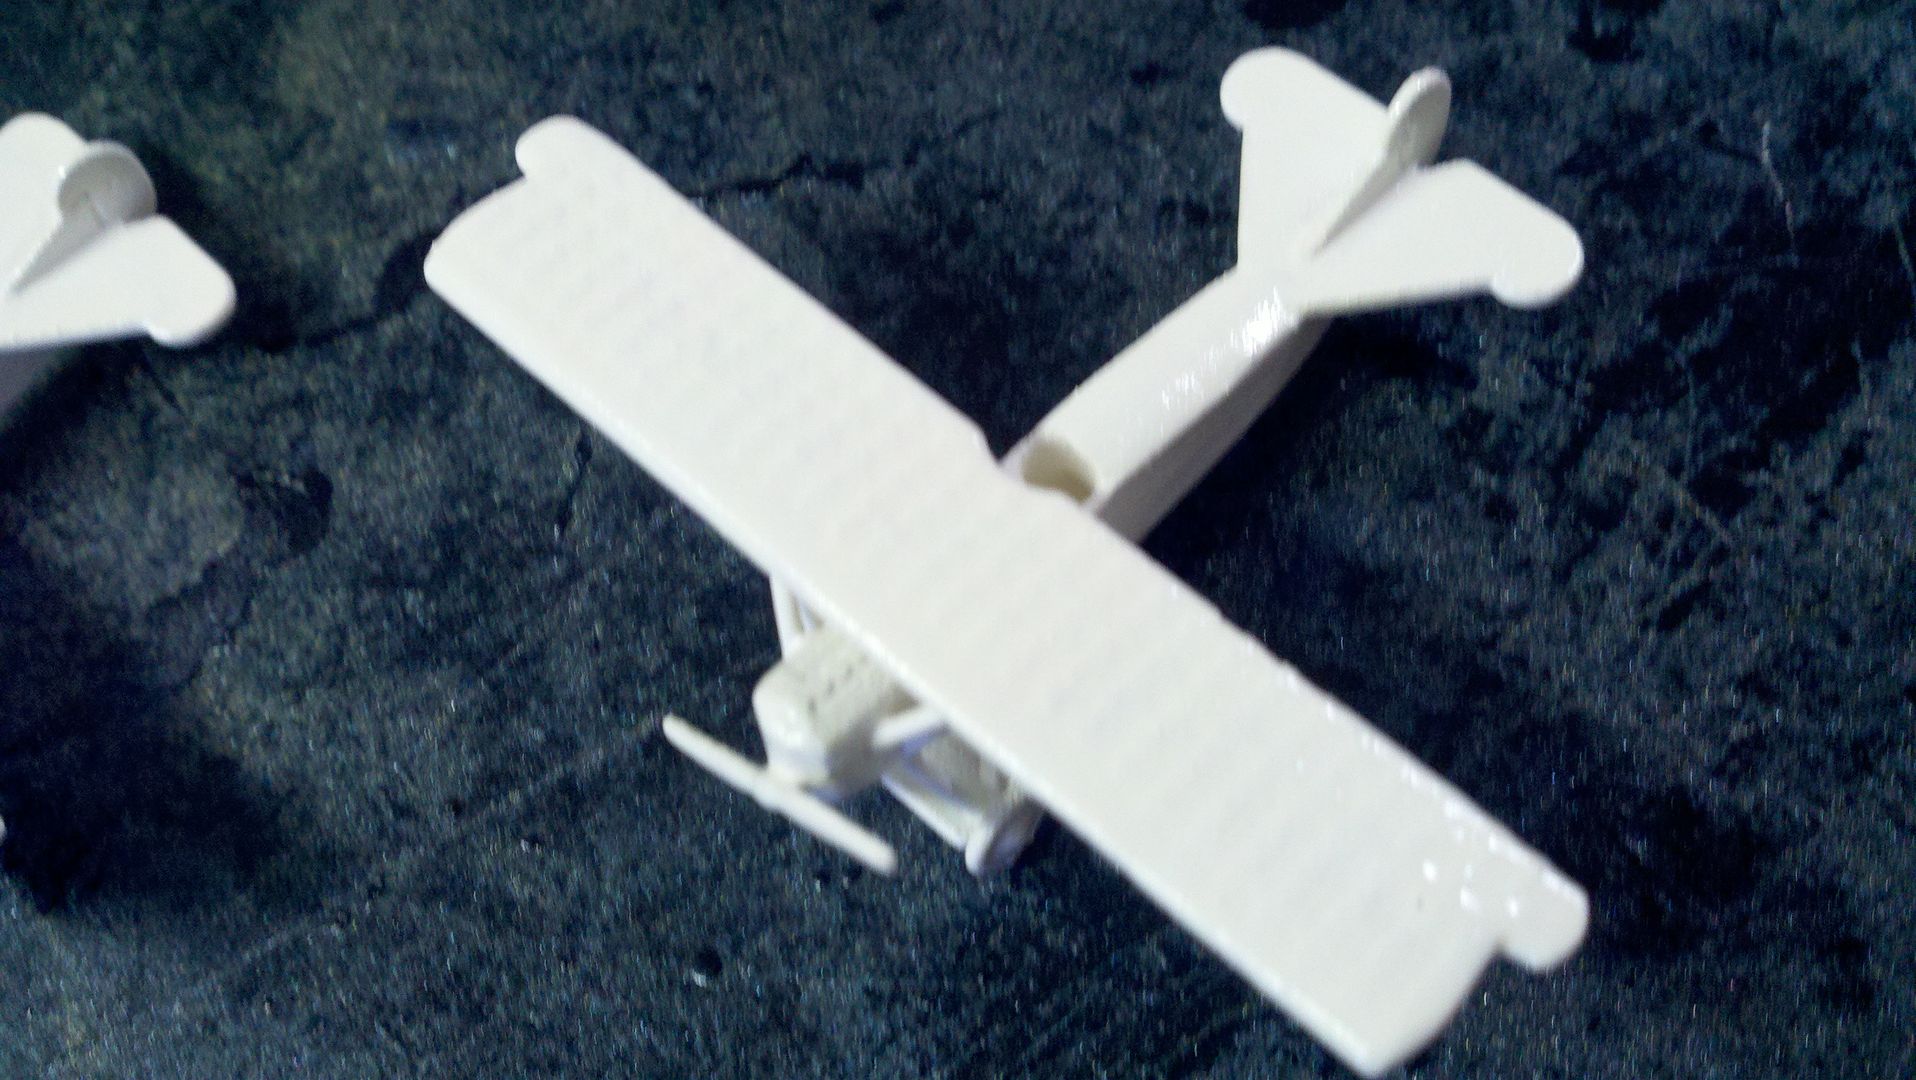
    Here is the top side, you can see the gloss and the fill to a small degree


    Or here


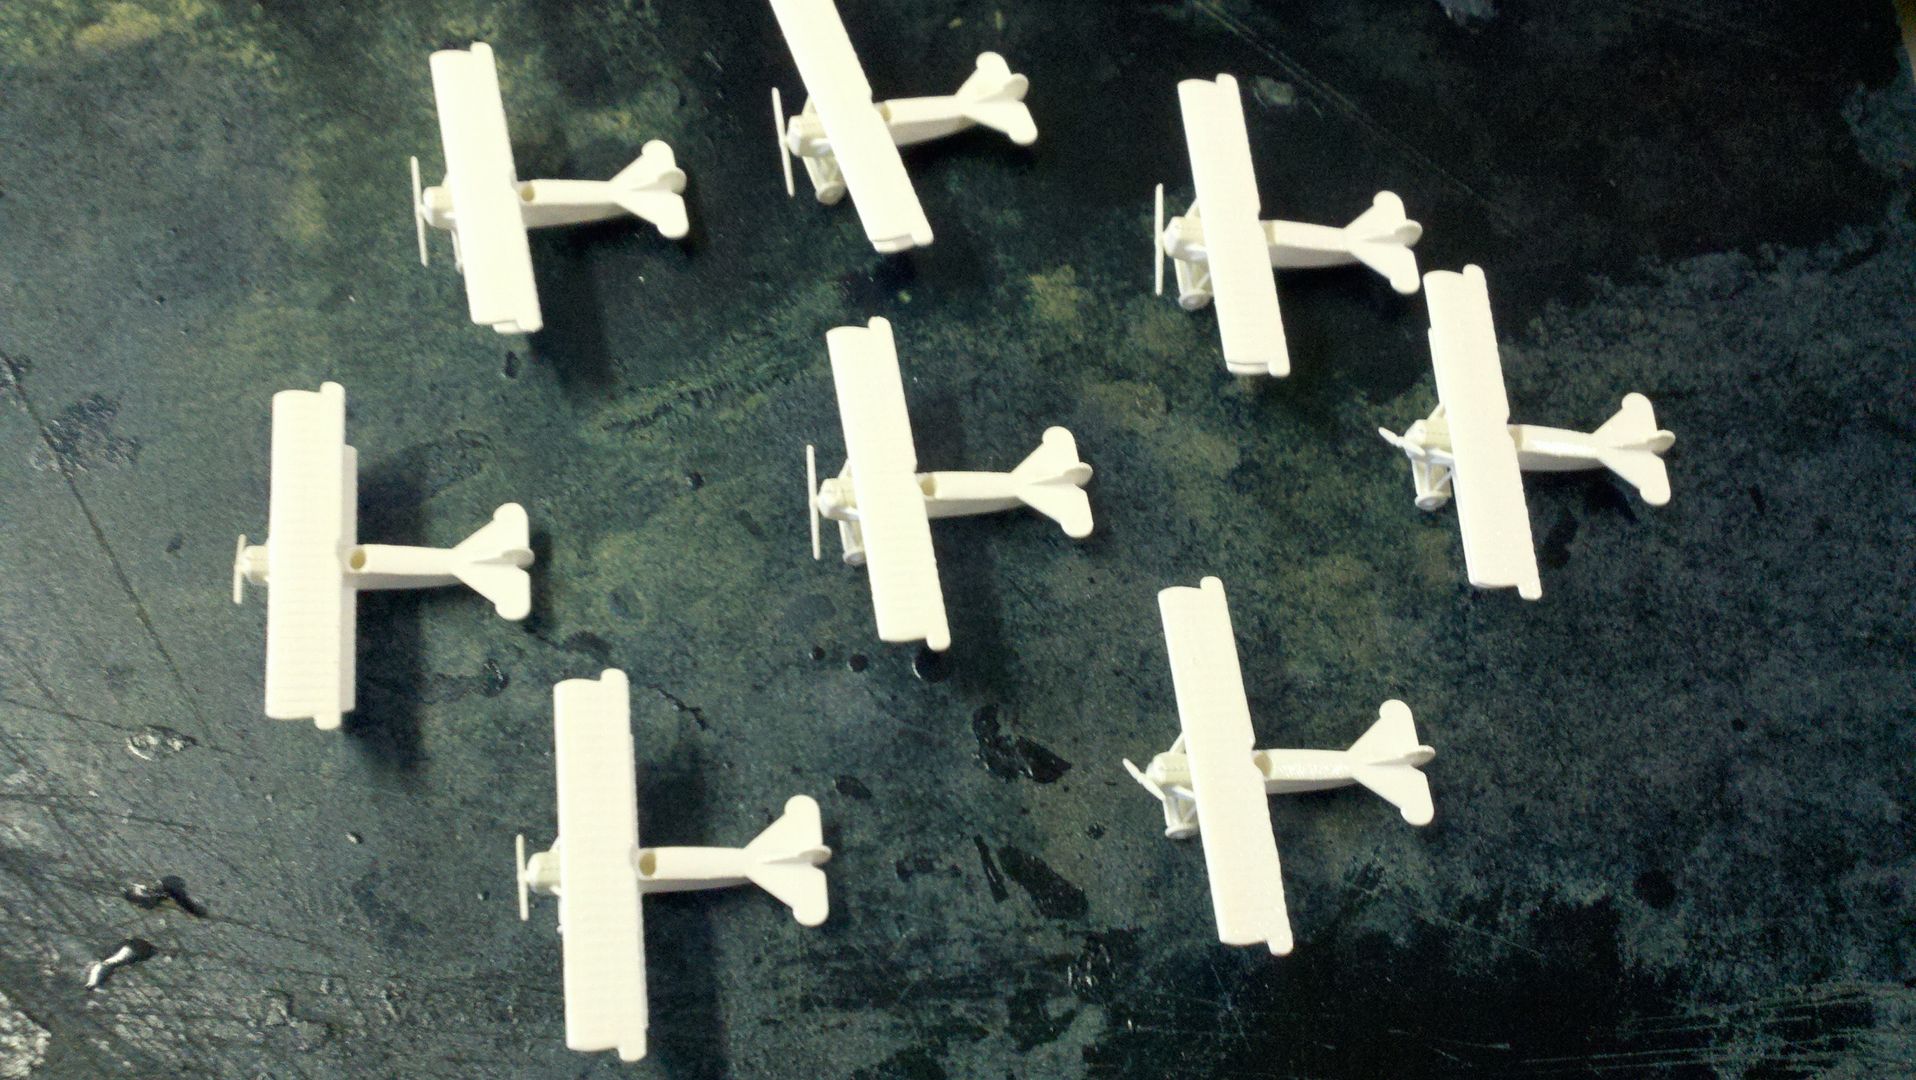
    Meanwhile now I have a squadron of 8 Udet DVII's!


    The finish is hard, smooth and very shiny! It worked! Two coat finish! Now to give them a light roughing up with fine steel wool to allow the water base final colors to work! I have used these paints before on wood models, the only shortfall is that some spray dull coats will crinkle the surface. I have since switched to a brushed on clear acrylic for a dull sealer. Imagine sealing your Shapeways with two spray coats in 30 minutes!!!! The elves are VERY nervous!

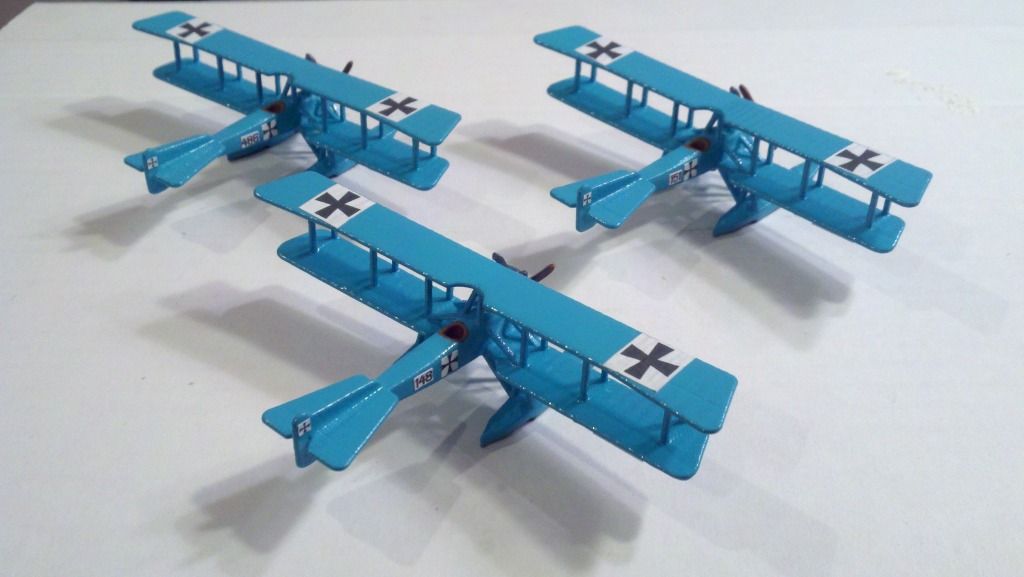
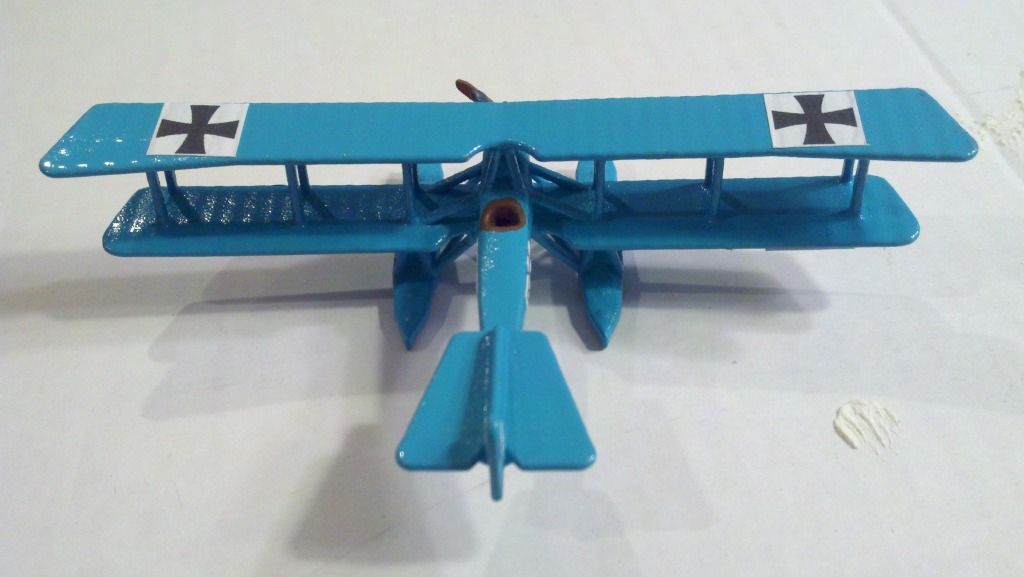
    Here it happens in blue


    See the gloss on the lower wings!


    Could it be true? I'm sold, no more layer and layer and layer for me!

  2. #2

    Question

    Good one Clipper!
    I presume that was an Automotive Touch up paint you source from a Automotive spares store.

  3. #3

    Default

    Sharp as ever, you are correct. They have a wide variety of strange colors, not too many we want, but for a base coat to paint who cares? Did I mention one can covers several fenders and many minis? And lasts for many years in a 90 degree F garage!

  4. #4

    Default

    Wow, that makes even a hobby craft-phobic person like myself consider getting into the customizing game. Looks about 7 steps simpler than Zoe's method, which I could not even consider attempting. It would be hard even for me to screw up two passes of spray paint in 30 minutes!

  5. #5

    Smile

    Quote Originally Posted by clipper1801 View Post
    Sharp as ever, you are correct. They have a wide variety of strange colors, not too many we want, but for a base coat to paint who cares? Did I mention one can covers several fenders and many minis? And lasts for many years in a 90 degree F garage!
    Thanks for the quick response David!
    I have actually used some of those in a metallic Grey colour for painting Warhammer 40K buildings.

    Click image for larger version. 

Name:	Bastion A.jpg 
Views:	136 
Size:	312.1 KB 
ID:	87879

  6. #6

    Default

    The real trick seems to be the light tack coat followed by a wet coat and fast drying acrylic lacquer. Enamel turns to a never drying goo . . .

    hey the tower looks cool, my son says awesome. The elves are still asleep . . .

  7. #7

    Default

    Just to be clear (for the slow of thinking; hey, it's been a bad week), you used 2 coats of the acrylic lacquer, first one light, second heavy?
    And is the first one completely dry before the second?
    Karl

  8. #8

    Default

    Sounds a great solution Clipper.
    I have used silver grey car body on Nieuports as an undercoat, but never knew about the tack and second coat whilst still sticky trick.
    Guess I will have to give it a try.
    Rob.

  9. #9

    Default

    I'll have to give this a go.

  10. #10

  11. #11

    Default

    Karl "Just to be clear (for the slow of thinking; hey, it's been a bad week), you used 2 coats of the acrylic lacquer, first one light, second heavy?
    And is the first one completely dry before the second?"


    First coat wants to be still tacky to the touch. Try it on a sheet of cardboard, a light quick pass of spray, let get tacky and then a second wet coat that is shiny wet but not puddle-ly. As soon as the last coat hardens all should be happy and filled.

  12. #12

  13. #13

    Default

    Do you do the first coat all over, or do one side (both coats) at a time mate?

    Dave

  14. #14

    Default

    Only two coats? Where's the fun in that? I'm orf to Halfords to see what they have got

  15. #15

    Default

    Hmmm, might have to start looking at Shapeways if I could knock it down to a 2-coat prep. My compliments to the elves' test department.

  16. #16

    Default

    Yes I have a couple dozen minis lined up for this evening after real work to get into the paint booth. Mrs Clipper is returning home Thursday after getting the new wing man settled in to his home, so my binge building must soon give way to carving a path through the laundry and dishes so the house looks semi-normal. The elves are well disciplined in domestics so thankfully I can enroll them to assist.

    The process has evolved to arranging the minis inverted on a sheet of cardboard with a 2" gap betwix each. Then a light tack coat is applied to all the sides, surfaces of all wings as well as front and rear aspects. Wait ten minutes or so (while you paint another sheet of minis). When the bottoms are tacky I apply the heavy wet coat and carefully lift each one up with tweezers and place on a clean sheet of cardboard (Pizza boxes are awesome for this). This allows the very wet models to dry without them sticking to the heavy and still wet overspray on the base card board. By moving from one set to another the process goes quite quickly. The wet coat dries in less than 30 minutes at which time the minis are set on their wheels and the process is repeated on the top surfaces. This also gives opportunity for the sides and hidden areas to get a few extra coats. If I remember I will snap photos tonight as I do it so the narrative makes a bit more sense. . .

  17. #17

    Default

    Thanks Clipper, that is perfectly clear

    Dave

  18. #18

    Default

    Two questions.
    1 why does it have to be glossy?
    2. In the pix, it looks like the paint is very heavy, especially in the bottom view...almost pooling and becoming a thick layer on the surface that is taking out surface detail (tho I see a bit of ribs). Is the photography exaggerating the effect (gloss could do that) or is it really this thick?

  19. #19

    Default

    Two answers at once? Pushes my mental ability, maybe, I'll try.

    1. Gloss, yes it is the best for filling since it has a higher ratio of solids dissolved in the solvent. That way it can only soak in so far then begins filling the pores in the material.

    2. Heavy coat indeed, the photos at this scale show the slight dome of the paint sitting on the surface just as the paint was sprayed. In a few minutes most will soak in and flow out in the drying process, but one must be careful to prevent running and detail loss, I have a paint brush ready to address the runs! The acrylic lacquer shrinks as it sets as well, causing some flattening. The tack coat serves to adhere the top coat to itself and the rooted matrix below which prevents excessive separation at extreme corners. A mid satin coat would do, however most of these paints are working towards a high gloss finish. I have dulled it from time to time with different speed solvents, which makes the chemist in us blush as well . . . a little trade humor . . .

  20. #20

    Hunter's Avatar May you forever fly in blue skies
    Users Country Flag


    Name
    Terry
    Location
    Arizona
    Sorties Flown
    2,813
    Join Date
    Feb 2011

    Default

    These look better than you verbalized to me, Dave. Awesome indeed.

  21. #21

    Default

    After completing two Shapeway minis using Clipper's method of spray painting, I will have to try adding one more step next time; spray a light coat of flat primer - either white or gray. That way when I go to paint the different colors, they will adhere better with less coats.

    I must have brushed painted 4 coats just to get the color right.

    Would I use his method again? You bet, in a heartbeat!

  22. #22

    Default

    Hey Clipper, I finally got around to trying this but I ended up with a pretty matte surface instead of a glossy hard coat. I may have waited a little too long after the first coat, and when I started to see a lot of pooling on the second coat, I backed off. Have you ever tried a third coat after the first 2 are dry? Before I do that, I'm going to experiment with painting on the underside of the wings. I'm doing a night fighter and I was using black acrylic lacquer, so if I can get a dark greenish brown tint over it I may leave it as is.

  23. #23

    Default

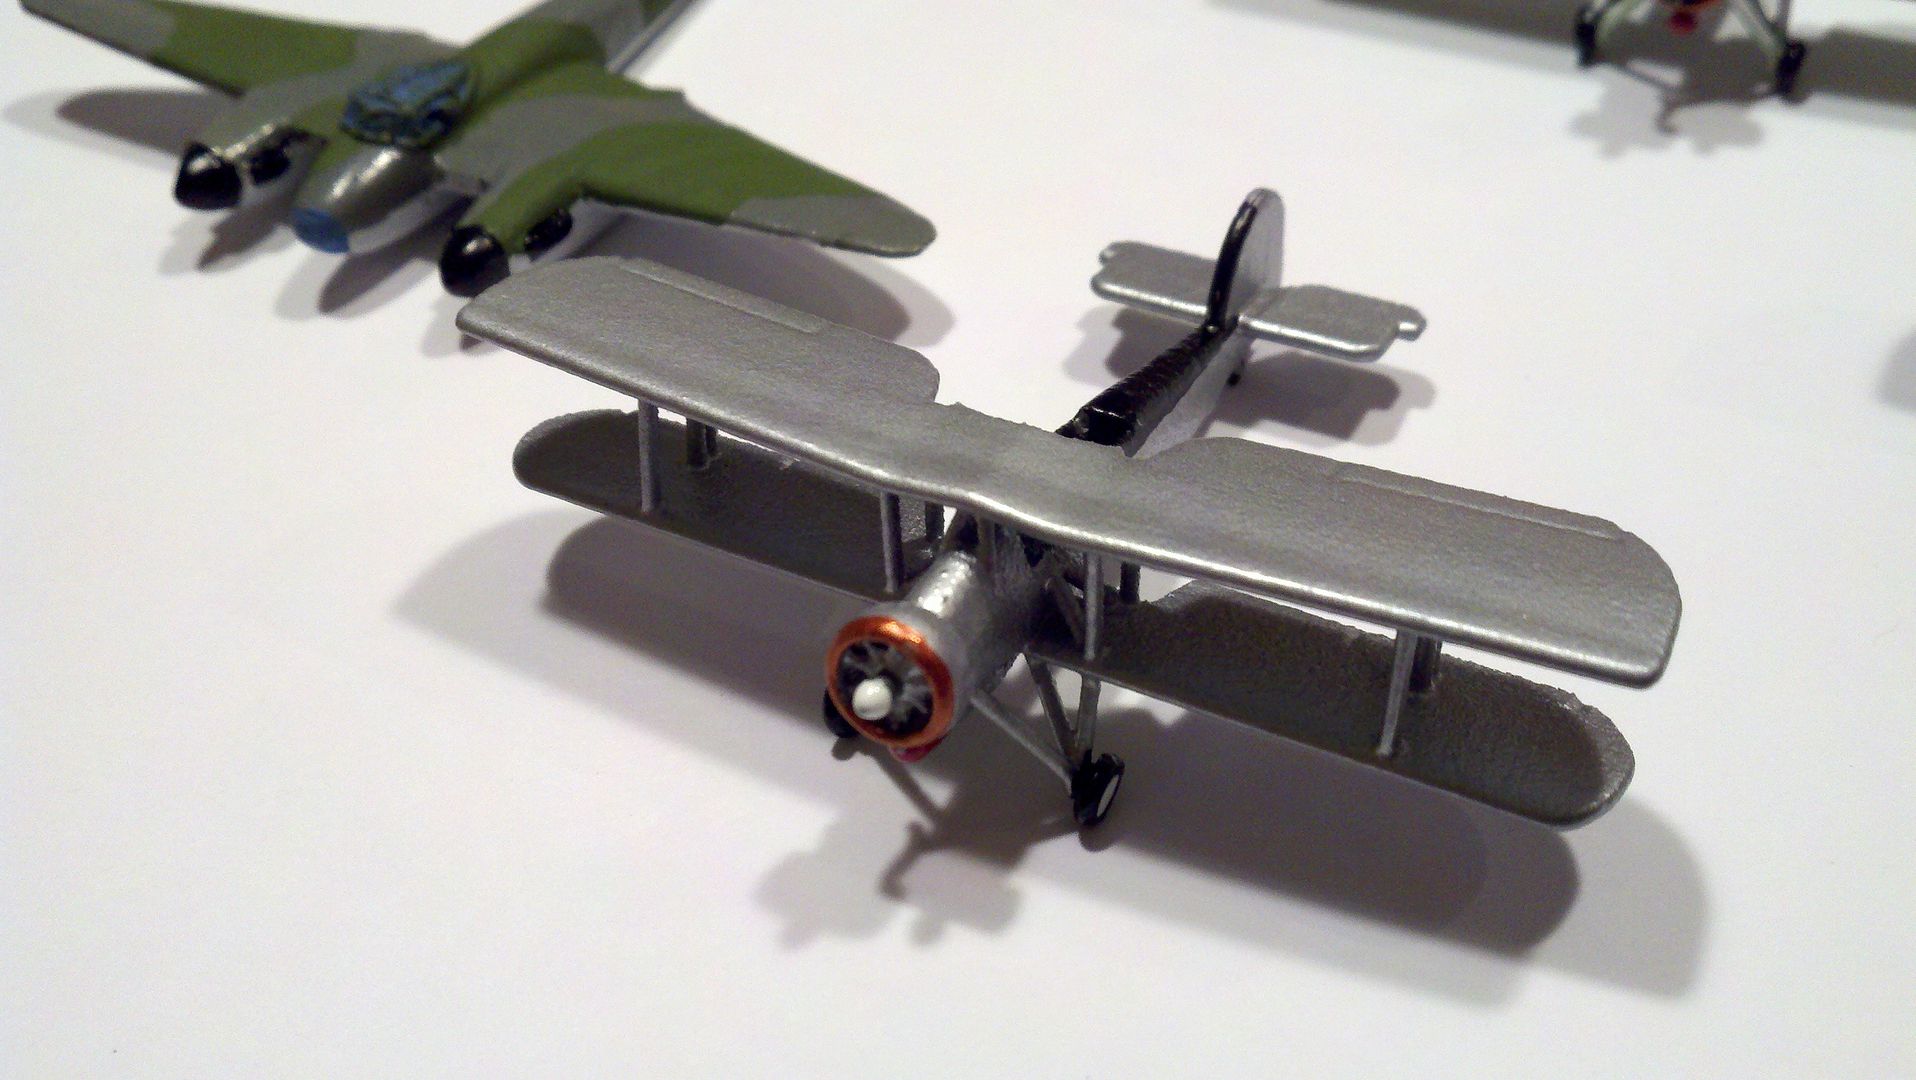
    Here is my latest (two days ago) This one was 3-4 coats with the last ones quite wet . . . had to level the things to keep the pooling level without letting runs form . . .


    The auto paint can be super glossy or flat depending on ambient humidity . . .

  24. #24

    Default

    Great idea to speed things up David, and so simple.
    See you on the Dark Side......

  25. #25

    Default

    Hey Clipper, a question, not so much about this technique, but a problem I'm having using acrylic paints here in the DRY southwest. I've not yet done any Shapeways craft, but am planning to. I have been painting minis here in AZ for 30 years and a problem I have with sprays is them drying on the way to the subject. Then ending up with a dry dust like mess all over my mini. I have now tried to paint when the humidity is high(right, there is no humidity in AZ) but that limits severely the times I can spray. Have you, or anyone here, had this problem? Can you give me any tips to stop this from happening? I also have had the problem of paints brushed on drying extremely fast, and I've used a ton of retarder, sometimes 2 to one retarder to paint ratio.

  26. #26

    Default

    Good questions William, I have done a lot of spray painting (lacquer/acetone based) over the years, cars and real aircraft as well as models. I have found plasticizers and retarders to be so much voodoo. The range of speed of the various thinners can get expensive as well. I have restricted my sprays to cans since I no longer have a walk in spray booth and those are as shown in the thread (normally gloss colors since they are higher in solids and fill almost too well). I do put the spray on rather heavy and wet. Some primers, especially the filling type do dry before they hit the model and can create more trouble than help, that is why I skip the priming stage and go for the base color right away. The light coat followed by the wet coat within a few minutes helps the paint adhere, fill and flow out. Some runs are going to happen but once you get the hang of it it goes quite well. I normally paint a dozen at a time which uses the drying time up efficiently. I then use water based acrylics for the color layers and detailing and finish with a clear dull coat spray. Hope this helps! I will venture out into the garage this weekend and gather the balloon patterns for you : )

  27. #27

    Default

    Hi David, thanks much for the info and help. No problem on the balloon patterns, whenever you get to it. I used the measurements I found on shapeways to help me get started on a "Drachen" "type" balloon which is coming out pretty cool. I don't think it would win any "Historical accuracy" contests but will be good for what I want. Will post some pics when done. Thanks again.

  28. #28

    Default

    David you have realy done you homework I will give it a go on my next shapeways model (though after my sons have got the right paint for me, bit hard to read whats in the cans when you go shopping without my reading glasses).

  29. #29

    Dom S's Avatar
    Users Country Flag


    Name
    Dom
    Location
    People's Republic of South Yorkshire
    Sorties Flown
    2,081
    Join Date
    Jun 2010

    Default

    Very interesting - I tried something similar a while back ("filler primer" for respraying scratches and such) with rather underwhelming results, but never thought to try respraying while still tacky - will give it a go.

  30. #30

    Default

    Looks like I need to go shopping...

  31. #31

    Default

    I love what you done, have you ever use "DULLCOAT" spray paint to get rid of shine? have used it on my model trains for years.

  32. #32

    Default

    Dull cote is often difficult, it dulls silver almost to black at times and can react to the surface paint, always best to test a bit before committing that super finish. When I am in doubt I use the water based dull clear from Testors or such.

  33. #33

    Default

    One more observation on Dullcoat. I love the stuff and use it a lot, but if you use super glue (CA) for assembly the Dullcoat will give CA a frosted finish if the glue is not completely dry. A CA accelerator will do the same, but not quite as drastic as Dullcoat can be.

  34. #34

    Default

    A good observation William.
    Rob.
    "Courage is the art of being the only one who knows you're scared to death."


Similar Missions

  1. WGF Finish's
    By Fabric Flyer in forum Hobby Room
    Replies: 14
    Last Post: 06-19-2012, 08:41
  2. My projects to finish before Febuary 3rd!
    By richard m schwab in forum 1/144 Scale Dawn of War
    Replies: 16
    Last Post: 12-31-2011, 12:36
  3. Shapeways finish determination
    By Pooh in forum WGF: General Discussions
    Replies: 7
    Last Post: 10-21-2011, 17:51
  4. Shapeways Finish Question?
    By gully_raker in forum Shapeways Models
    Replies: 8
    Last Post: 09-09-2011, 21:53
  5. Repints: smooth detailed finish
    By Pseudotheist in forum Hobby Room
    Replies: 14
    Last Post: 12-08-2009, 15:27

Bookmarks

Posting Permissions

  • You may not post new threads
  • You may not post replies
  • You may not post attachments
  • You may not edit your posts
  •